We will mostly follow the official documentation. Some of the sections I found to be confusing, so I made the decision to create this tutorial.
1. The Architecture #
In this tutorial we will be using VMware Workstation Pro hypervisor to install the Ubuntu Desktop that will host/run the KVM hypervisor, CAPEv2 Sandbox, VPN, TOR etc.
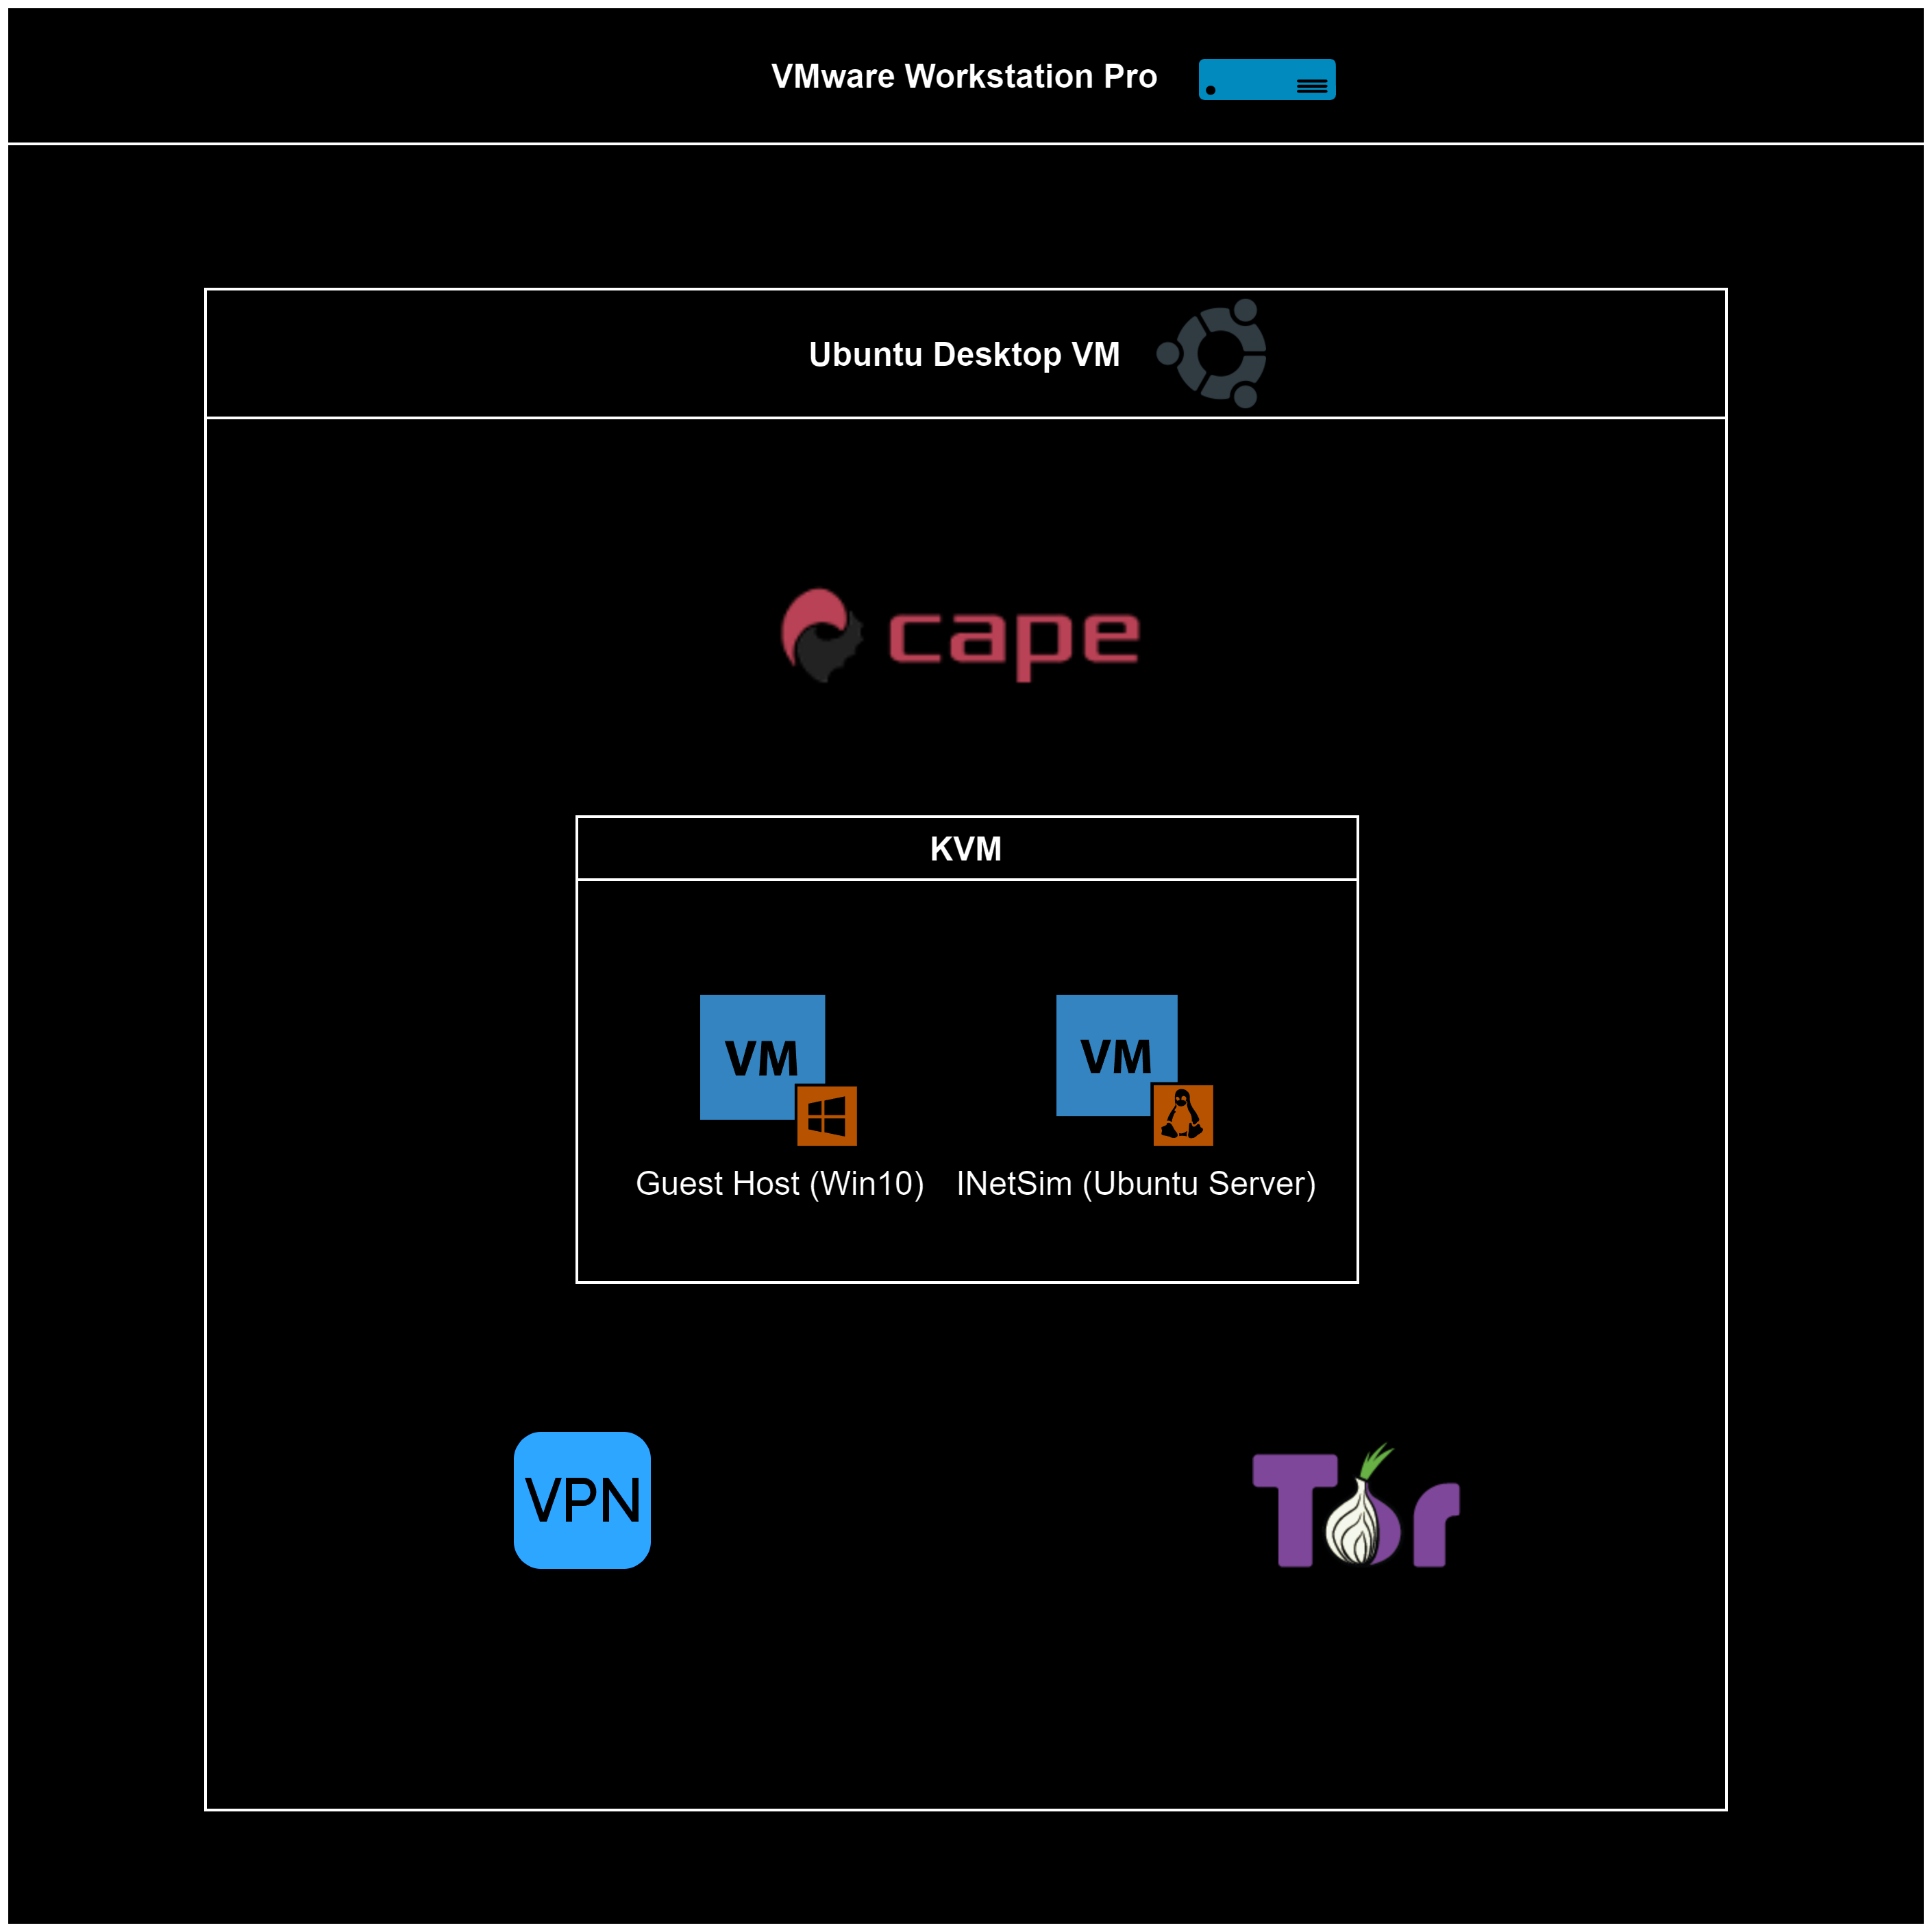
For example, if you proceed and install CAPE before installing KVM you will face errors.
2. Ubuntu Desktop Installation #
Let us start with the installation of the Ubuntu Desktop VM in the VMware Workstation Pro hypervisor.
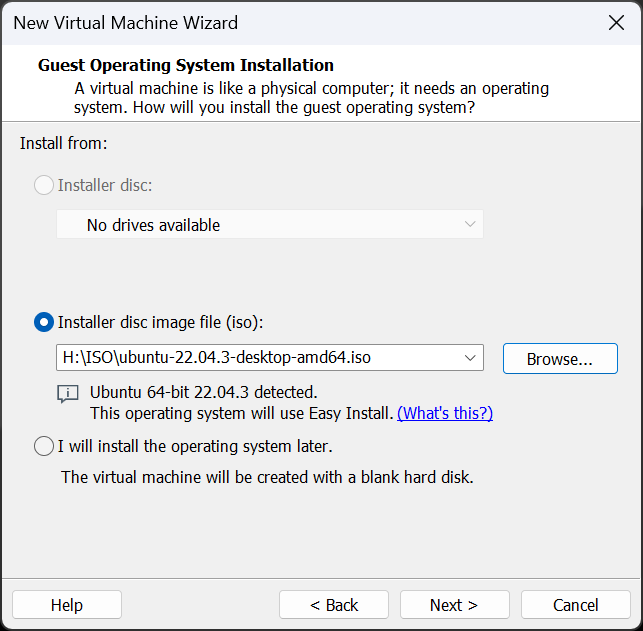
Download the Ubuntu ISO (ubuntu-22.04.3-desktop-amd64.iso) from the
official website.
At the time of writing, the version that we downloaded and will be using is Ubuntu 22.04.3 LTS.
Create a new Ubuntu VM using the VMware Workstation Pro.
In this example I will be using 200GB of Disk Space, 16 RAM, 16 CPU.

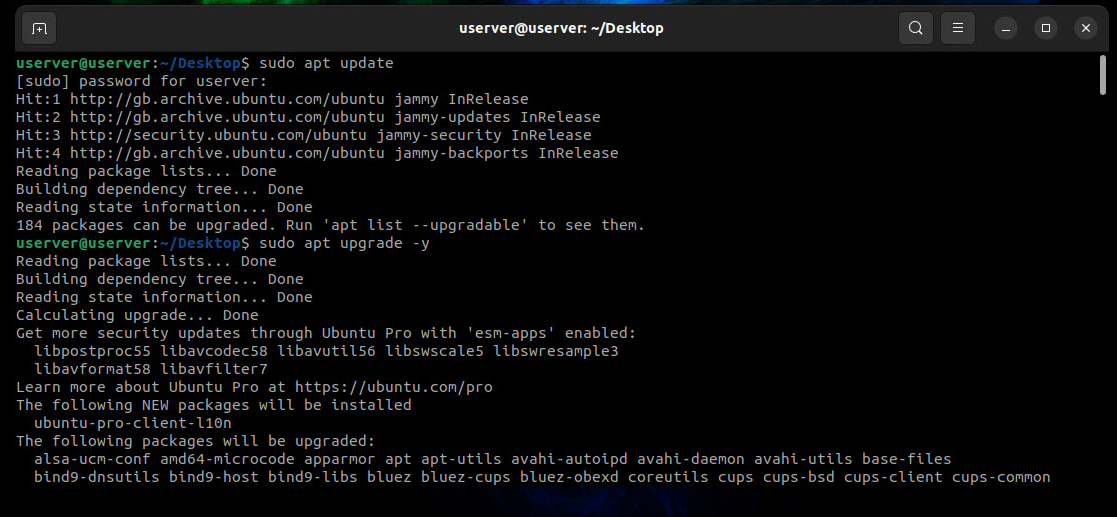
sudo apt update
sudo apt upgrade -y
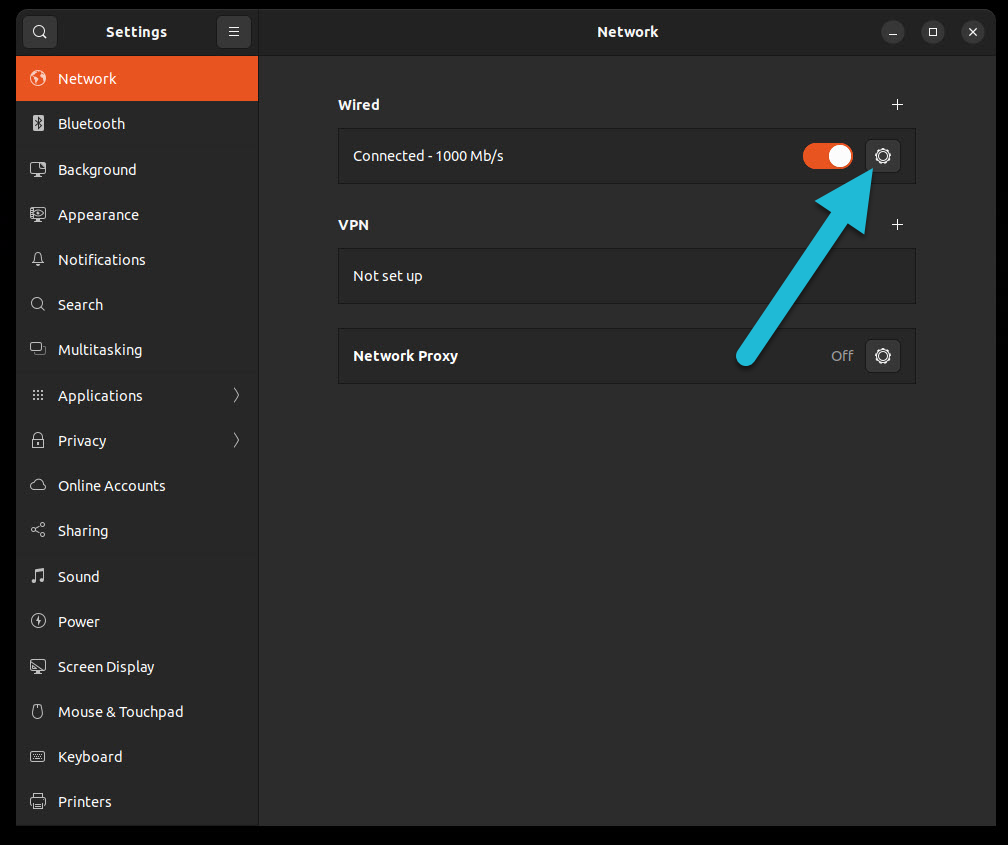
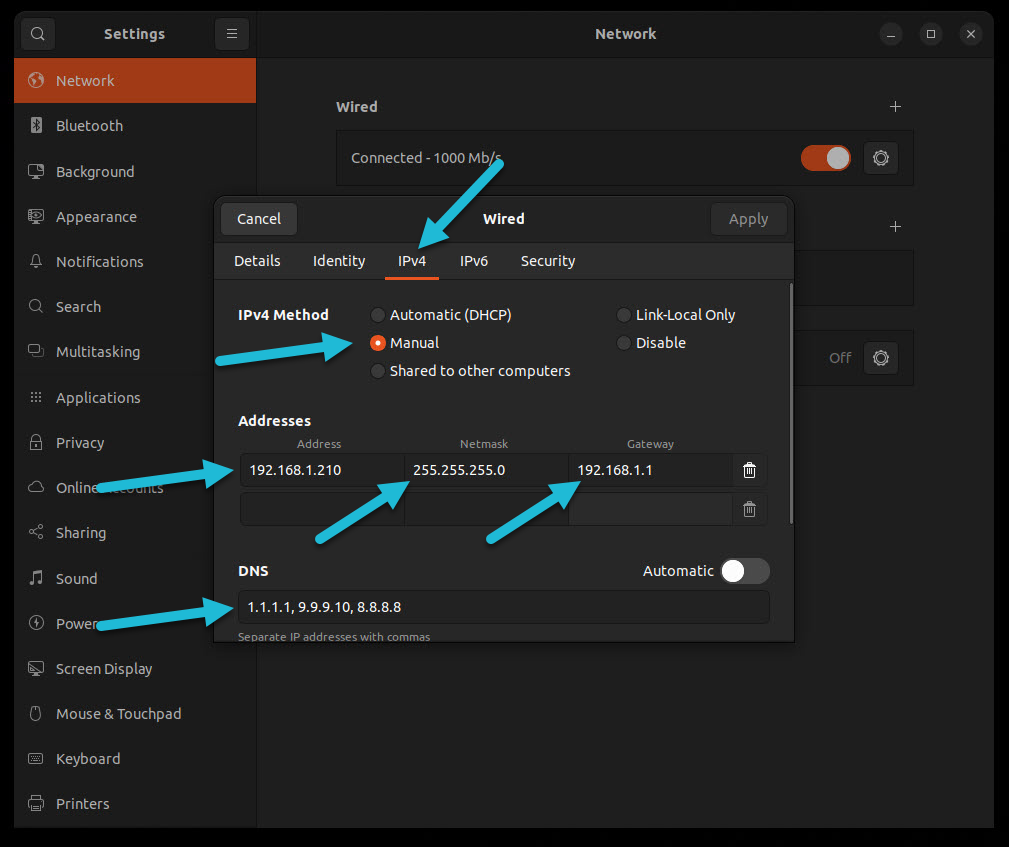
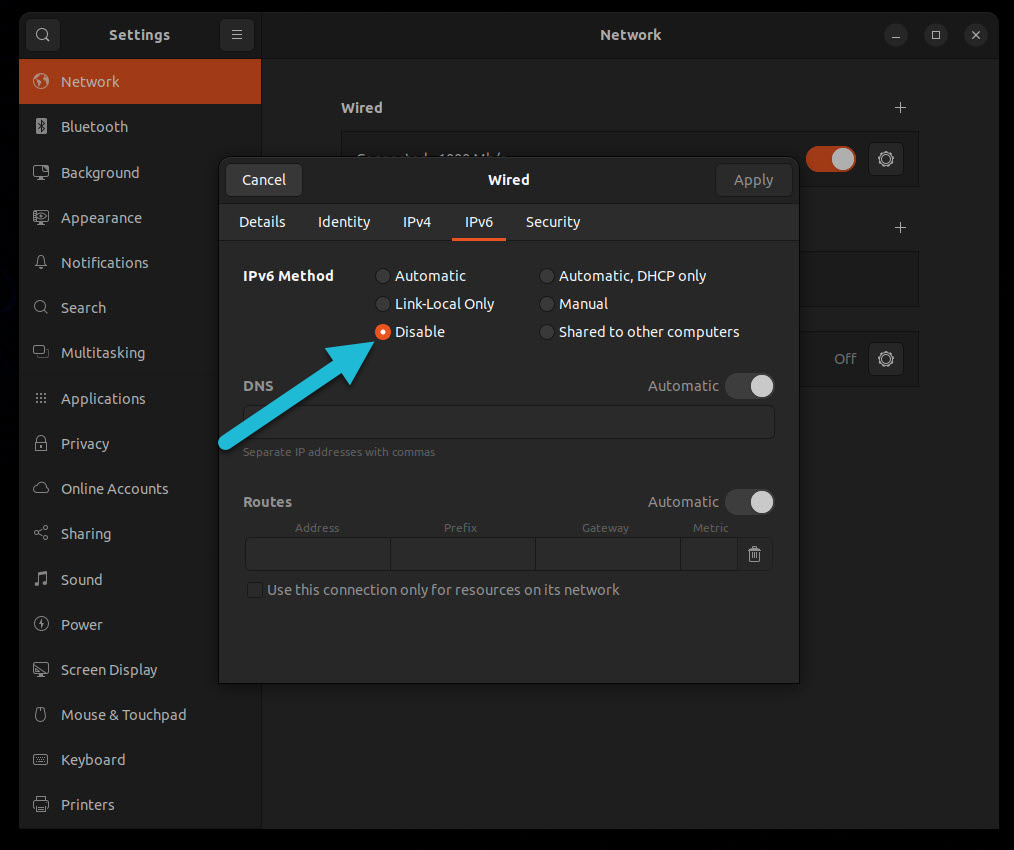
3. Ubuntu Desktop Static IP #
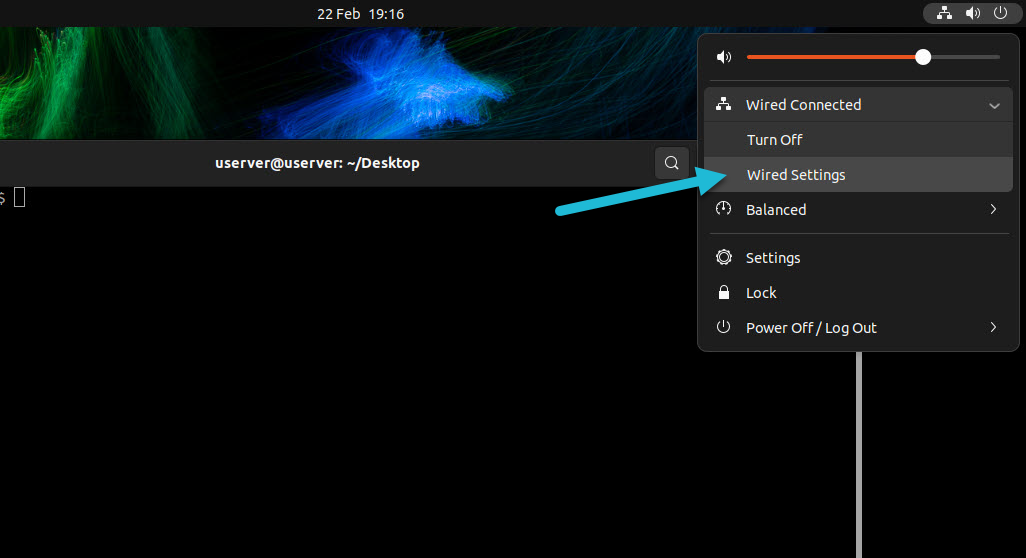
One way to set a static IP is to use the NetworkManager.
From the top right open the wired settings.
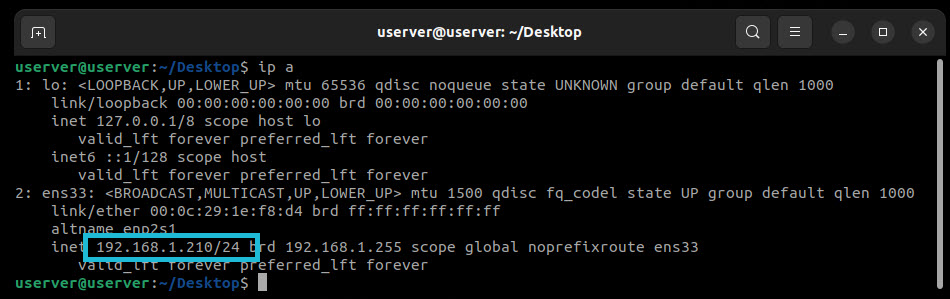
Verify that you have the new IP.
ip a
4. KVM Installation #
Open a terminal at your desktop and install git:
sudo apt install git -y
Then run the following command to download the GitHub repository.
git clone https://github.com/kevoreilly/CAPEv2.git

Change directory to installer folder and add execute permissions to the files kvm-qemu.sh and cape2.sh
cd CAPEv2/installer
sudo chmod a+x cape2.sh kvm-qemu.sh
Before executing the script, you should replace the <WOOT> occurrences withing the script itself with real hardware patterns. Find more
here
If you are installing or using CAPE in a laboratory environment you can replace <WOOT> with any random 4 chars, you like.
Replace the <username> with the username of your user.
Start the installation of KVM.
sudo ./kvm-qemu.sh all <username> | tee kvm-qemu.log
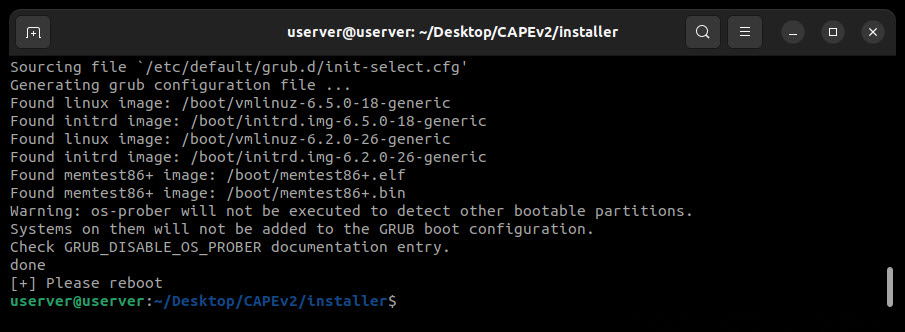
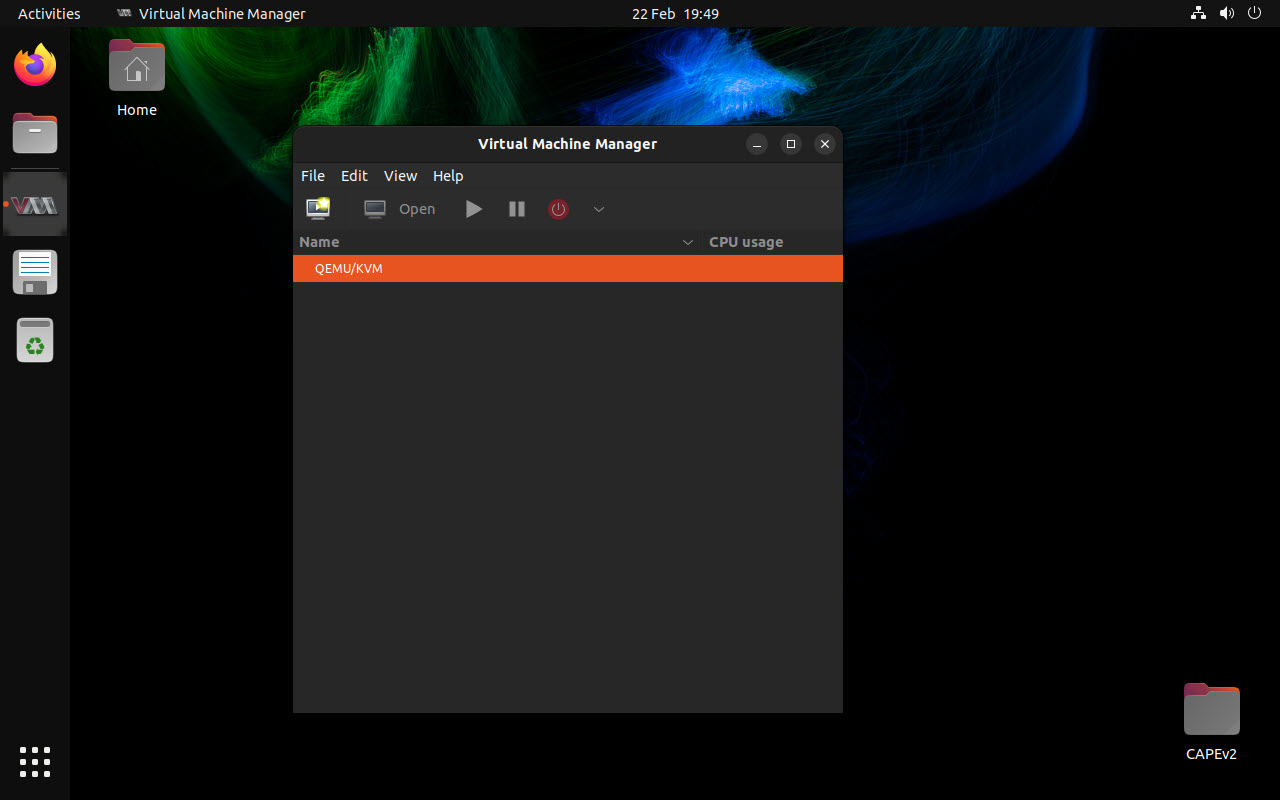
5. Virtual Machine Manager Installation #
After the reboot of your system, open a terminal and once more go to the installer folder inside the CAPEv2 folder.
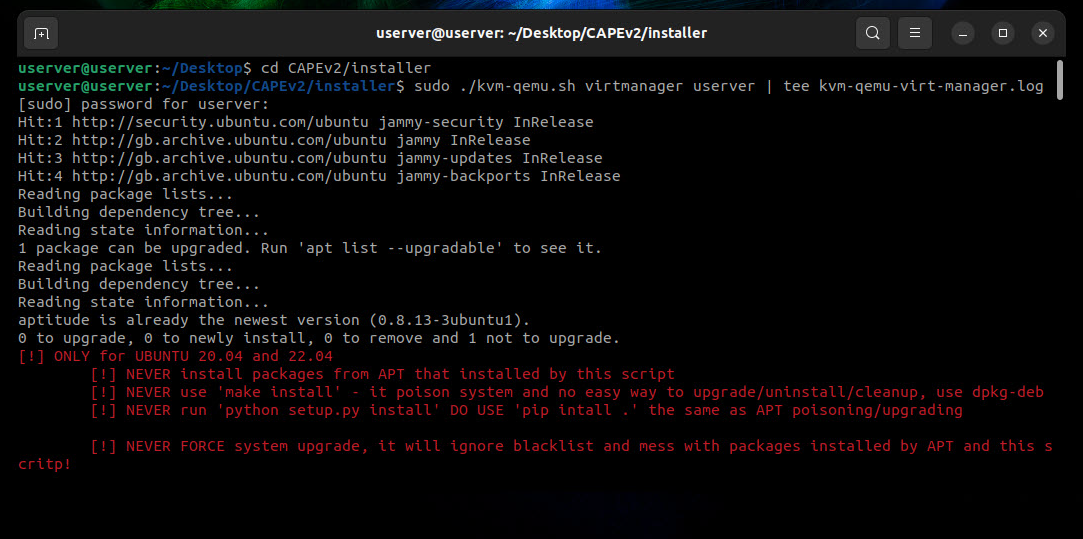
cd CAPEv2/installer
Replace the <username> with the username of your user.
Start the installation of Virtual Machine Manager (virt-manager).
sudo ./kvm-qemu.sh virtmanager <username> | tee kvm-qemu-virt-manager.log
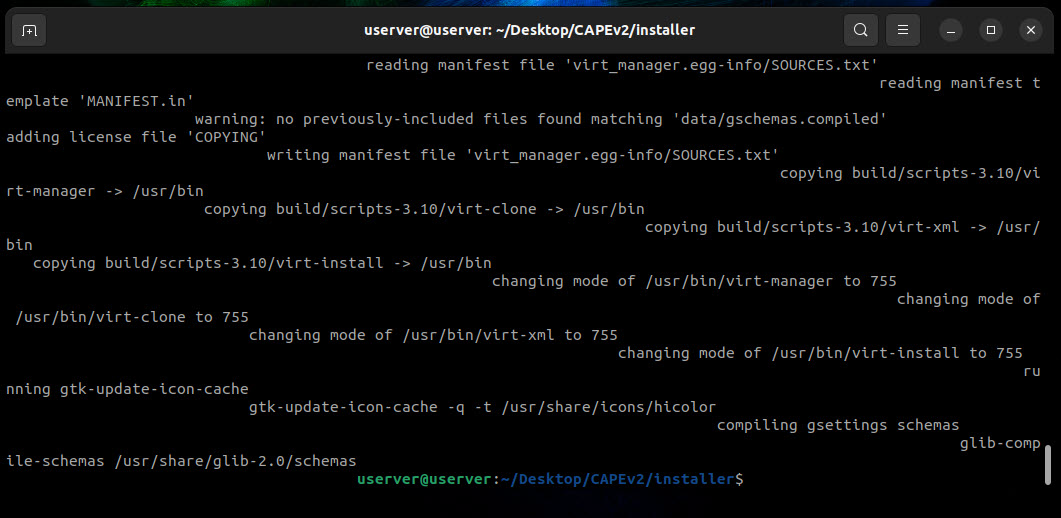
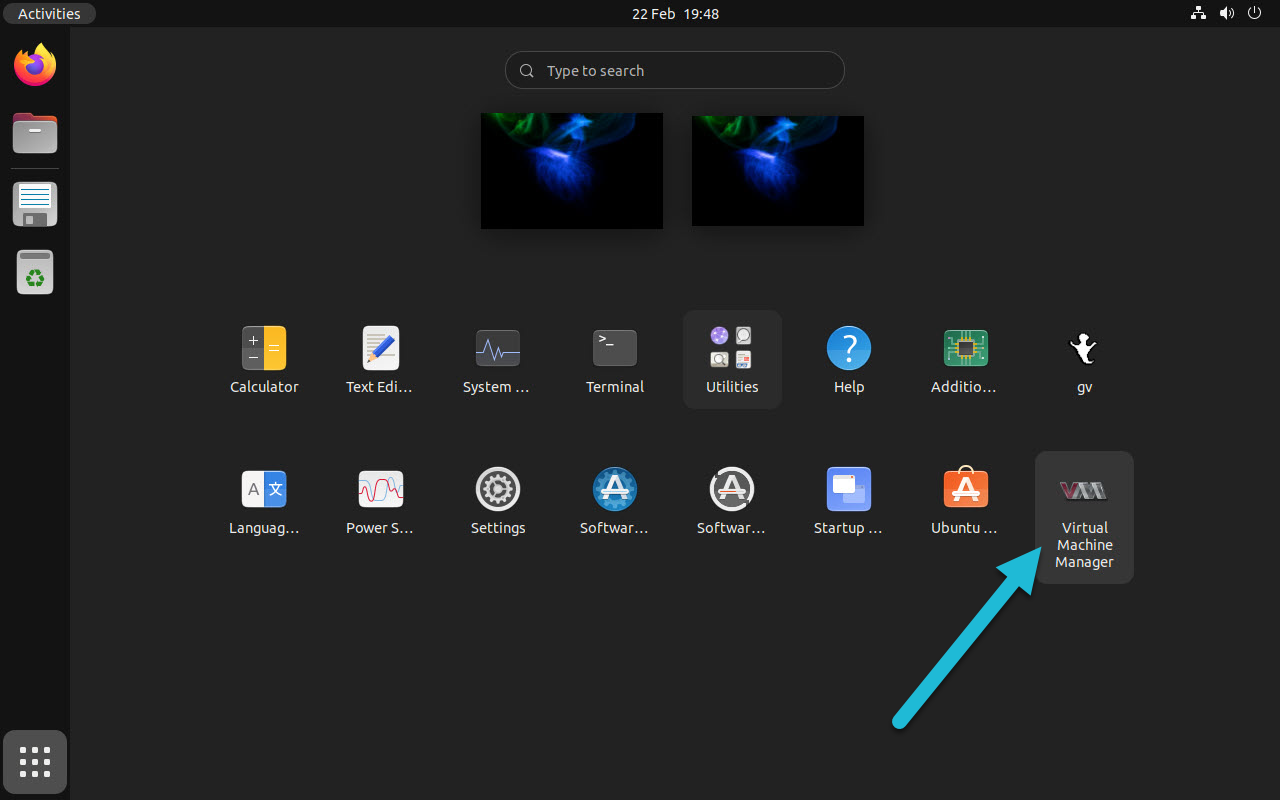
Then you can find the VM Manager.
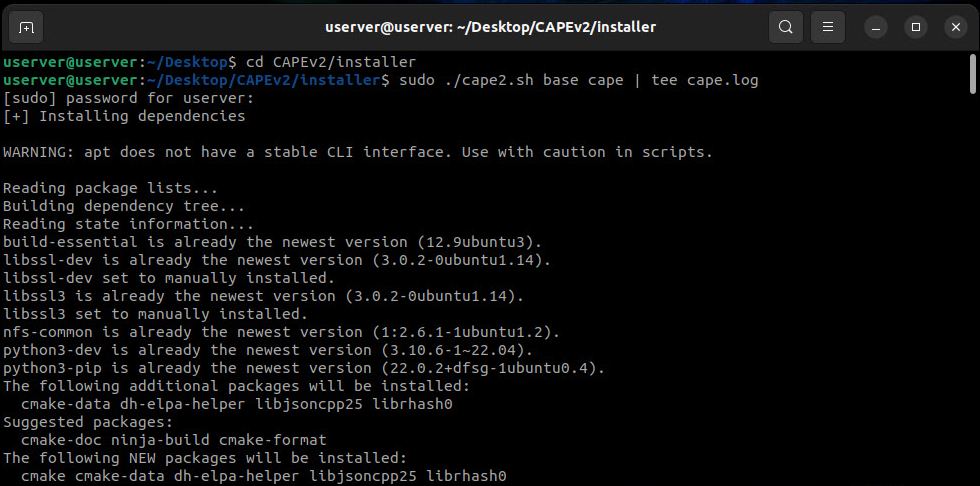
6. CAPE base Installation #
After the reboot of your system, open a terminal and go to the installer folder inside the CAPEv2 folder.
cd CAPEv2/installer
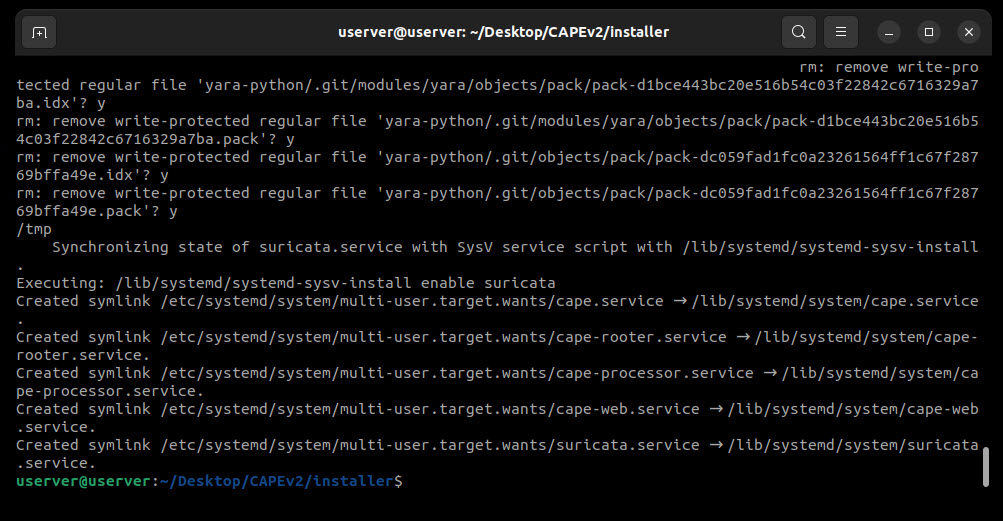
To install CAPE, use the following command:
sudo ./cape2.sh base cape | tee cape.log


https://github.com/kevoreilly/CAPEv2/blob/master/installer/cape2.sh
In this example:
pip3 install git+https://github.com/andreasvc/pyre2.git
Reboot your system!
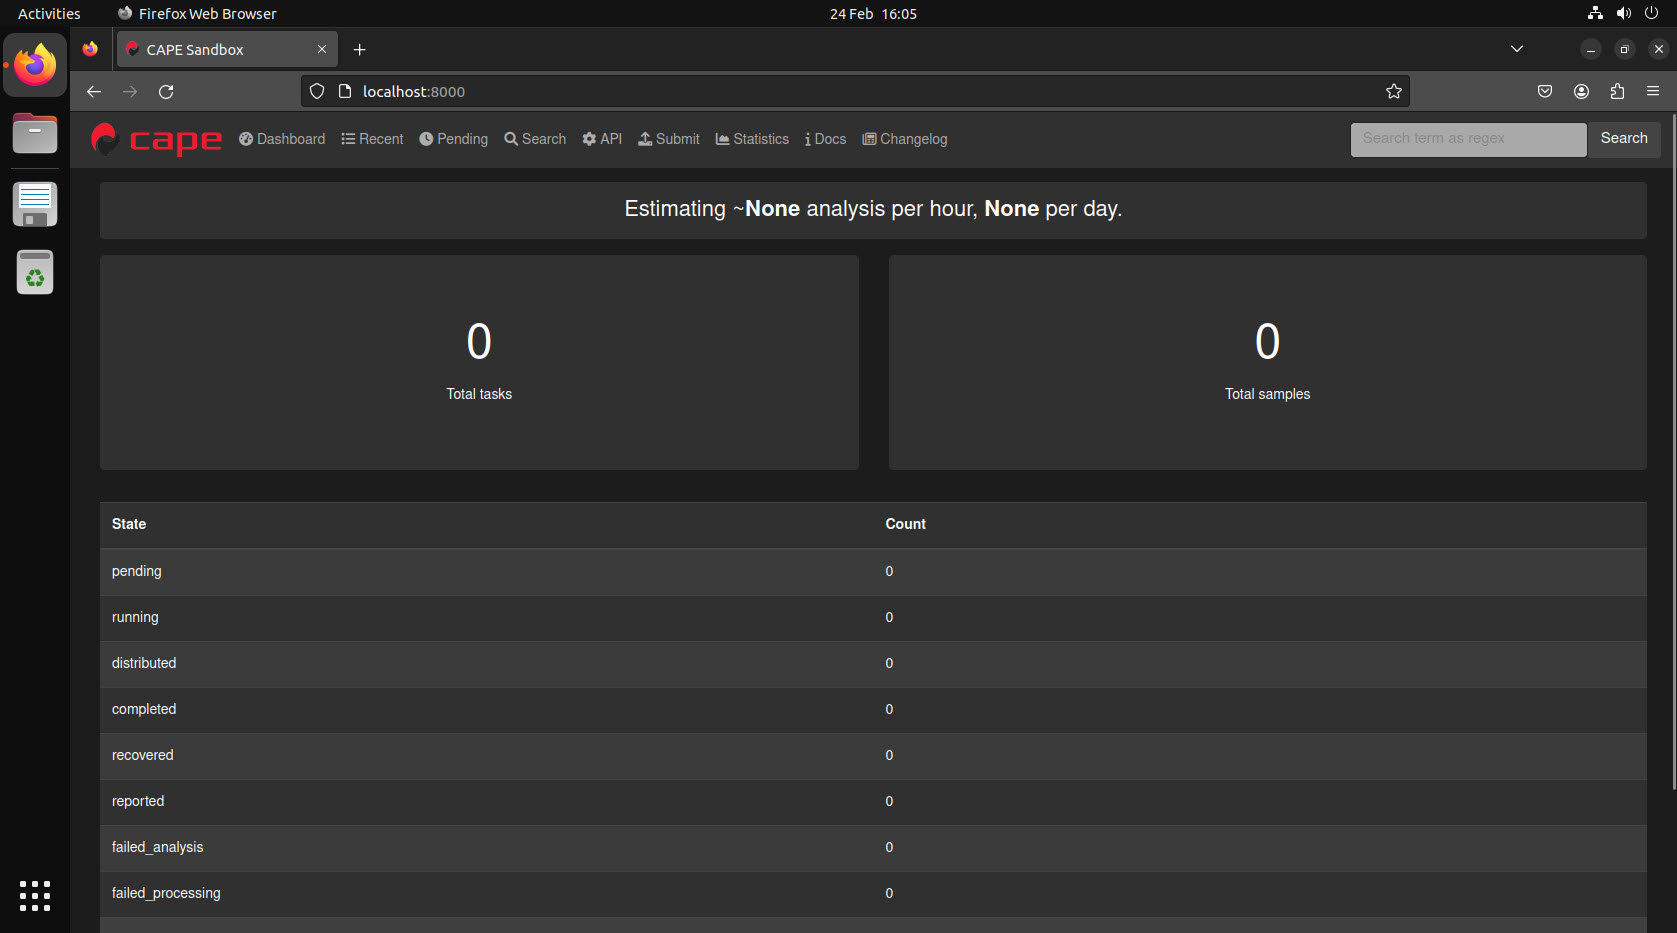
The CAPEv2 GUI is ready! but we still need to configure some settings.
http://localhost:8000/
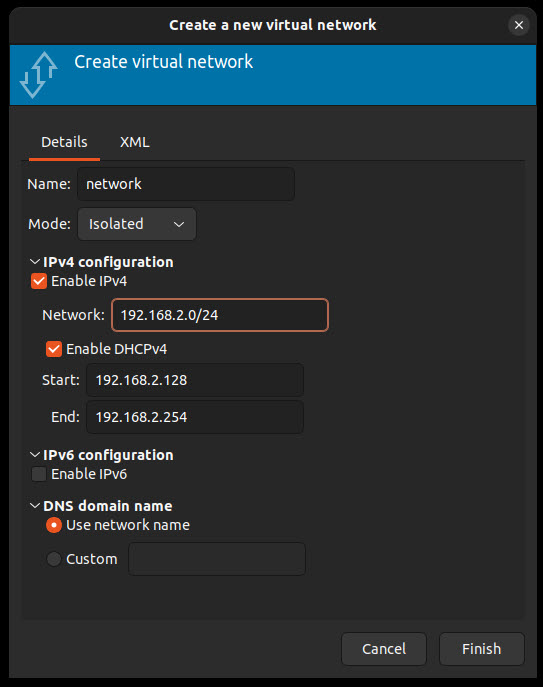
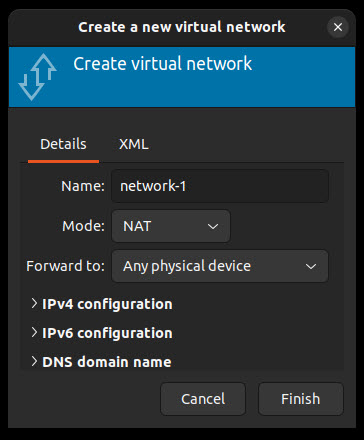
7. Configure KVM Network #
We need to create a new network for our kvm machine(s).

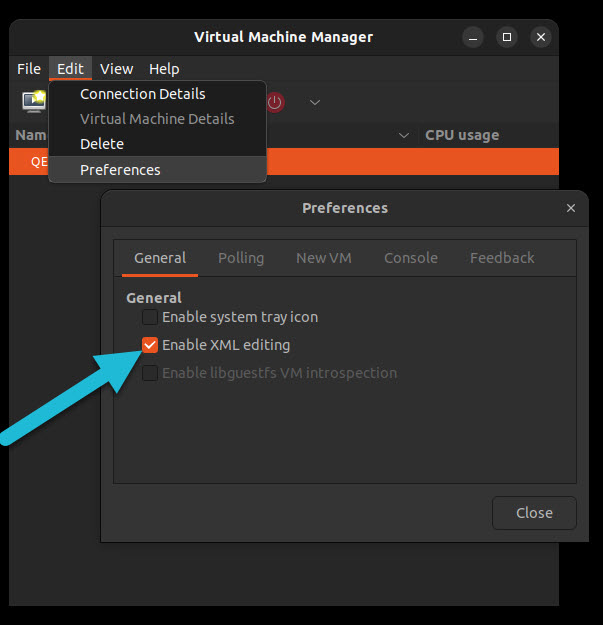
To do so, enable the following:
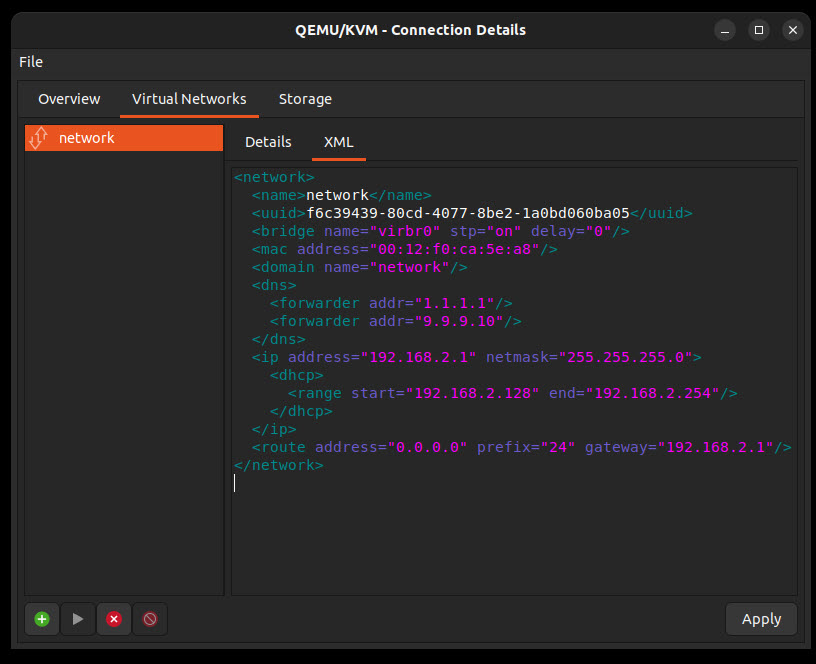
<network>
  <name>network</name>
  <uuid>CHANGEME</uuid>
  <bridge name="virbr0" stp="on" delay="0"/>
  <mac address="00:12:F0:CA:5E:A8"/>
  <domain name="network"/>
  <dns>
    <forwarder addr="1.1.1.1"/>
    <forwarder addr="9.9.9.10"/>
  </dns>
  <ip address="192.168.2.1" netmask="255.255.255.0">
    <dhcp>
      <range start="192.168.2.128" end="192.168.2.254"/>
    </dhcp>
  </ip>
  <route address="0.0.0.0" prefix="24" gateway="192.168.2.1"/>
</network>
When I was first trying to configure the VPN/TOR etc., I faced some dns issues. I found that the dns forwarding option solved some of the problems (but not the .onion resolve).
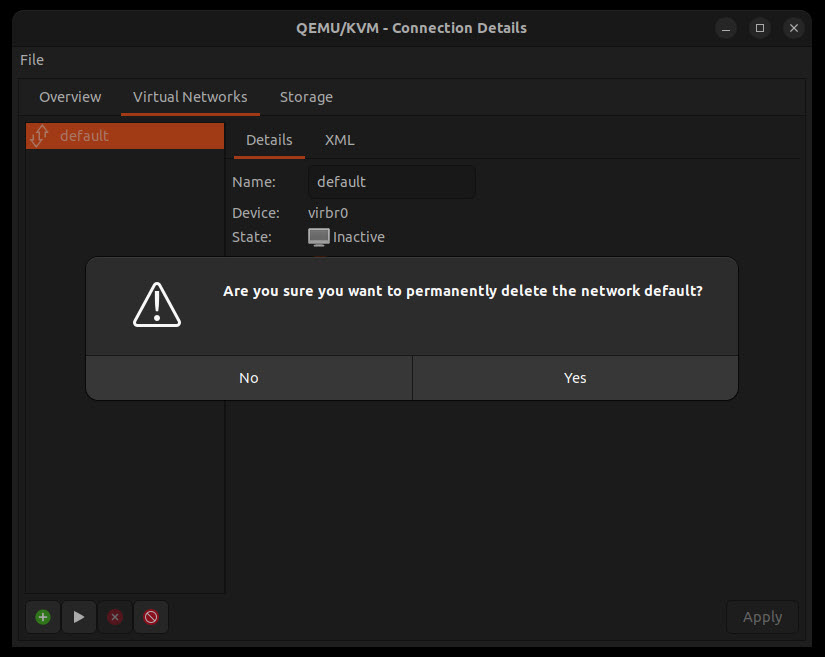
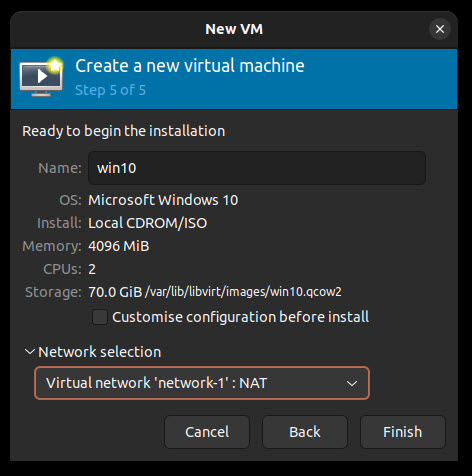
Finaly, create a simple NAT network, to perform some tasks for the Windows 10 installation and configuration process, that we will later delete.
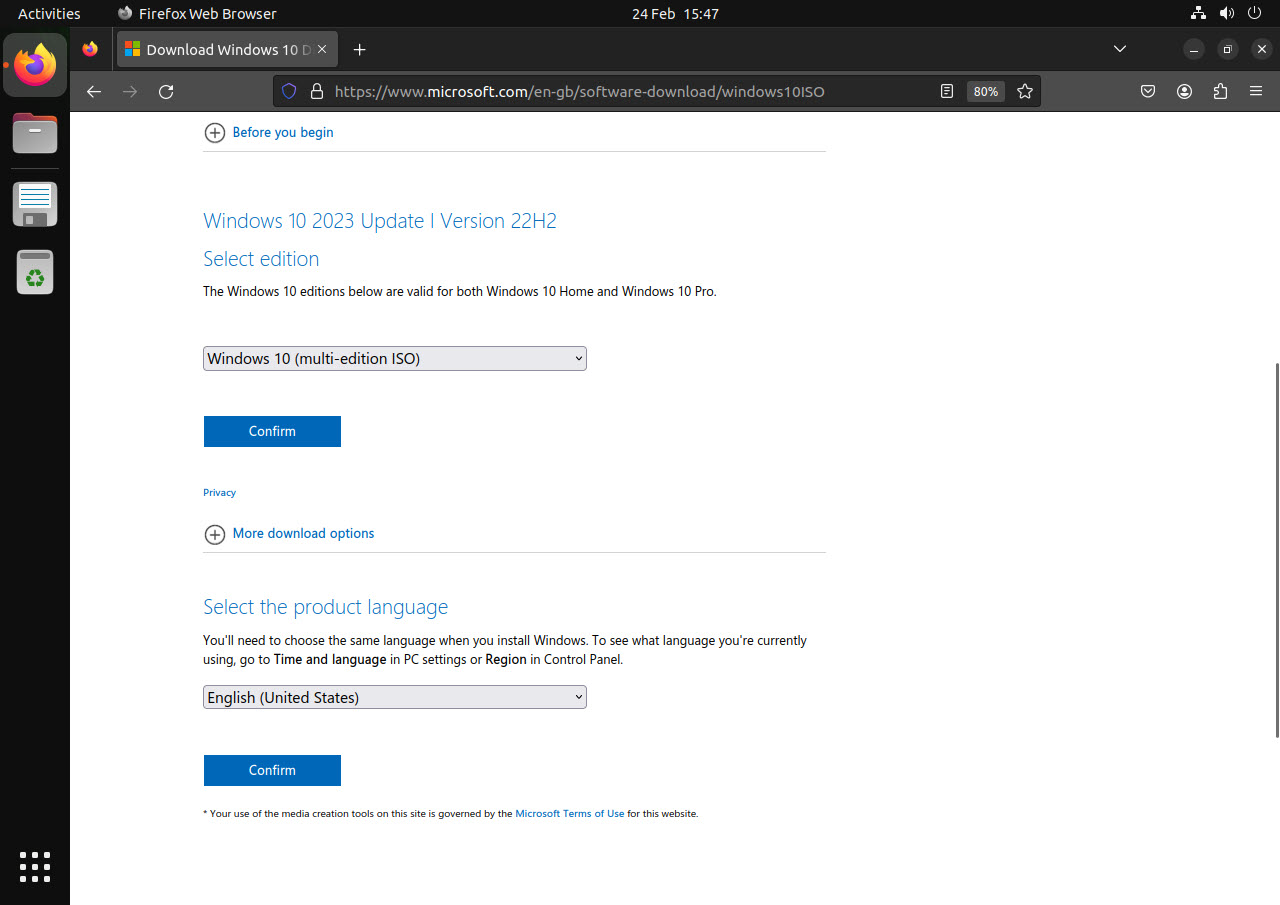
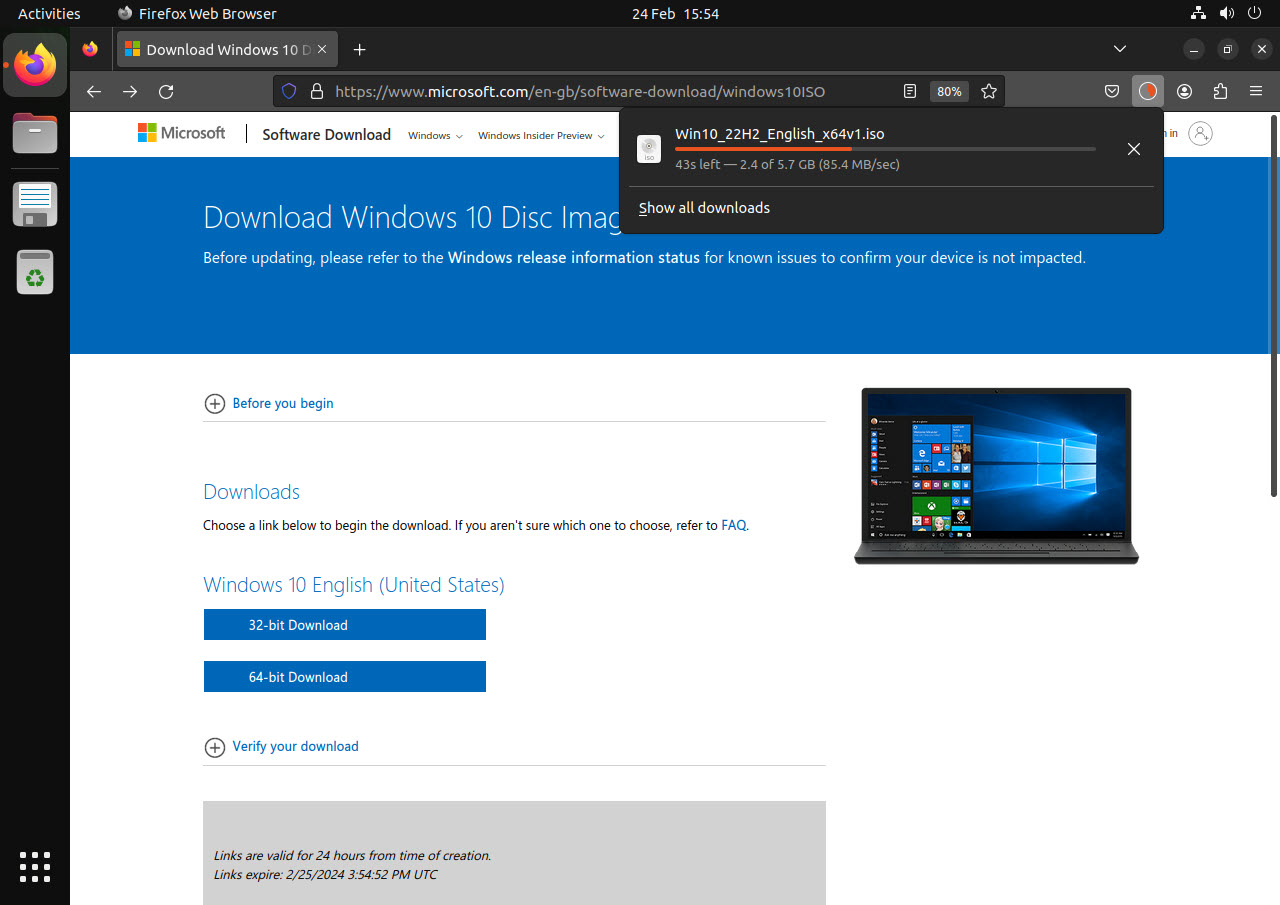
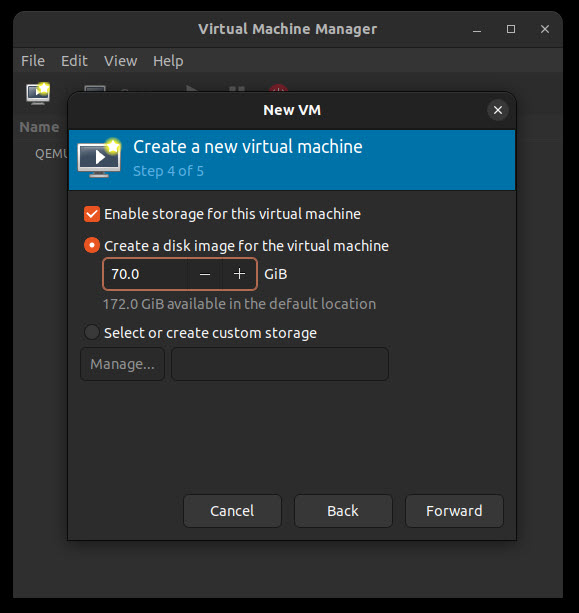
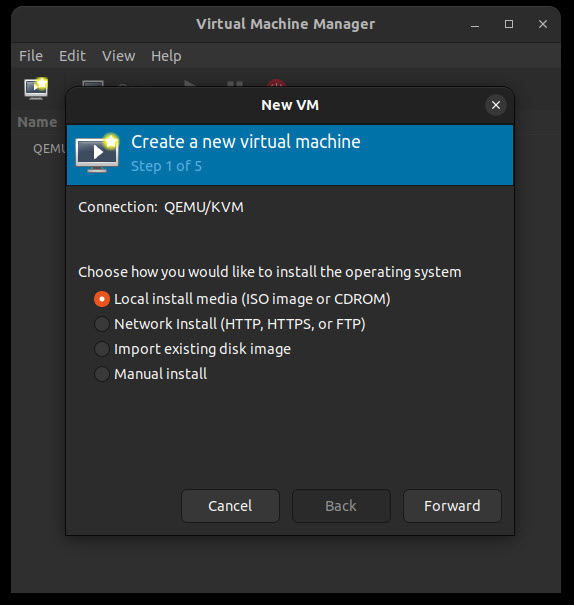
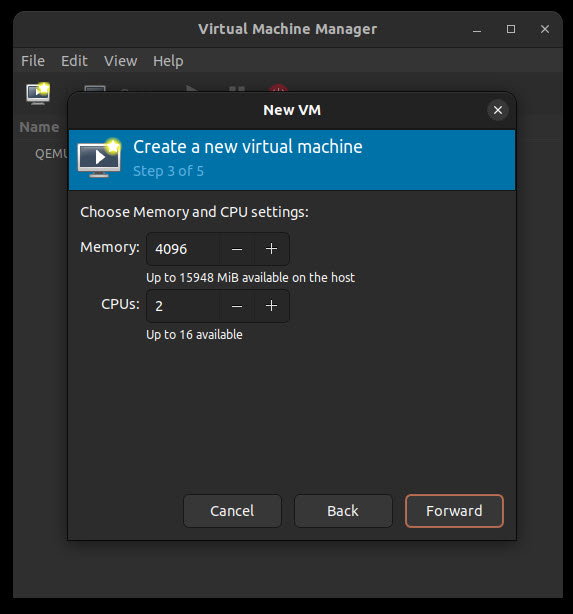
8. Install Windows 10 Guest VM #
Now that CAPE base is installed, we can proceed with the creation of the guest host.
Inside the Ubuntu desktop, download the Windows 10 ISO (Win10_22H2_English_x64v1.iso) from the official Microsoft
link.

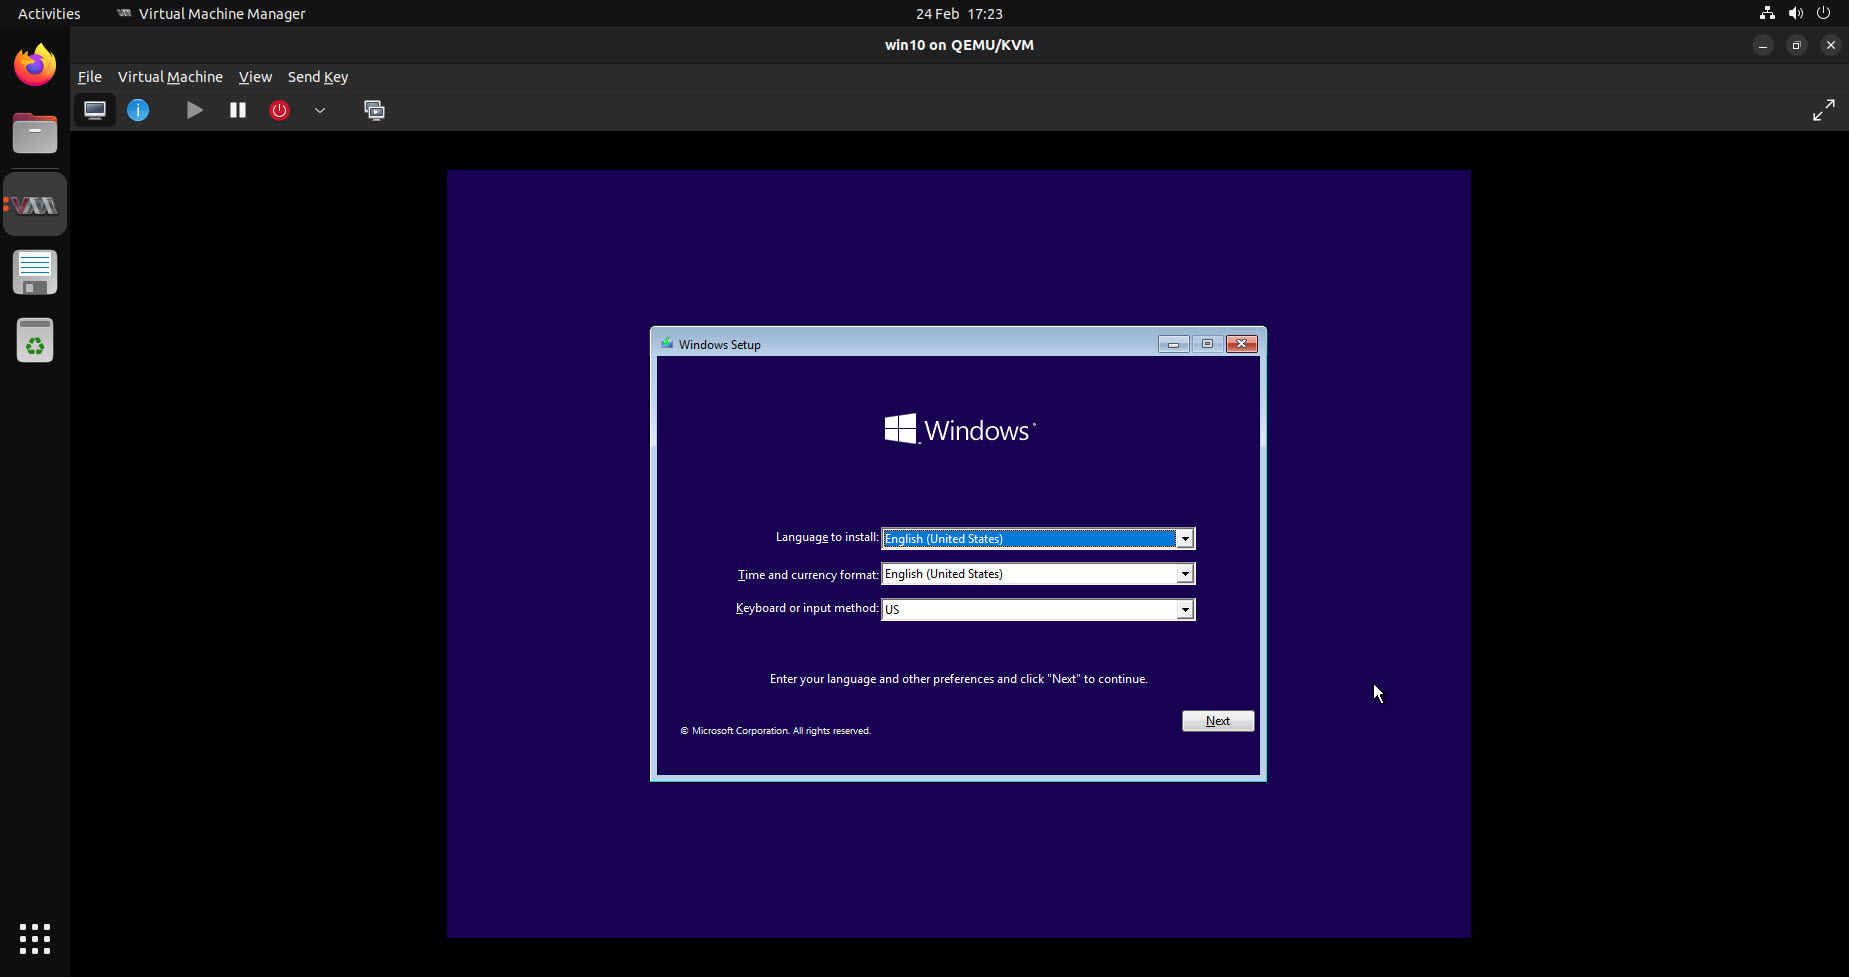
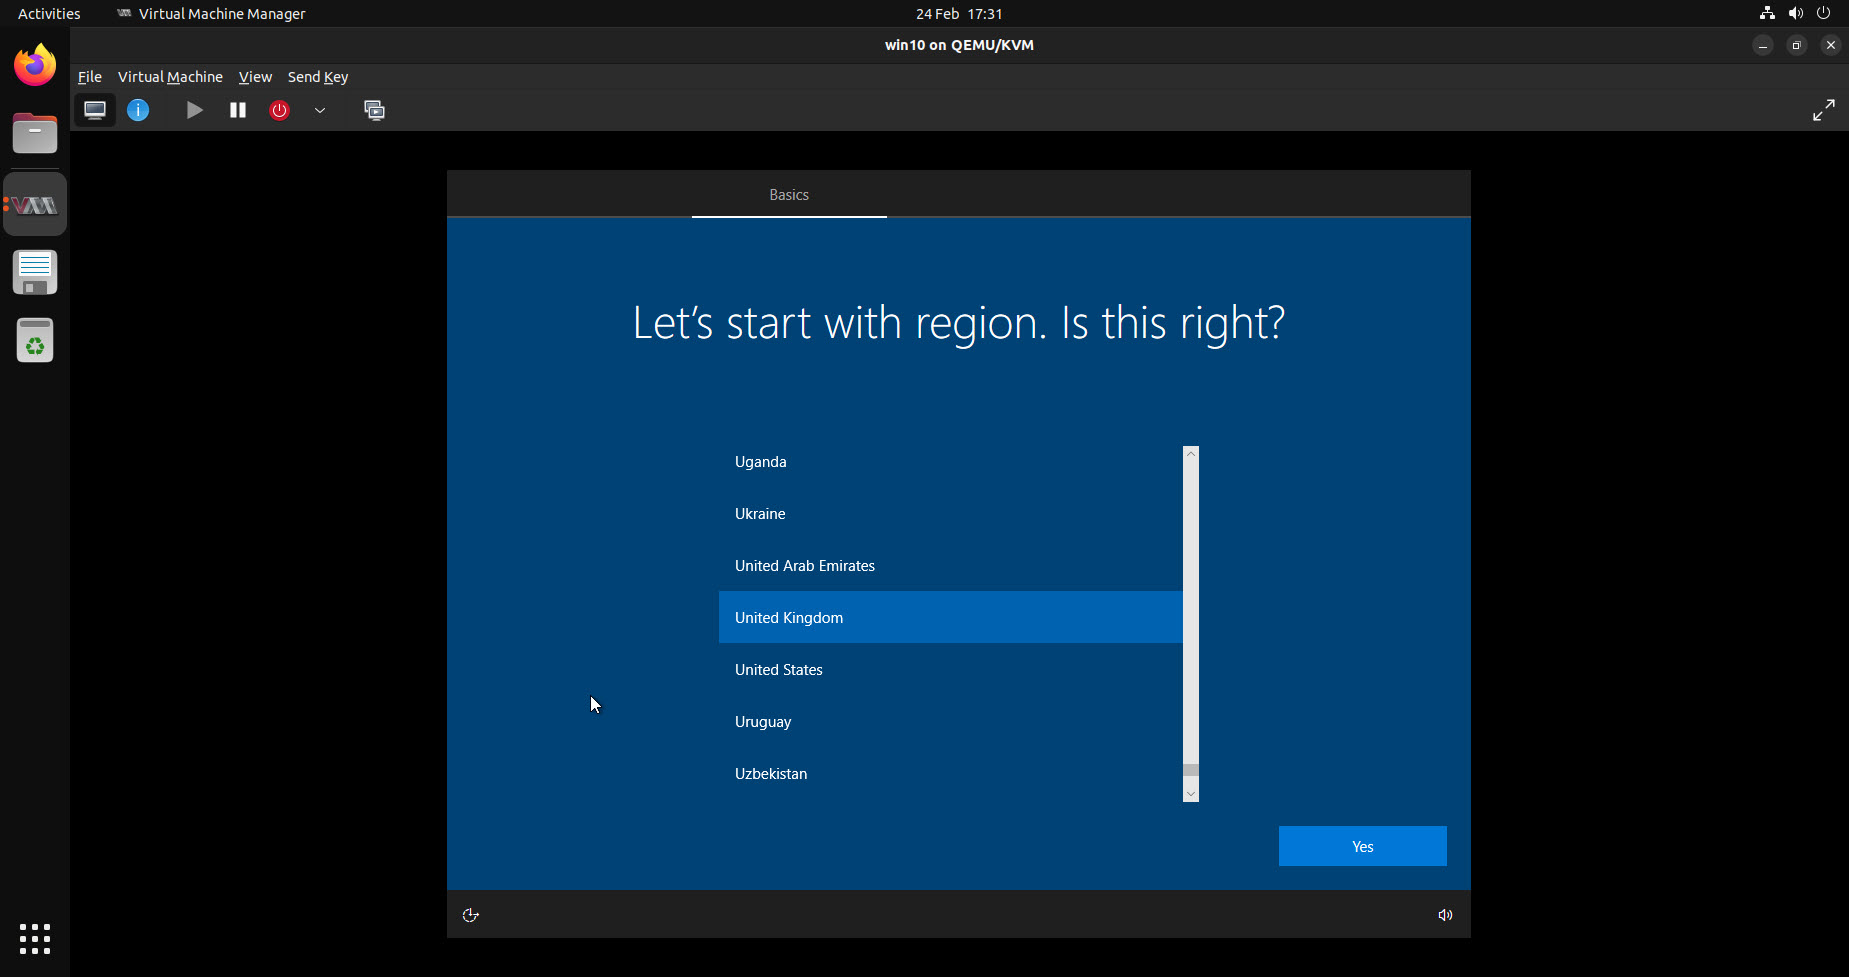
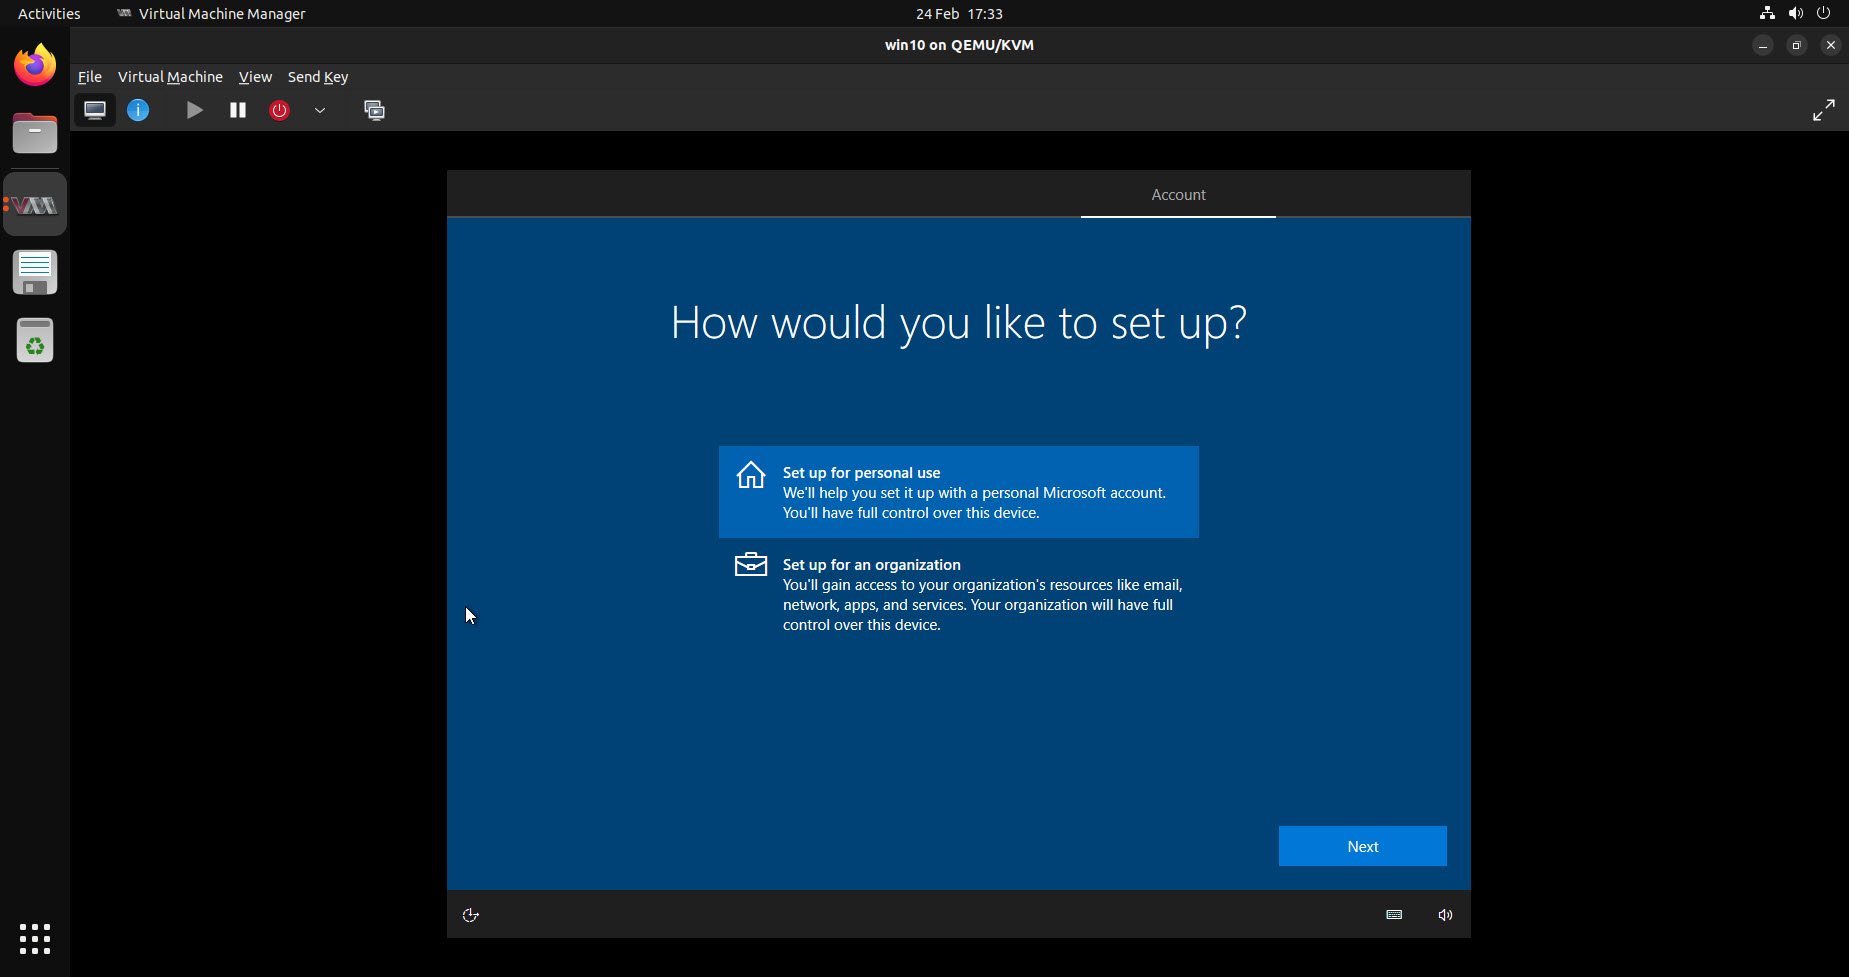
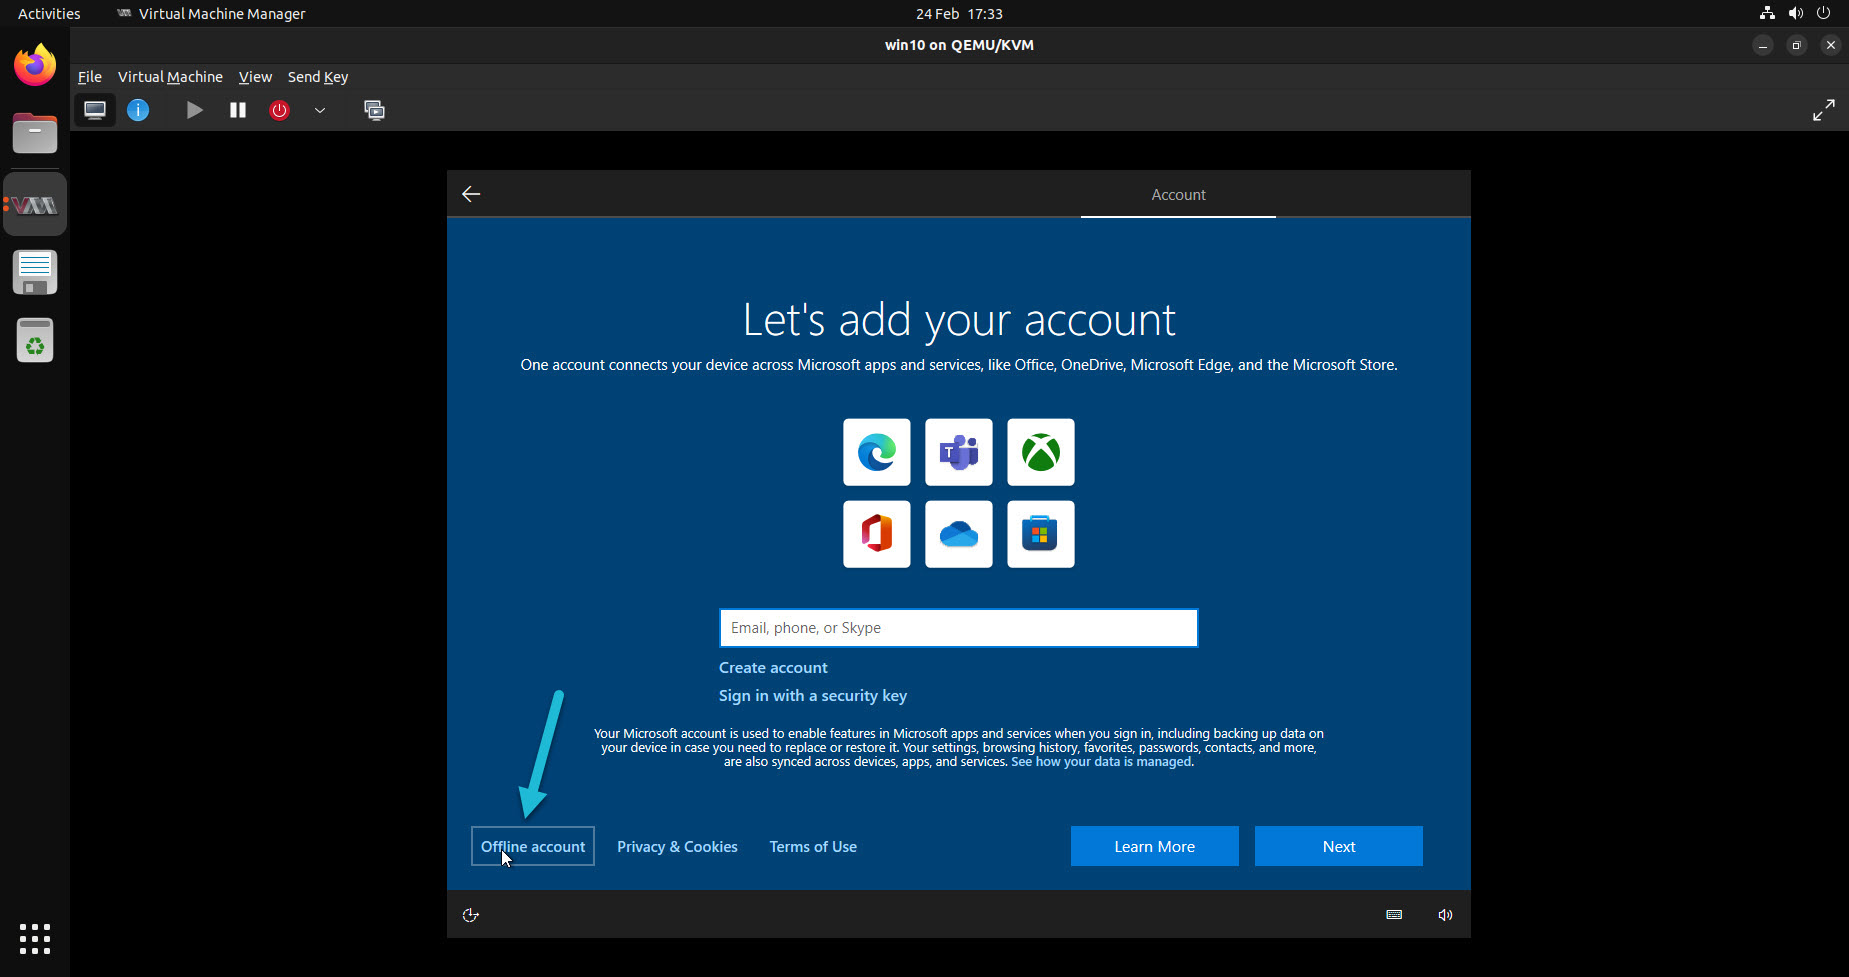
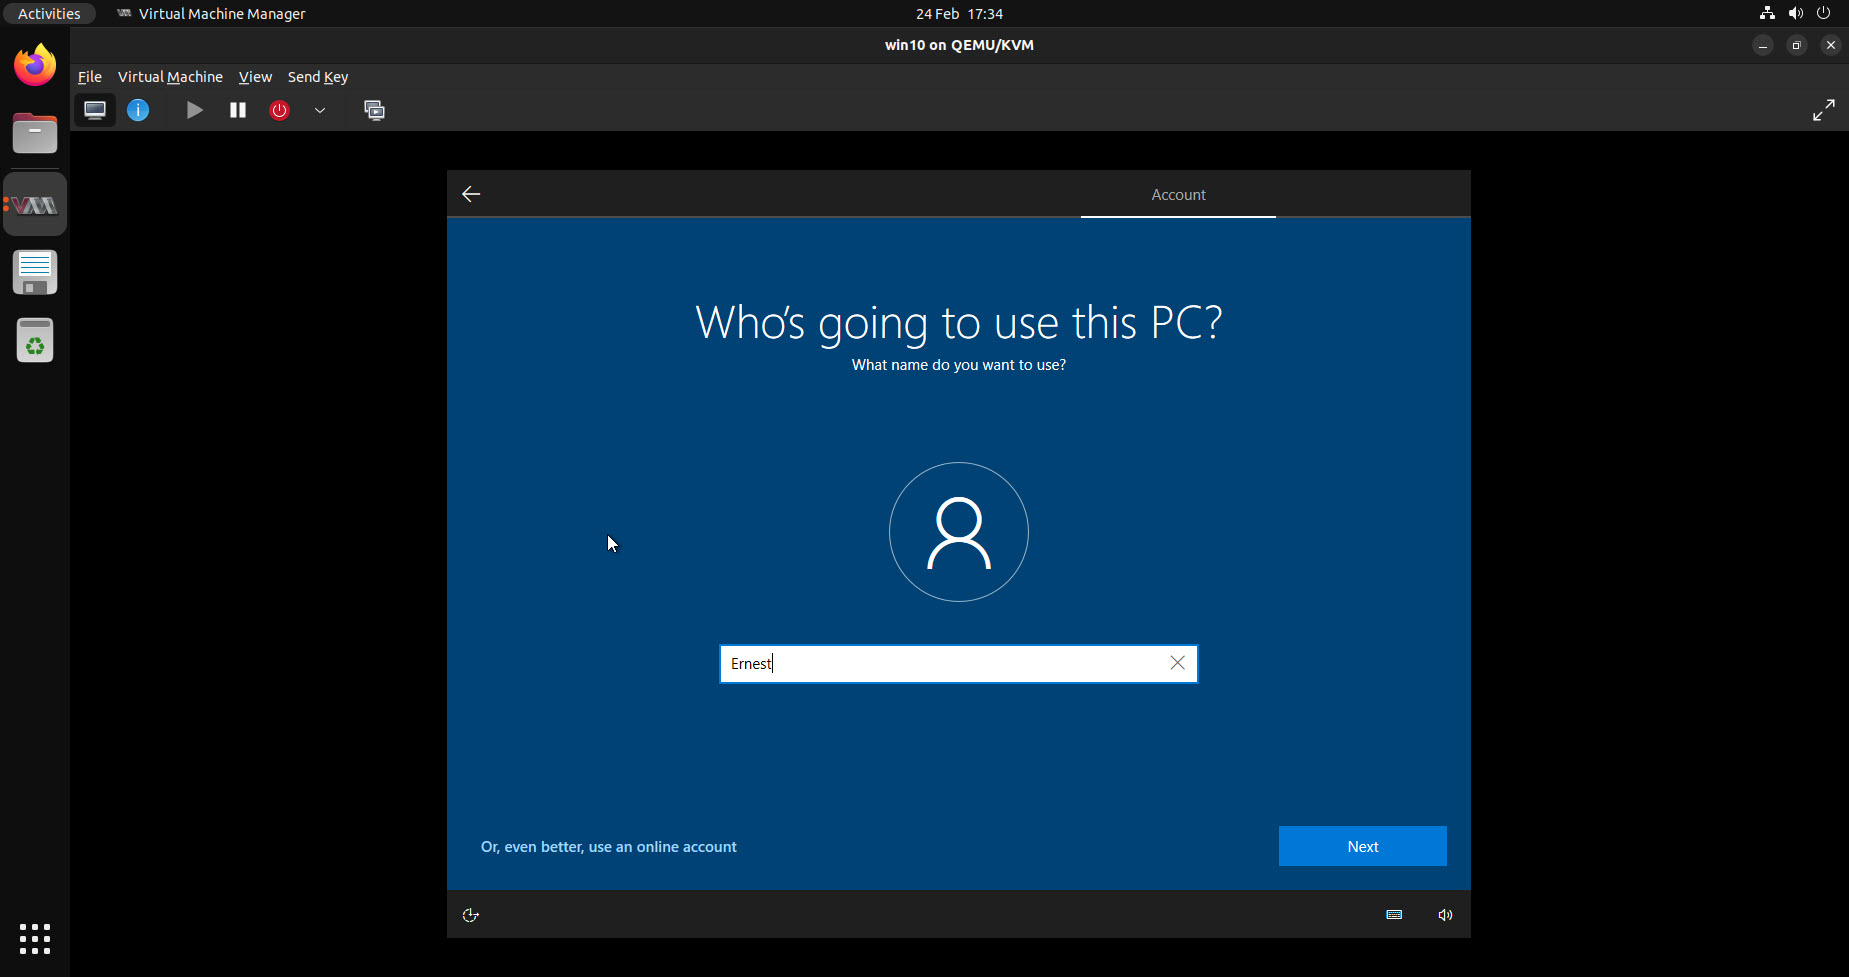
9. Configure Windows 10 Guest VM #
It is time to configure the Windows guest.
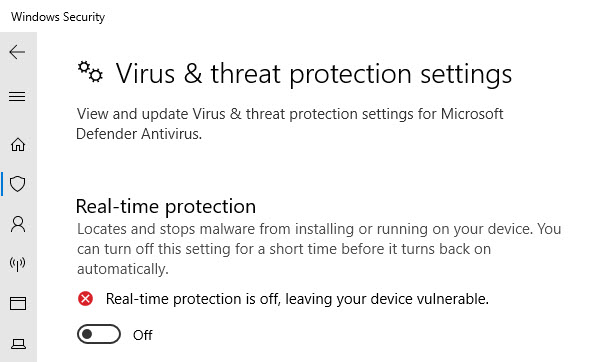
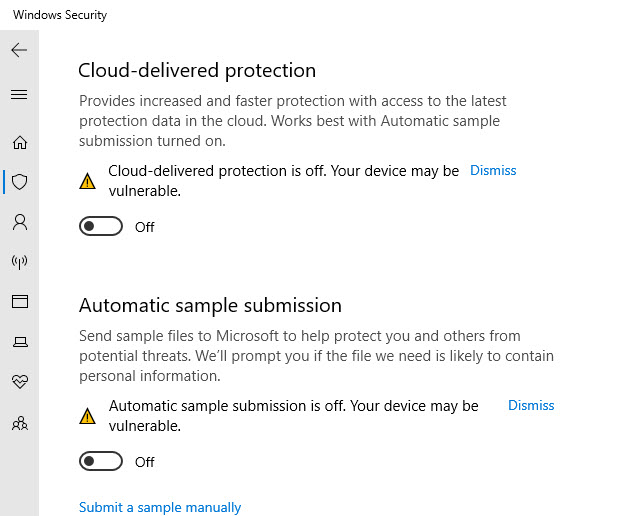
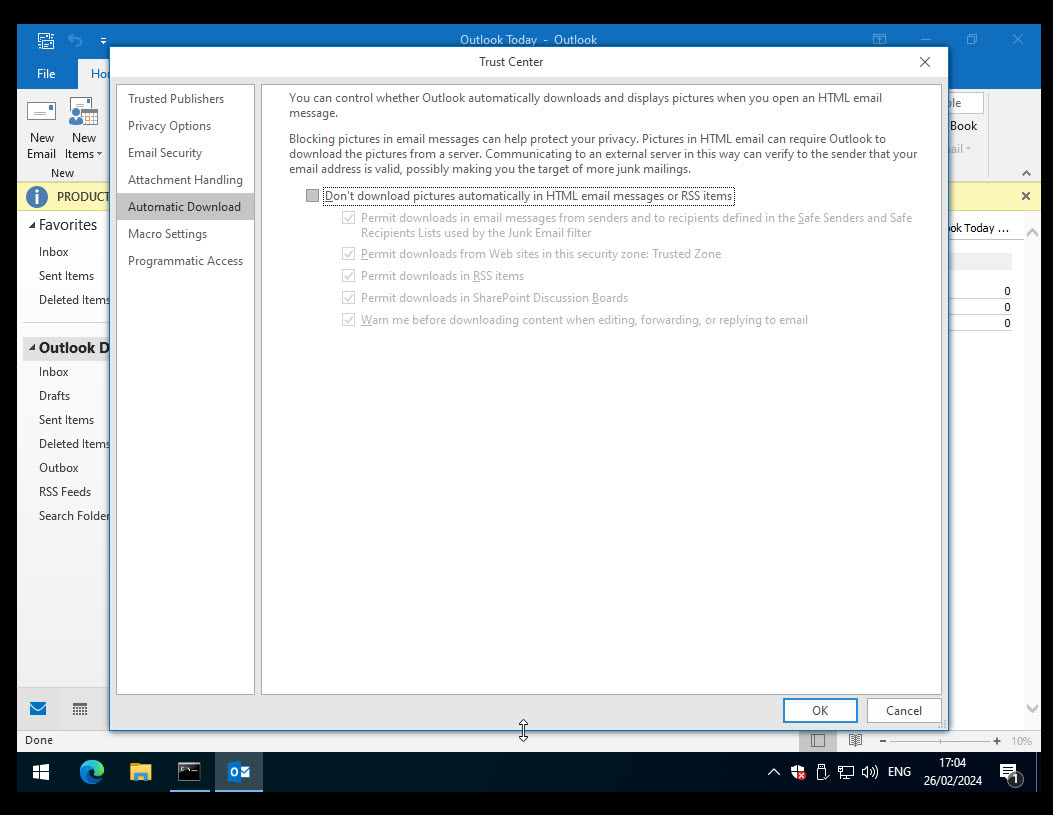
9.1. Temporary disable defender #

9.2. Win10_disabler script #
Download the win10_disabler script from the CAPEv2 repository.
https://github.com/kevoreilly/CAPEv2/blob/master/installer/win10_disabler.ps1
Change to download path.
Start PowerShell as admin.
cd C:\Users\<username>\Downloads
Change the script execution policy.
Set-ExecutionPolicy -ExecutionPolicy Unrestricted
Execute.
.\win10_disabler.ps1
Some errors will be reported.
The firewall will be disabled.
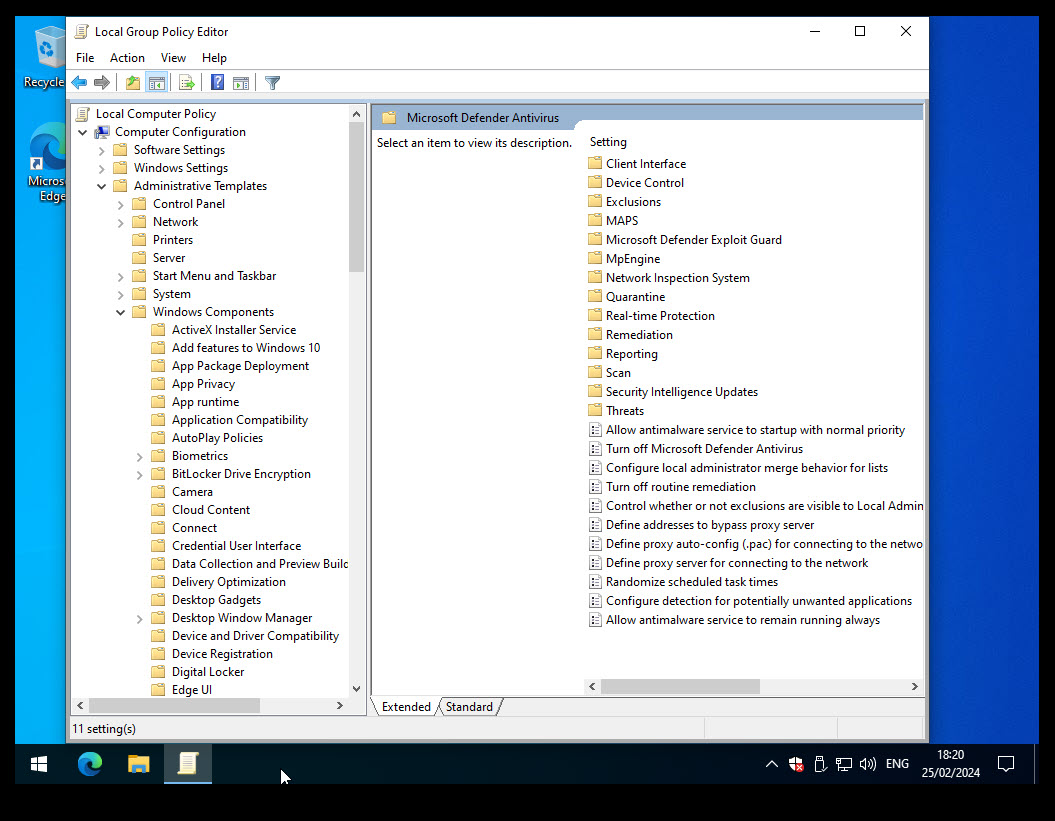
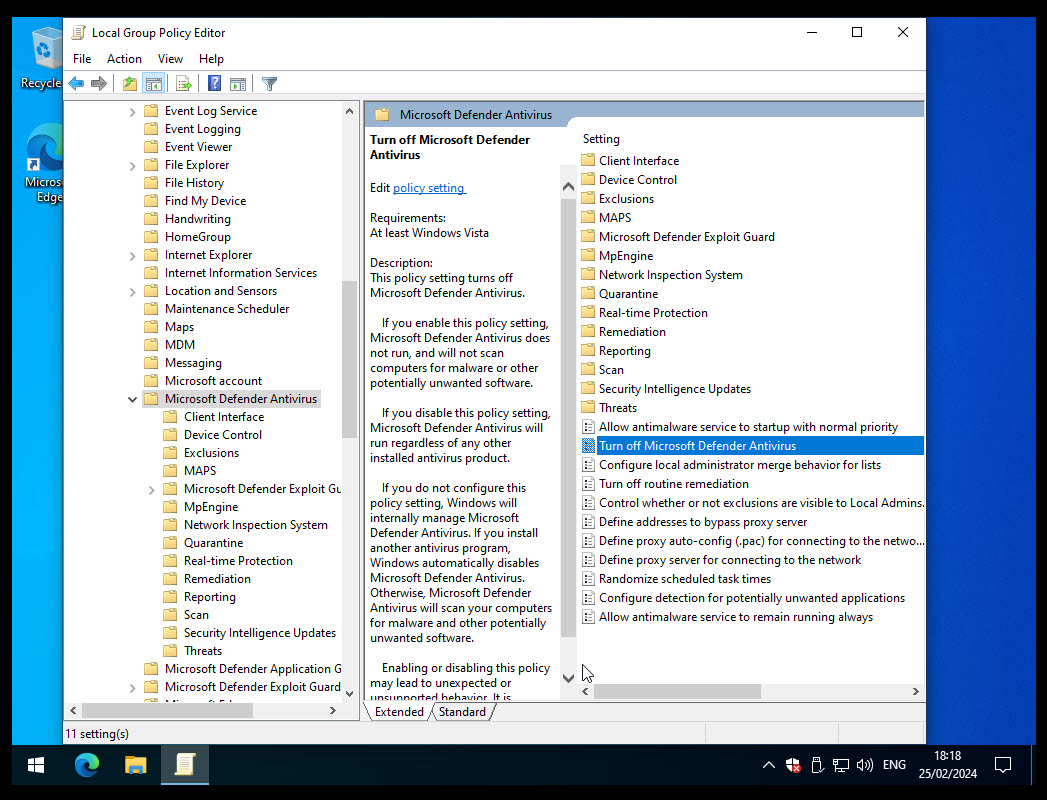
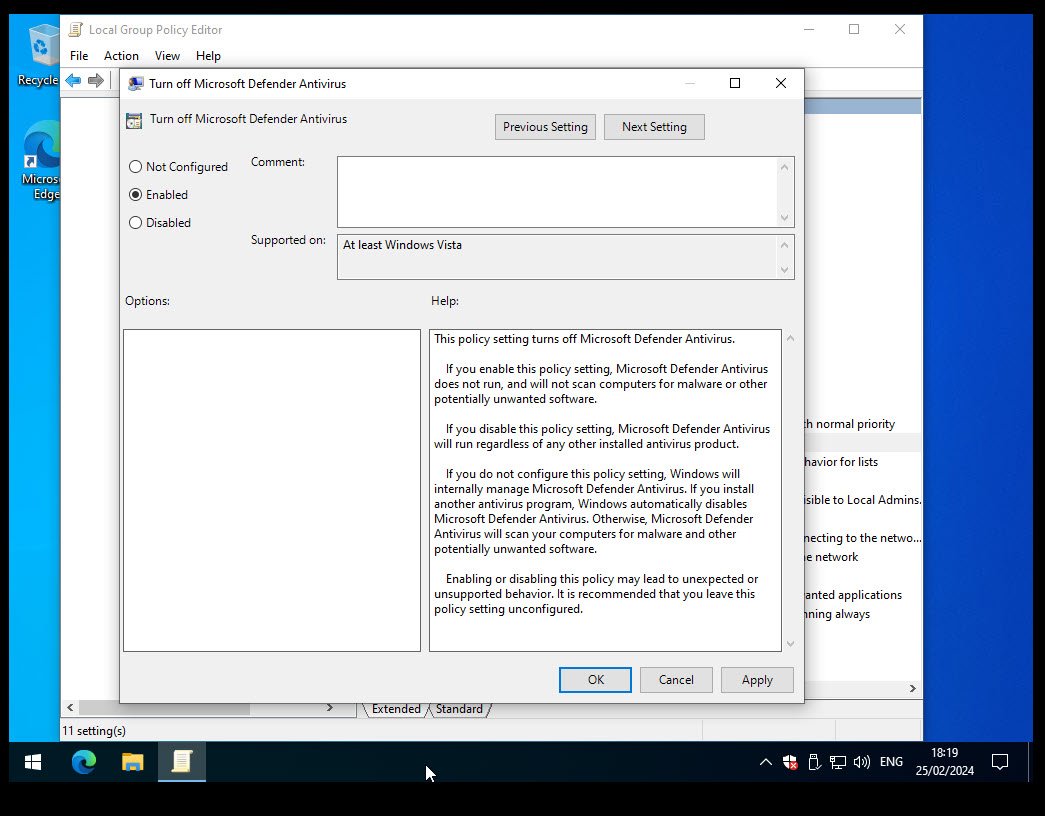
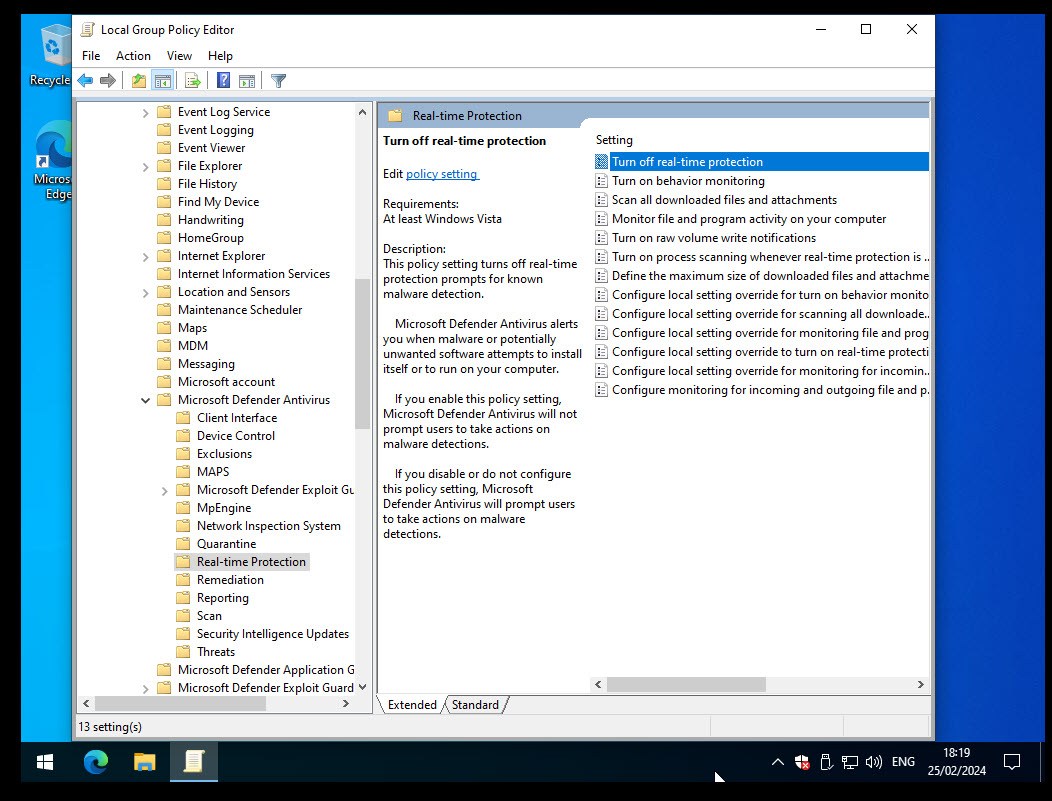
9.3. Permanently disable the Defender #
Next, we must permanently disable the Defender.
Open Group Policy.
Computer Configuration -> Administrative Templates -> Windows Components -> Microsoft Defender Antivirus
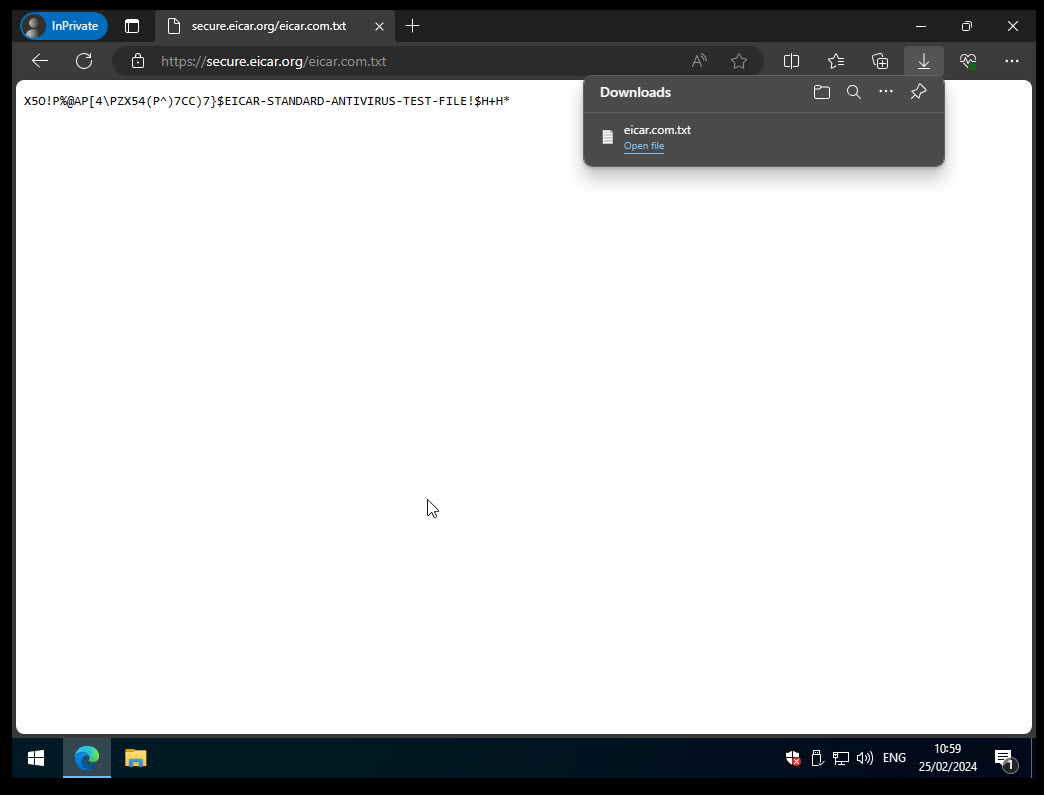
9.4. Disable SmartScreen. #
Computer Configuration -> Administrative Templates -> Windows Components -> Windows Defender SmartScreen
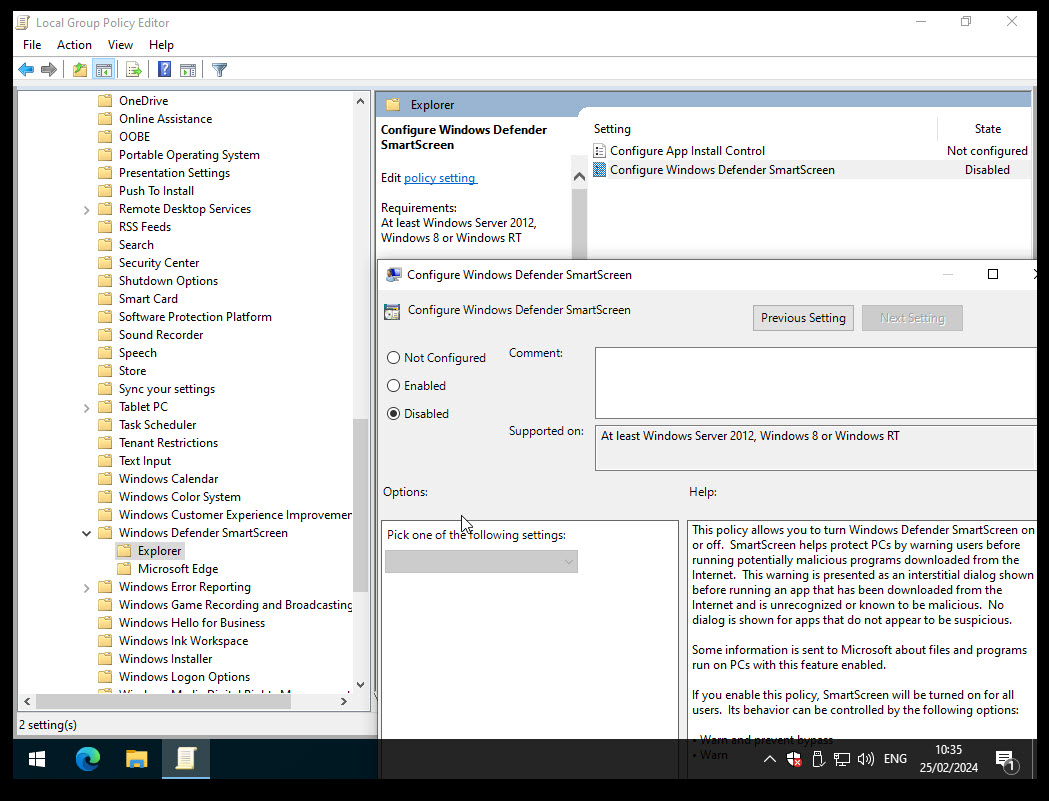


Try to open and download a test file.
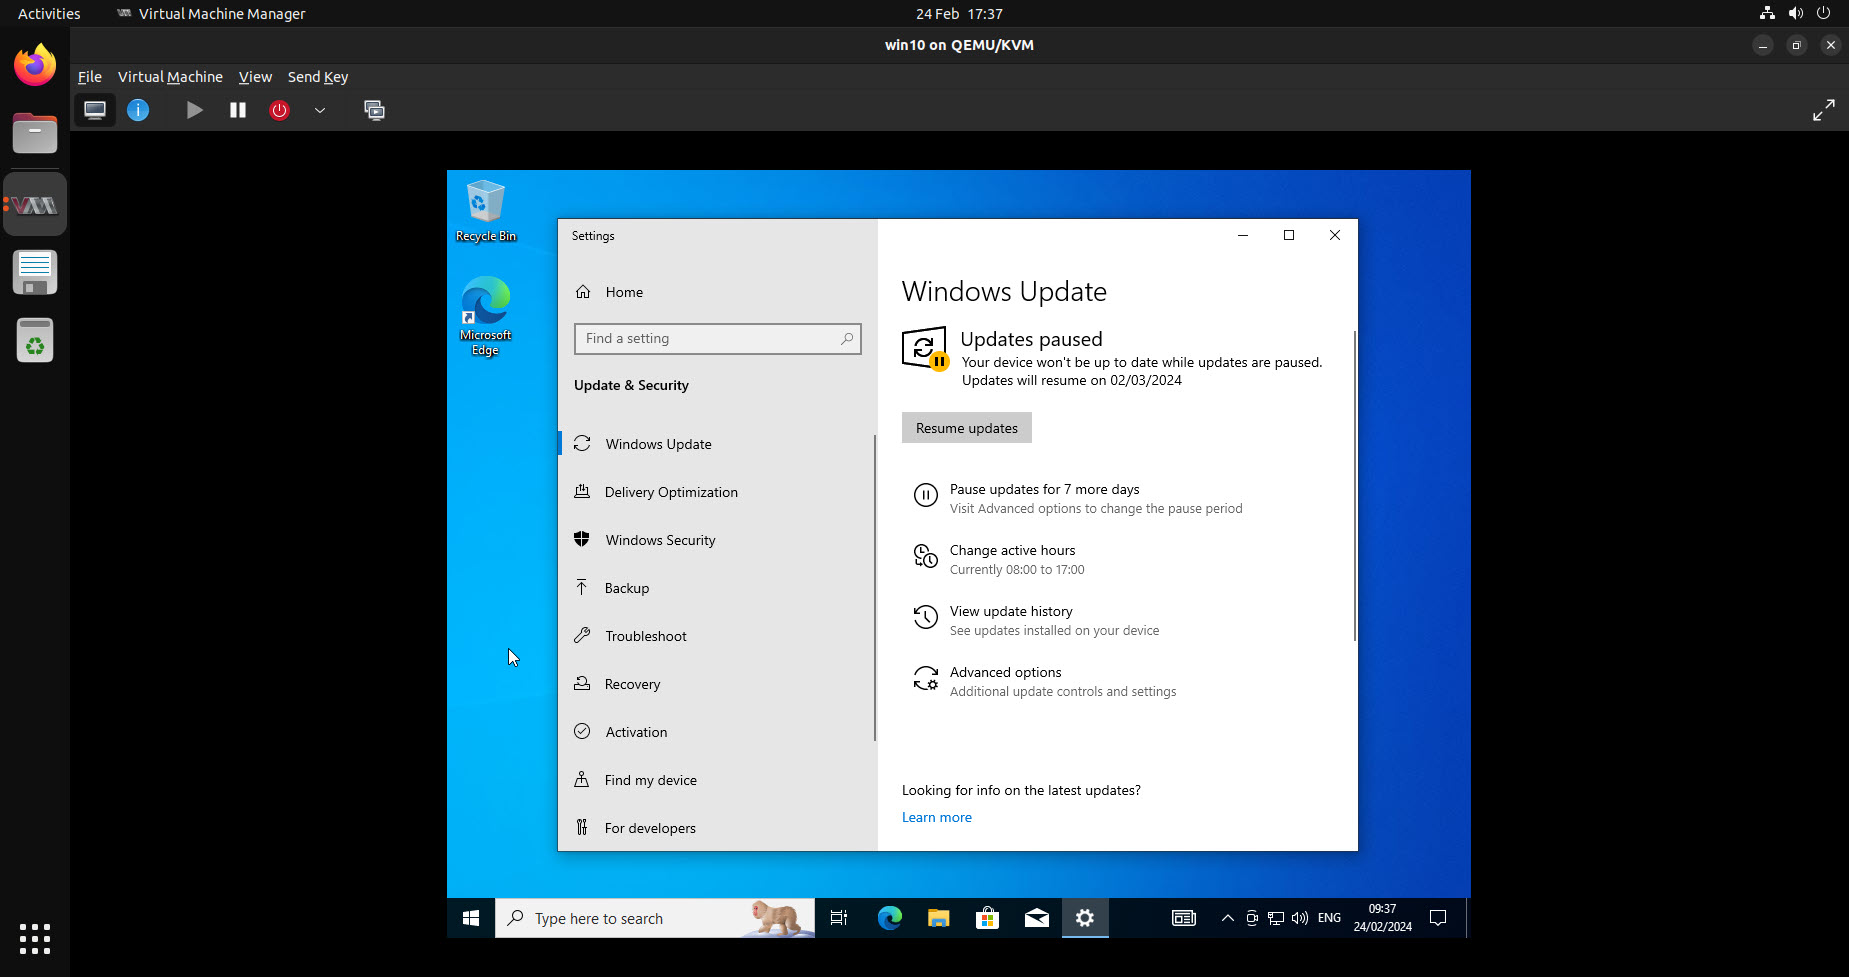
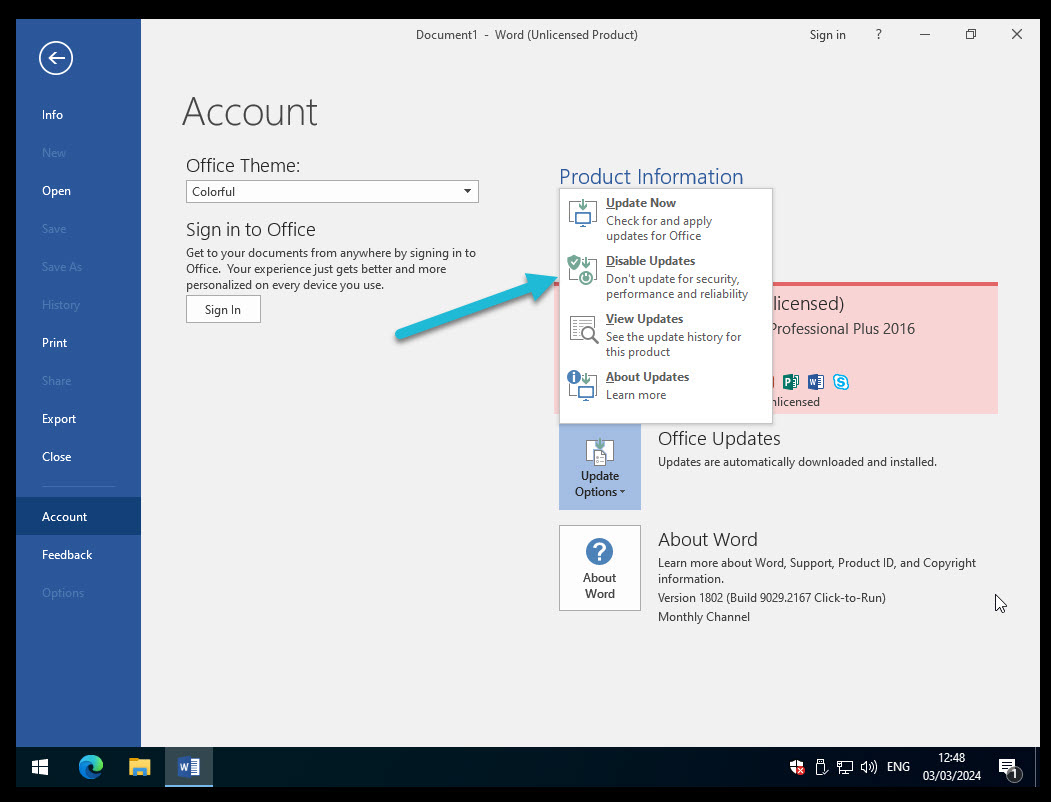
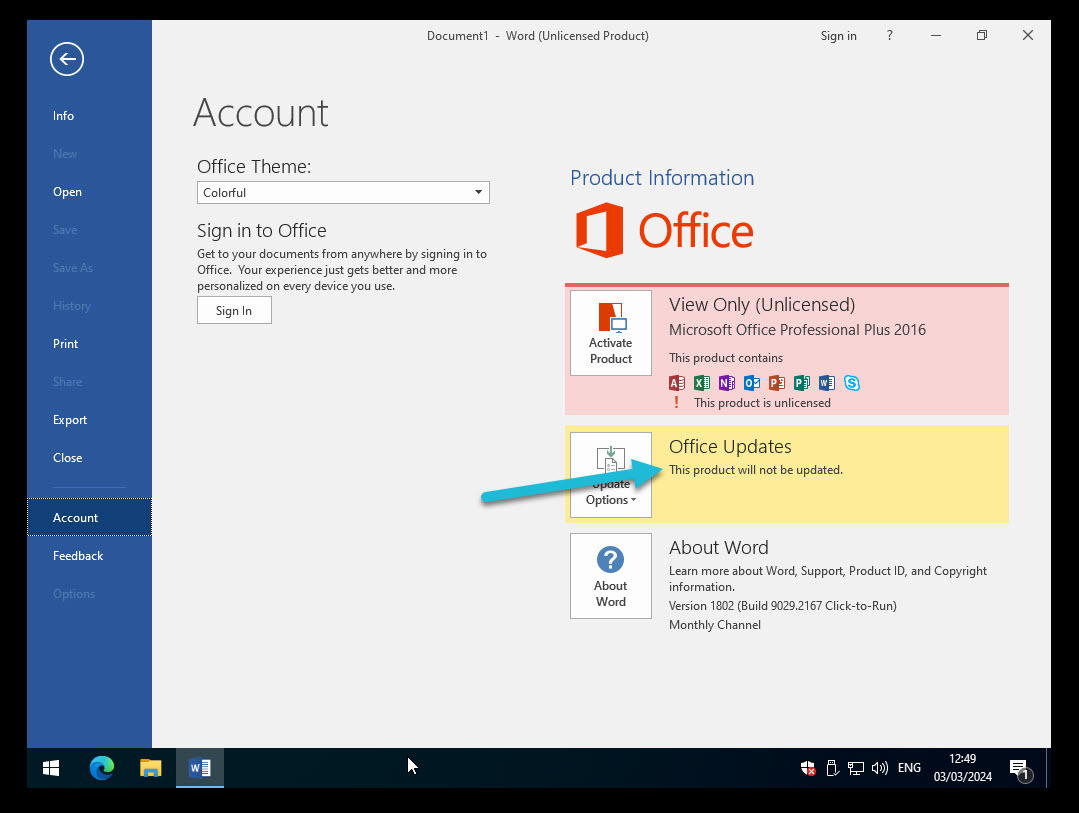
9.5. Disable Windows Updates. #
Computer Configuration -> Administrative Templates -> Windows Components -> Windows Updates


9.6. Disable Noisy Network Services #
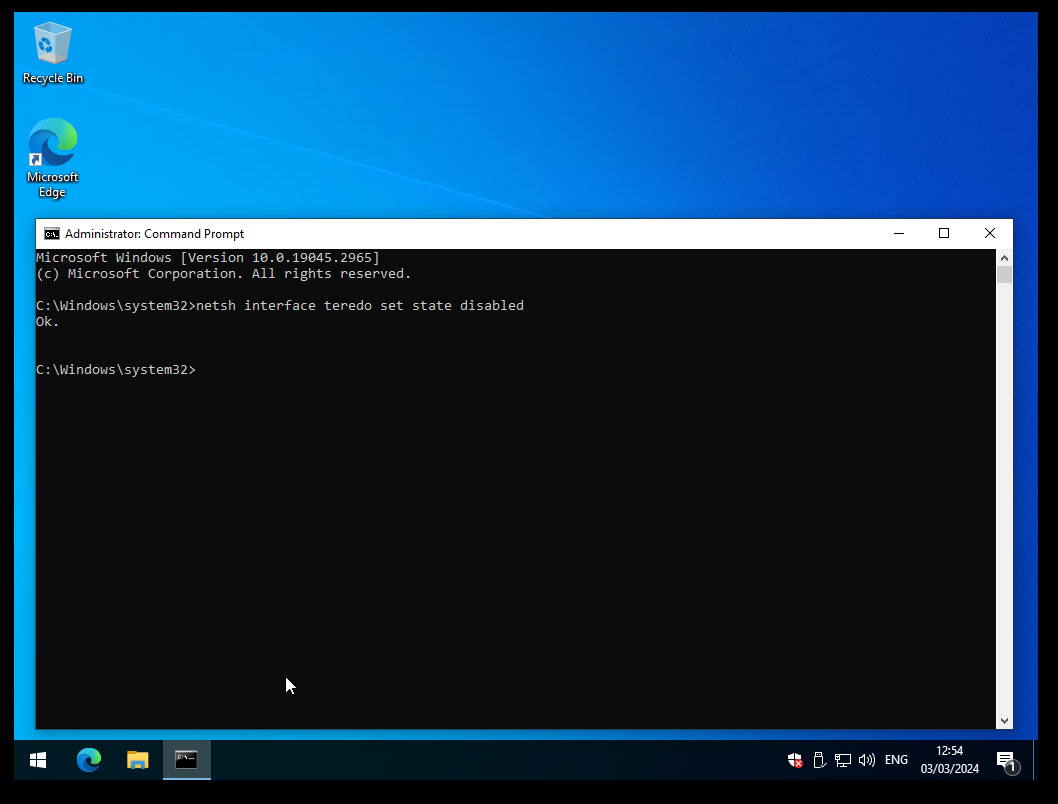
9.6.1. Teredo #
Start command prompt as Administrator, and run:
netsh interface teredo set state disabled
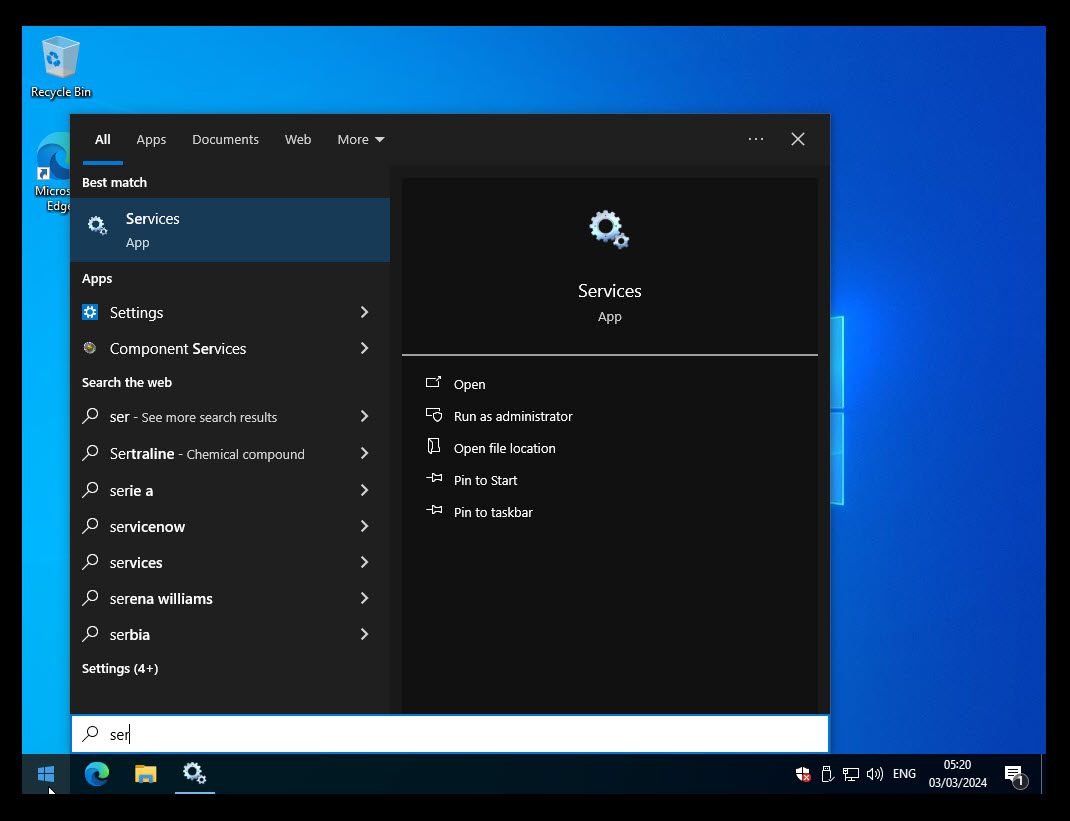
9.6.2. Link Local Multicast Name Resolution (LLMNR) #
Open the Group Policy editor by typing gpedit.msc into the Start Menu search box, and press Enter.
Then navigate to Computer Configuration -> Administrative Templates -> Network -> DNS Client, and open Turn off Multicast Name Resolution.
Set the policy to enabled.

9.6.3. Disable Microsoft Store #
Sometimes the Microsoft Store opens as soon as an analysis starts.
To disable it, you can remove the environment variable from the user PATH.
%USERPROFILE%\AppData\Local\Microsoft\WindowsApps


10. Install Windows 10 Software Requirements #
10.1. Python 32bit #
Download the latest 32bit Python!
At the time of writing, python-3.11.8.exe is the latest version.
https://www.python.org/downloads/windows/
Add to PATH!


python -m pip install --upgrade pip
python -m pip install Pillow

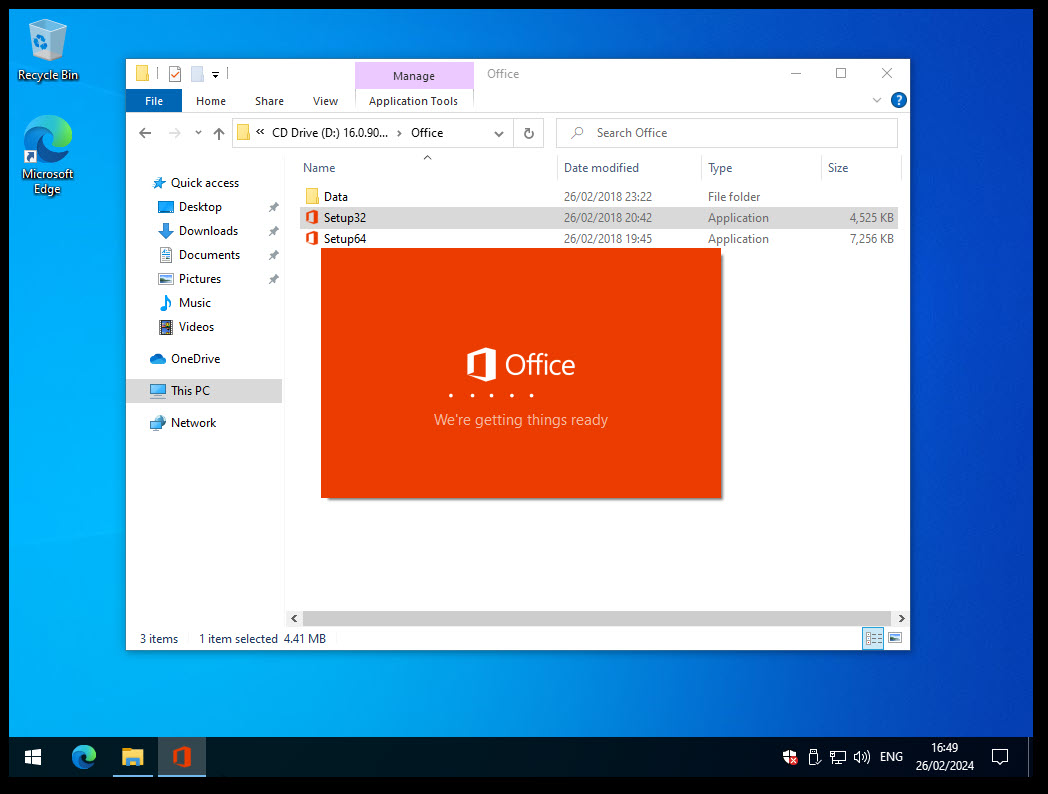
10.2. Microsoft Office 2016 (32-bit) #
Now that python is ready, we can install some software that can be used to open/execute our samples. For example, Microsoft Office.
Based on the documentation recommended version is Office 2010 SP2 and alternative is Office 2016 (32-bit).
In this example I will proceed with the installation of Office 2016 (32-bit).
Unfortunately, I cannot provide the ISO of the Office or any step on how to download it and activate it, since Microsoft does not have the ISO publicly available.
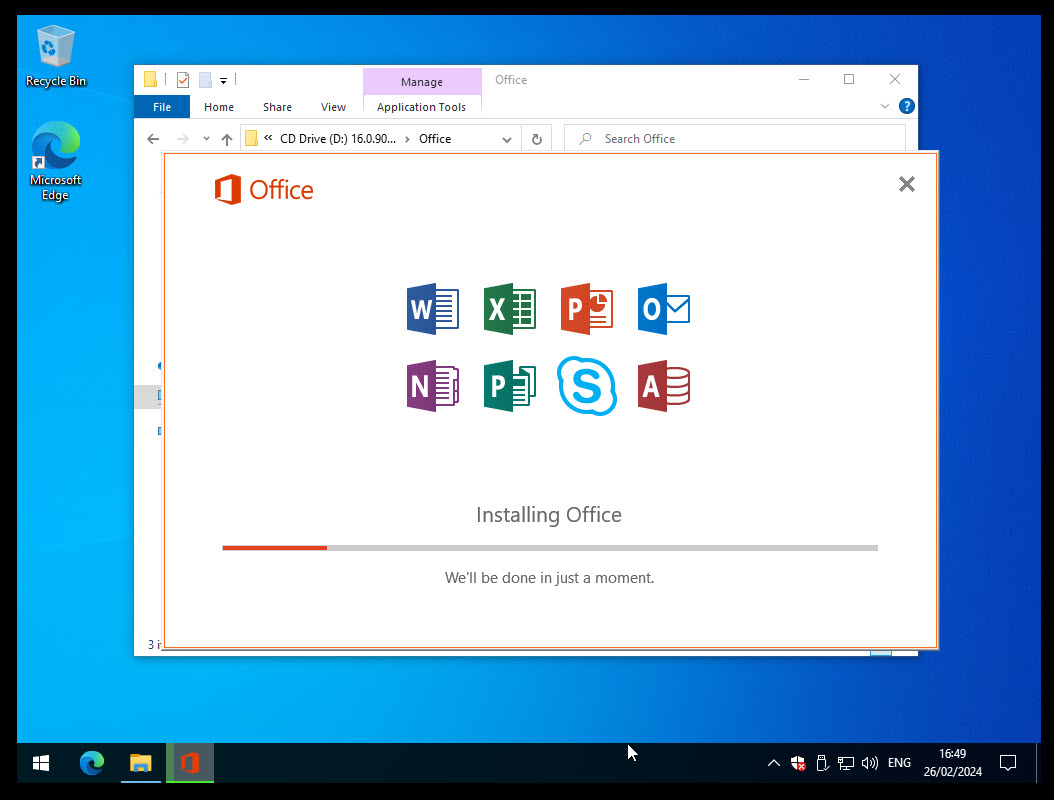
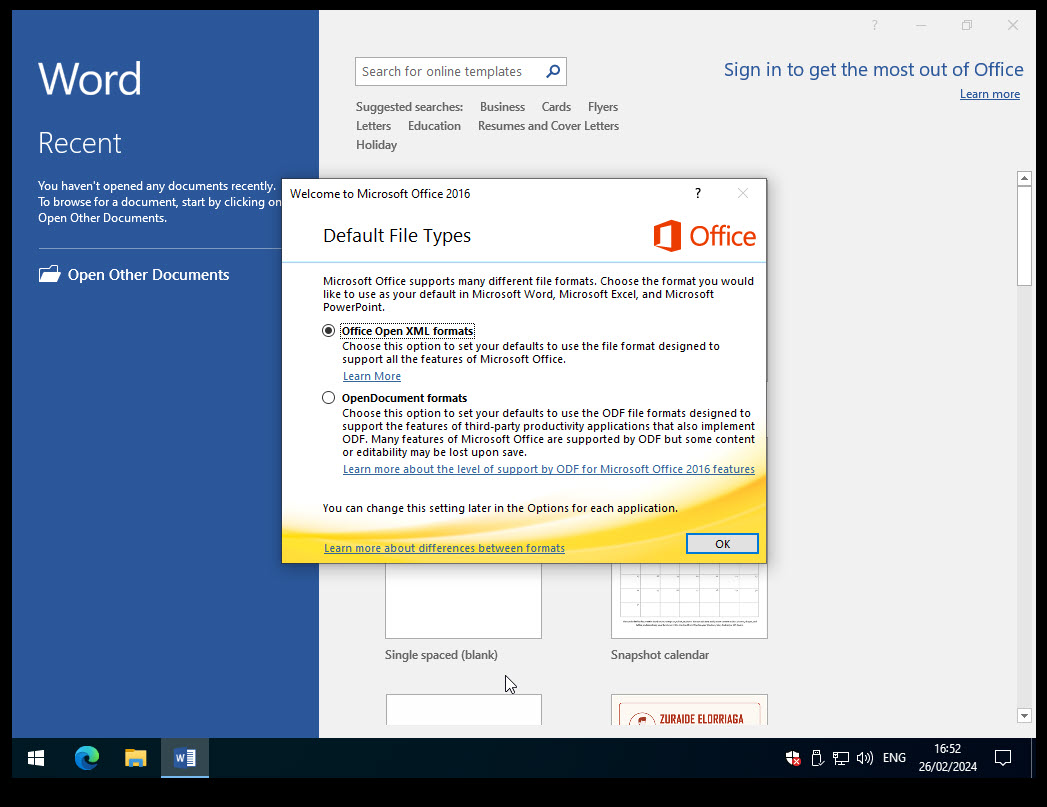
10.2.1. Installation #
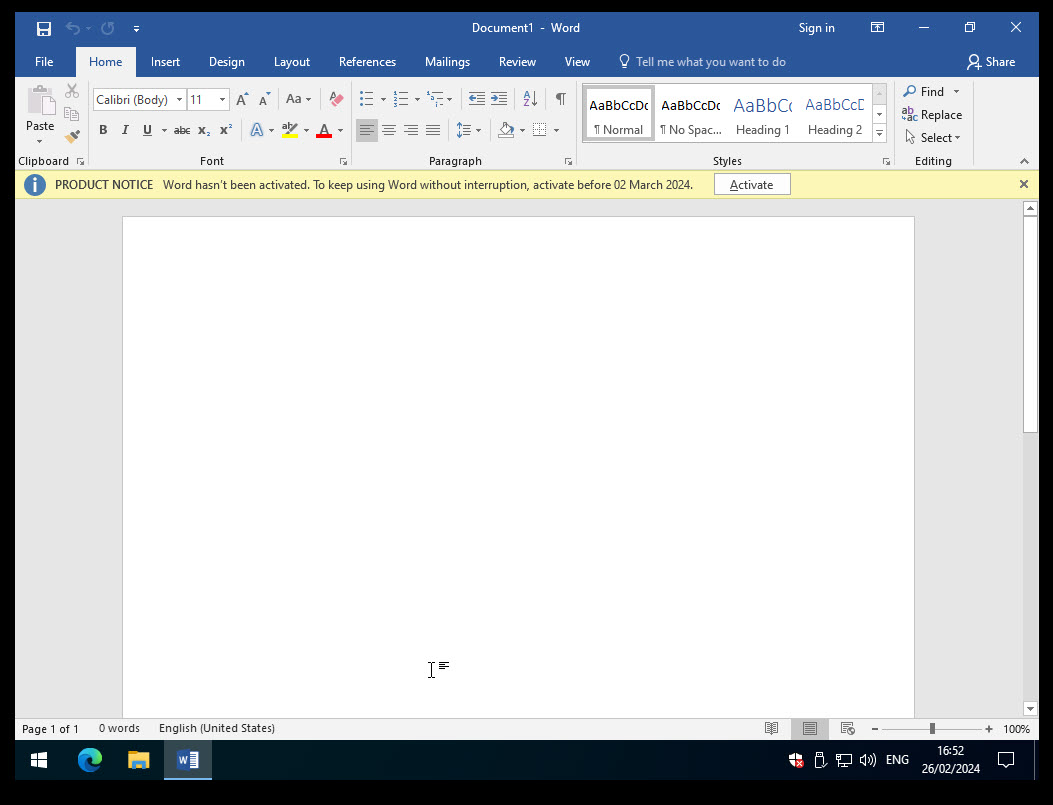
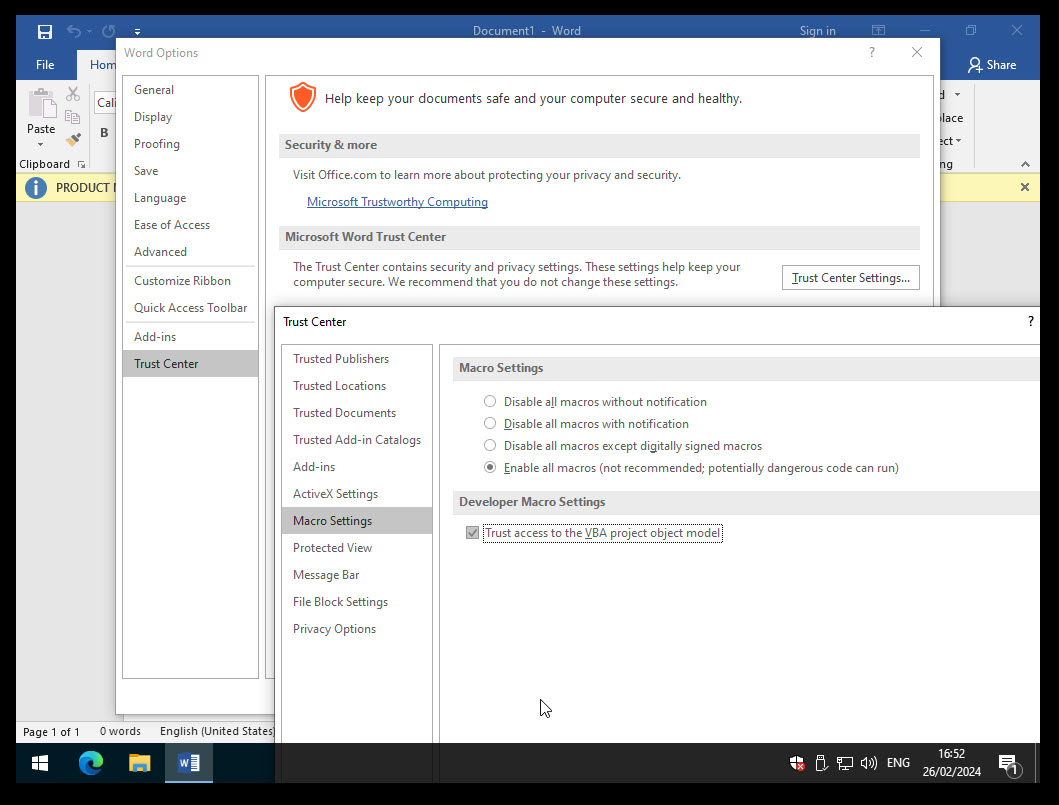
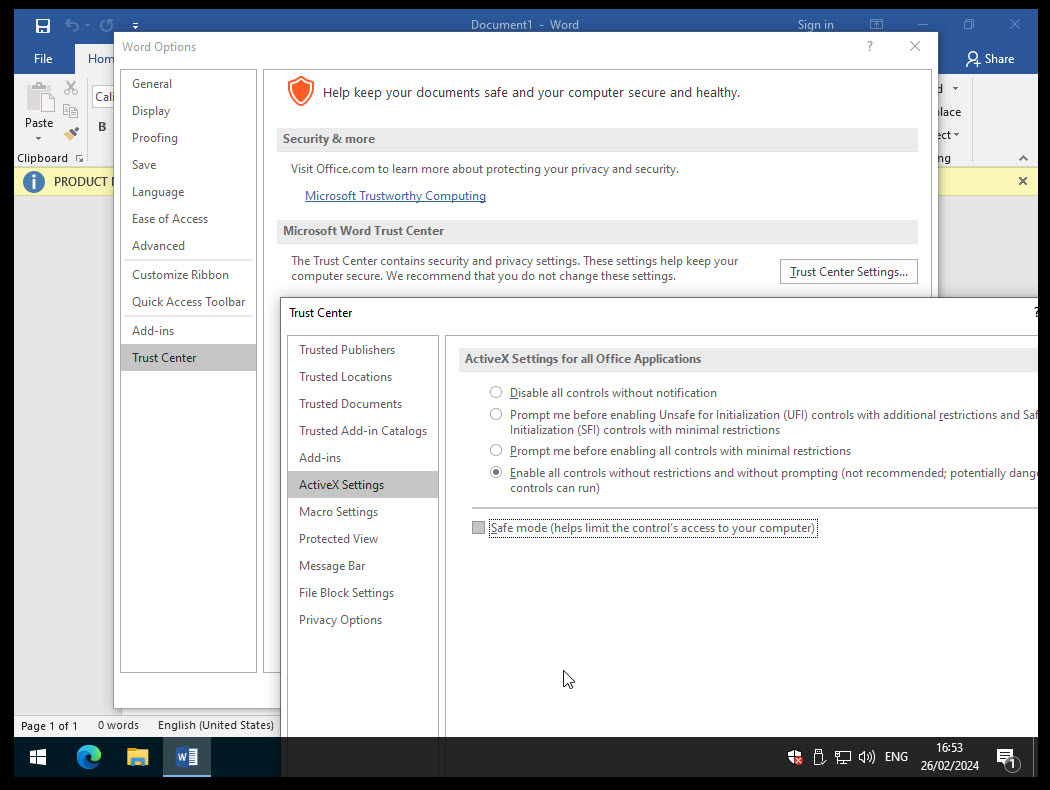
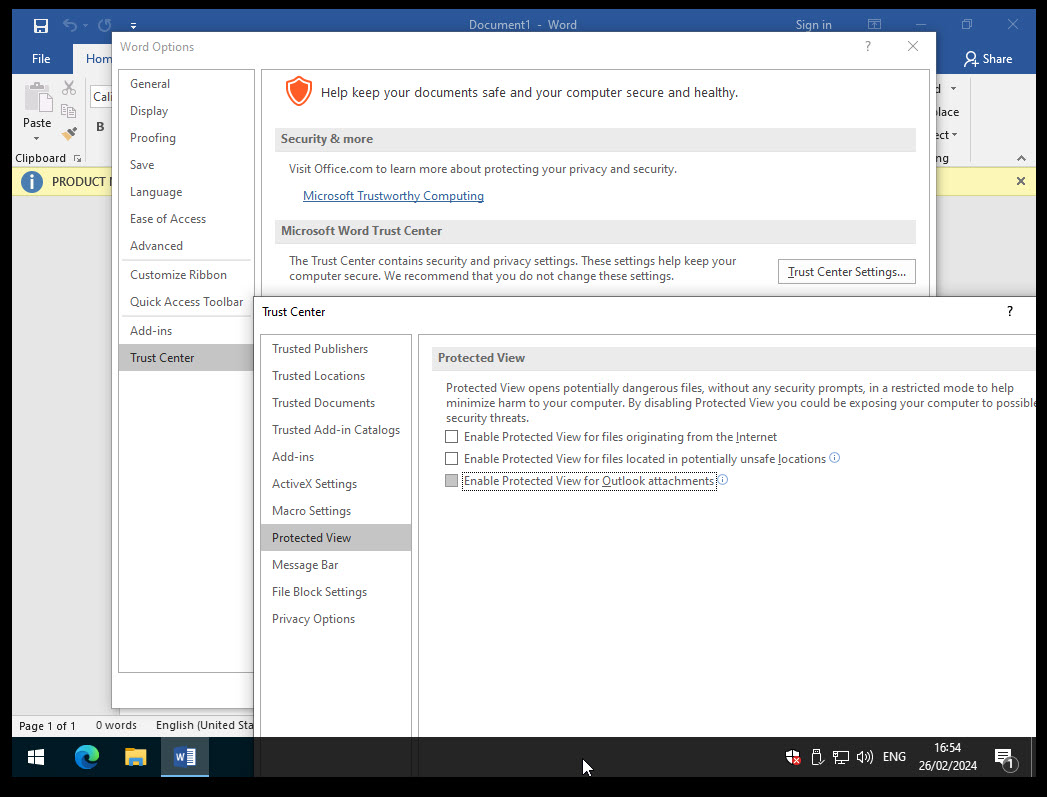
10.2.2. Word #

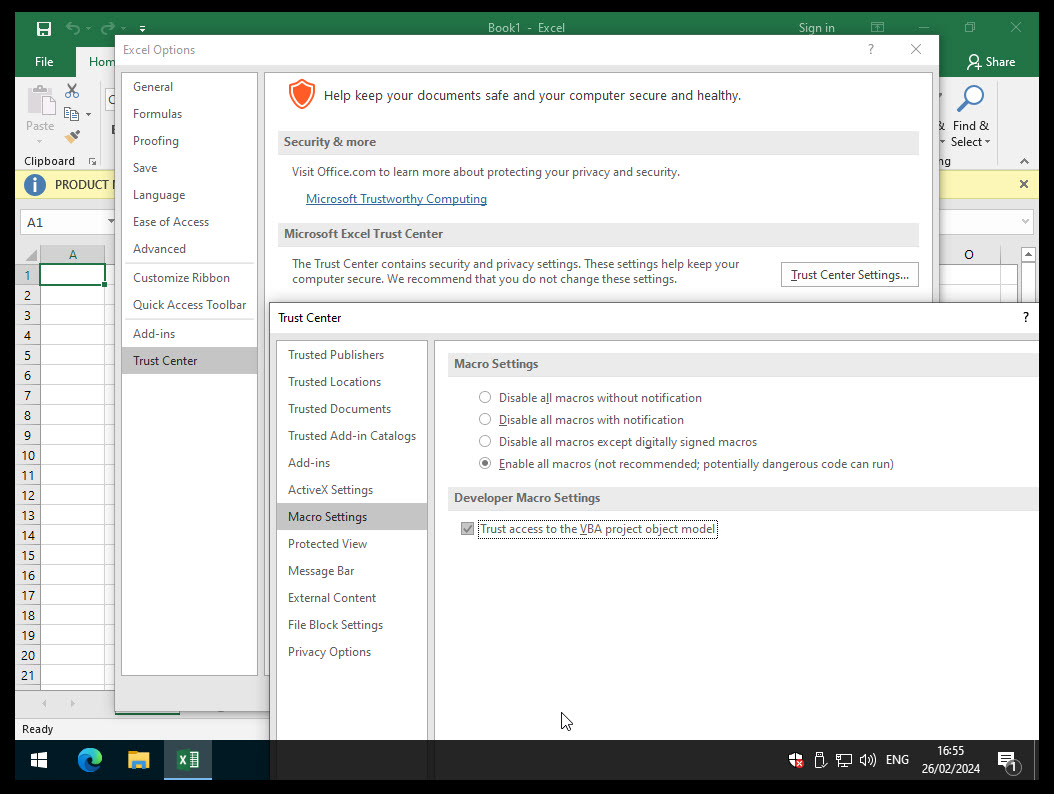
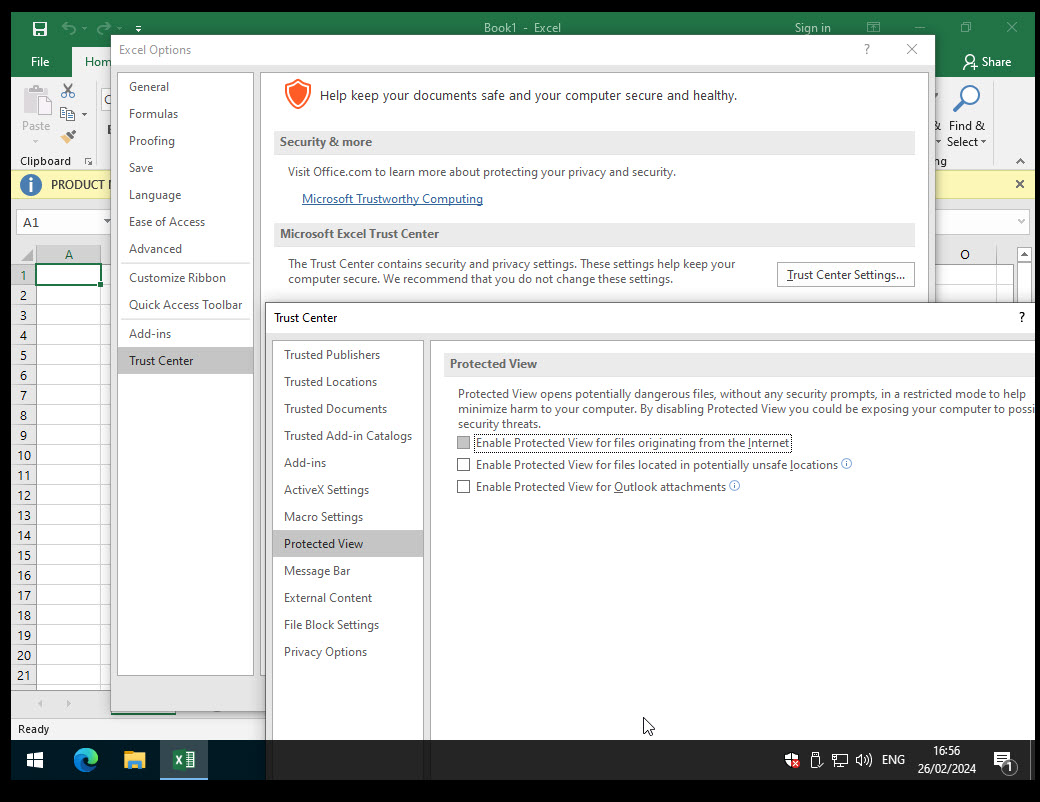
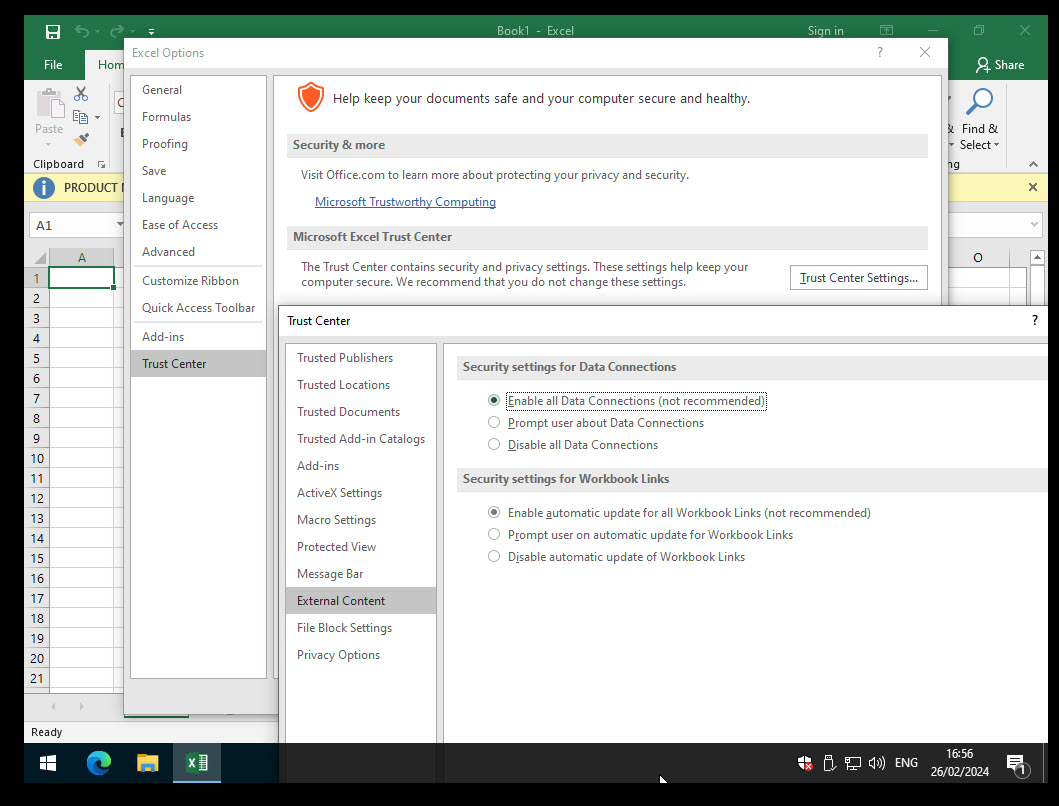
10.2.3. Excel #
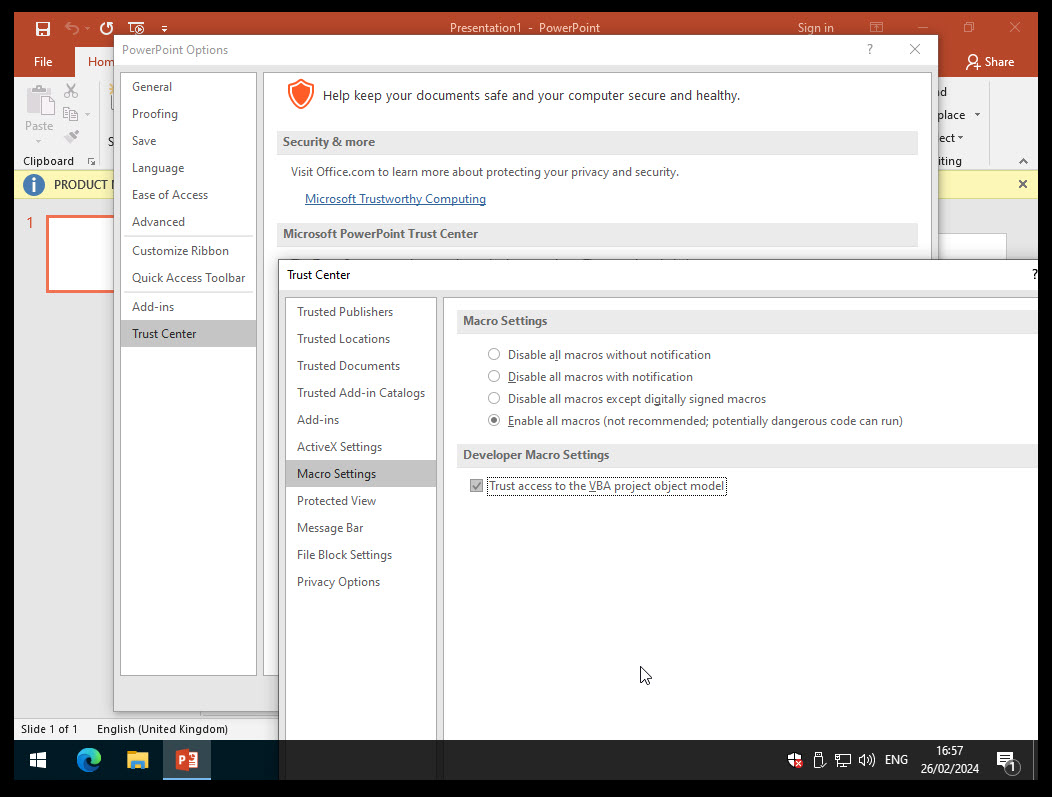
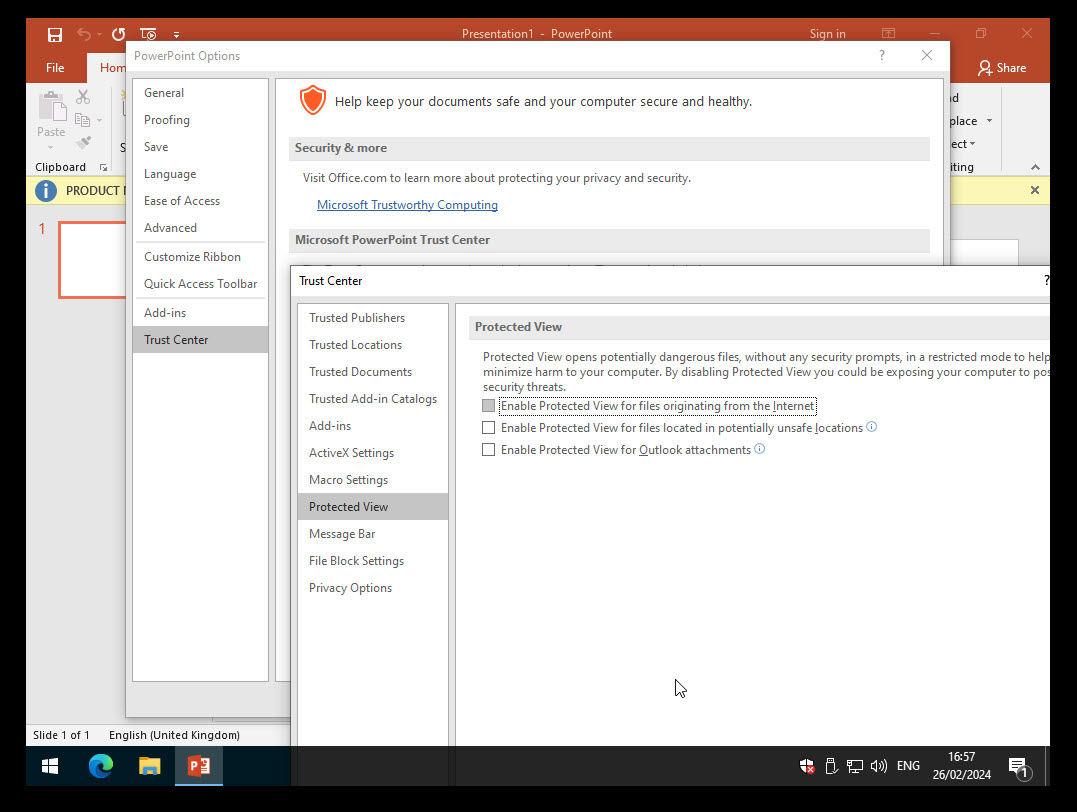
10.2.4. PowerPoint #
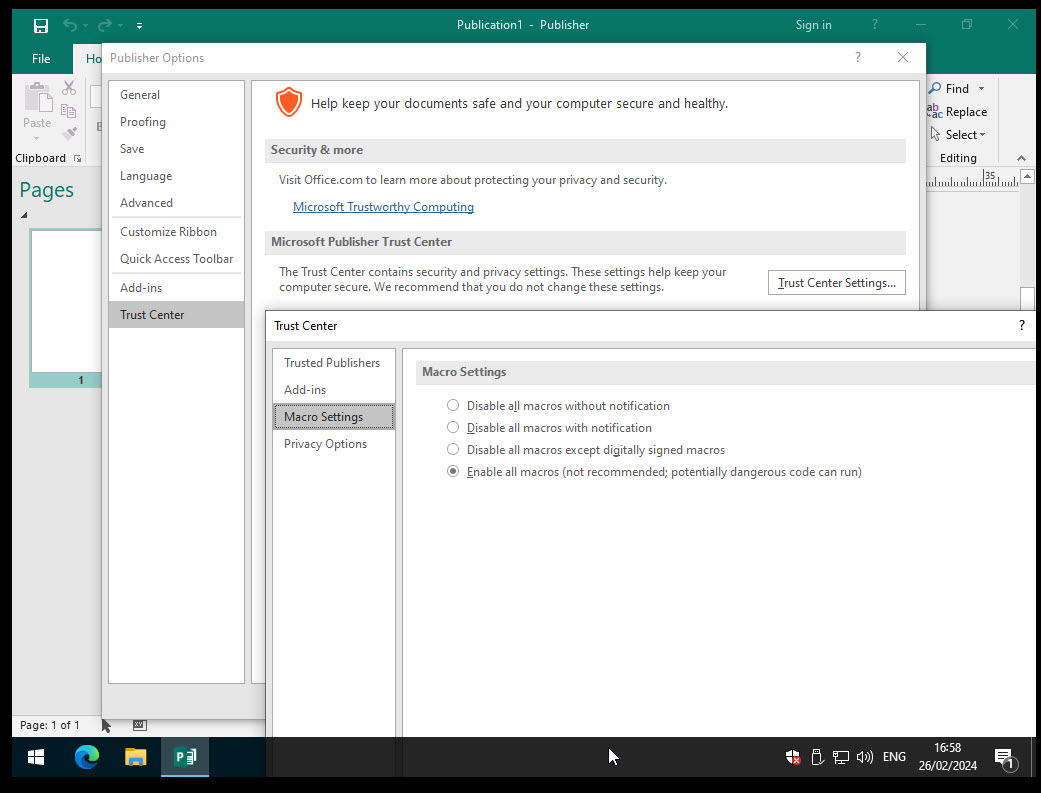
10.2.5. Publisher #
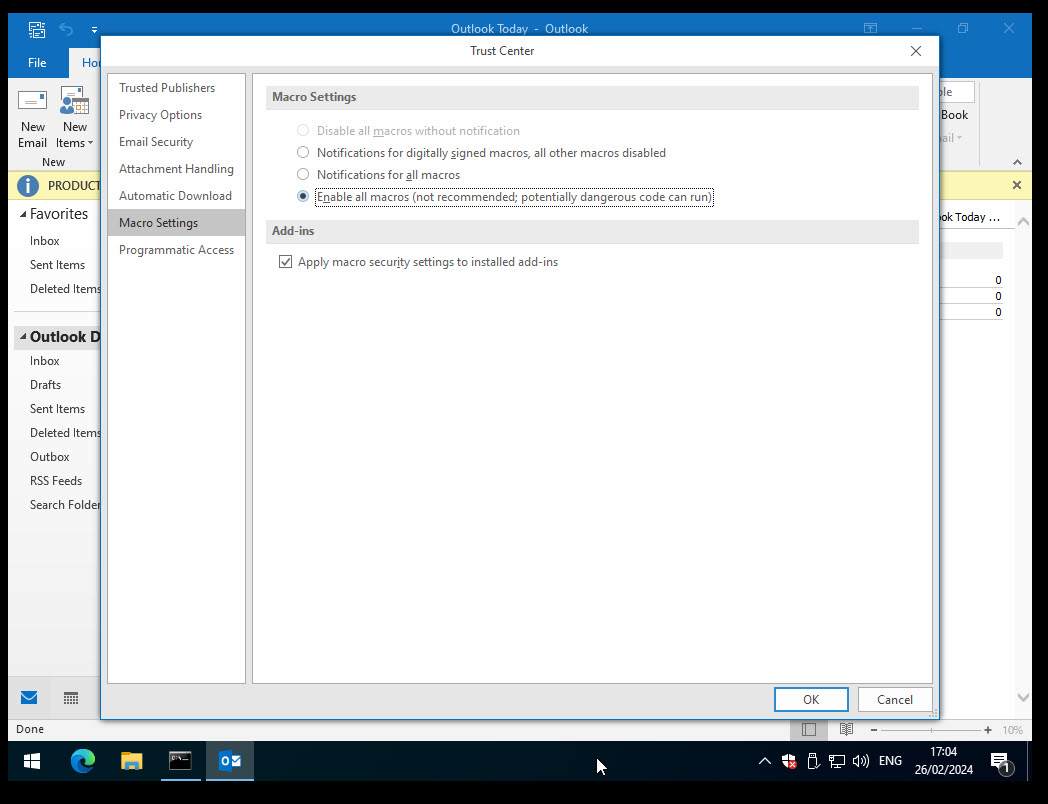
10.2.6. Outlook #
"C:\Program Files (x86)\Microsoft Office\root\Office16\Outlook.exe" /PIM <your profile name>
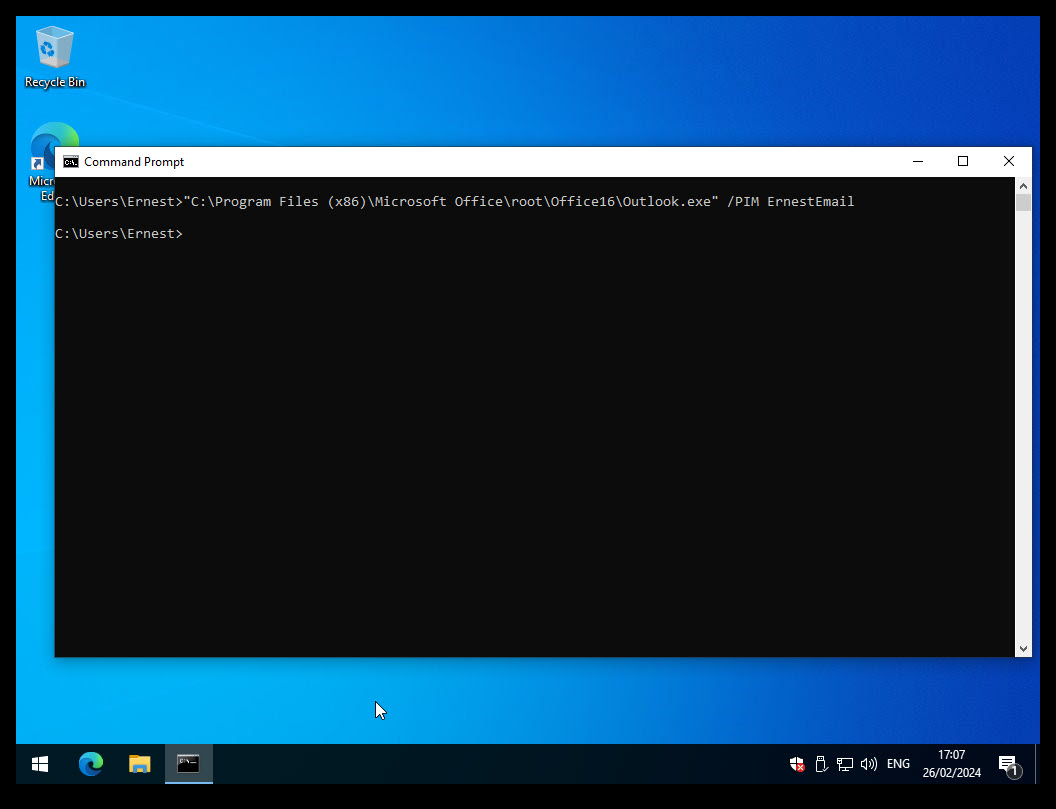
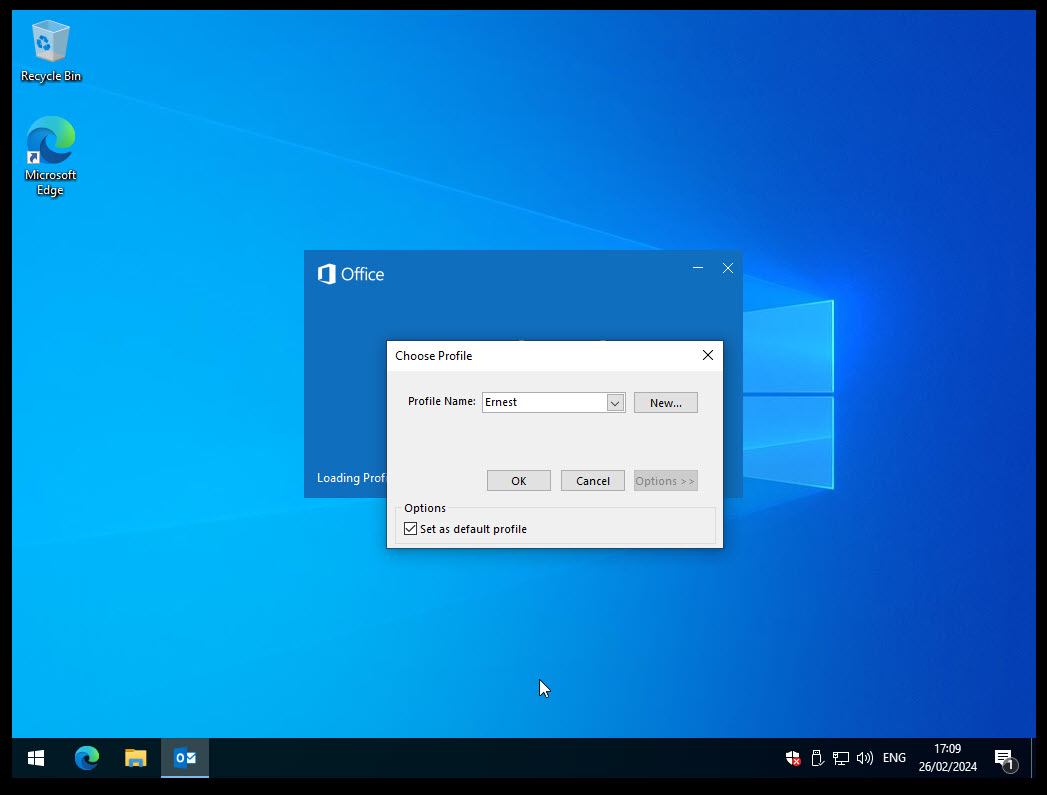
For example, outlook starts without the need to select a profile, etc.
Verify that everything related to windows (updates, defender) is configured and stays configured after the restart.
11. Network Configuration #
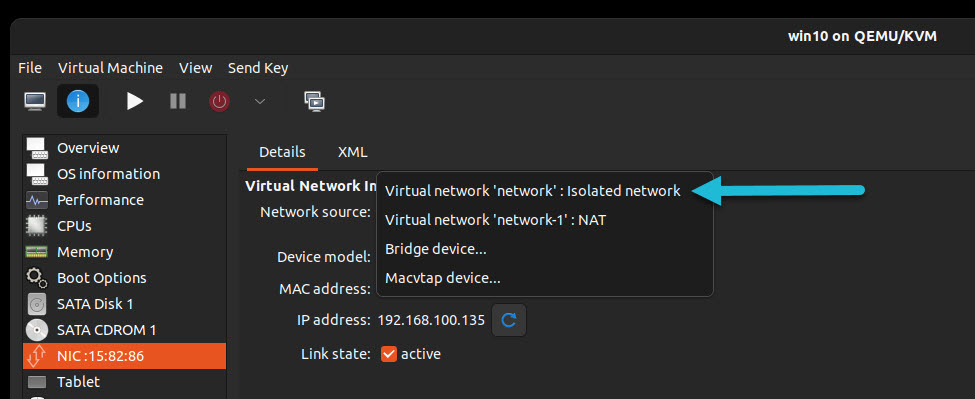
Shutdown the host.
Change the NIC from the NAT to the Isolated Network!
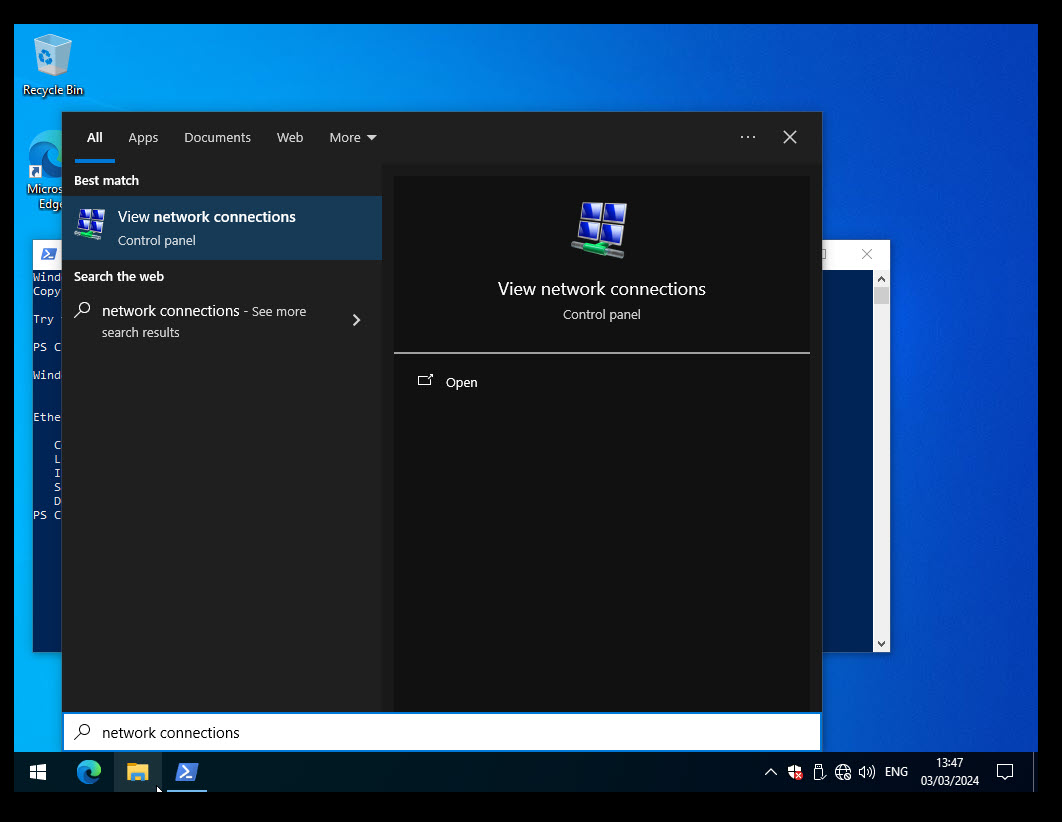
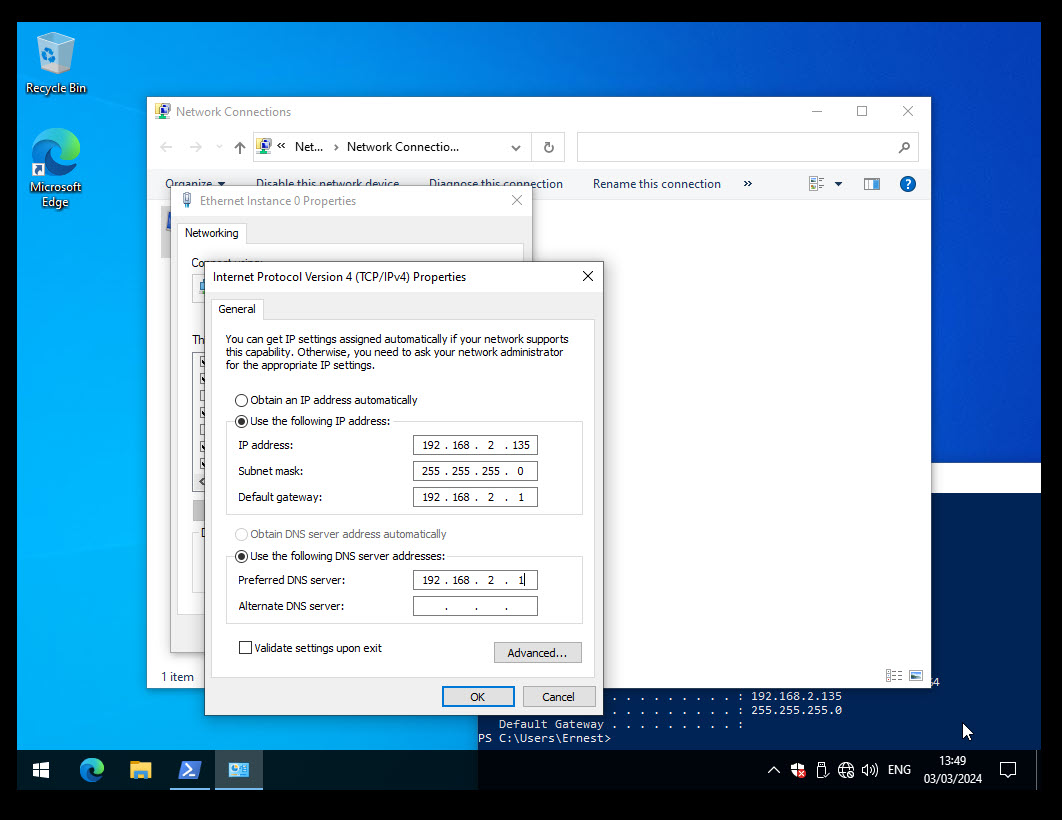
Now we must change the IP to static.
Find your given IP using the command:
ipconfig
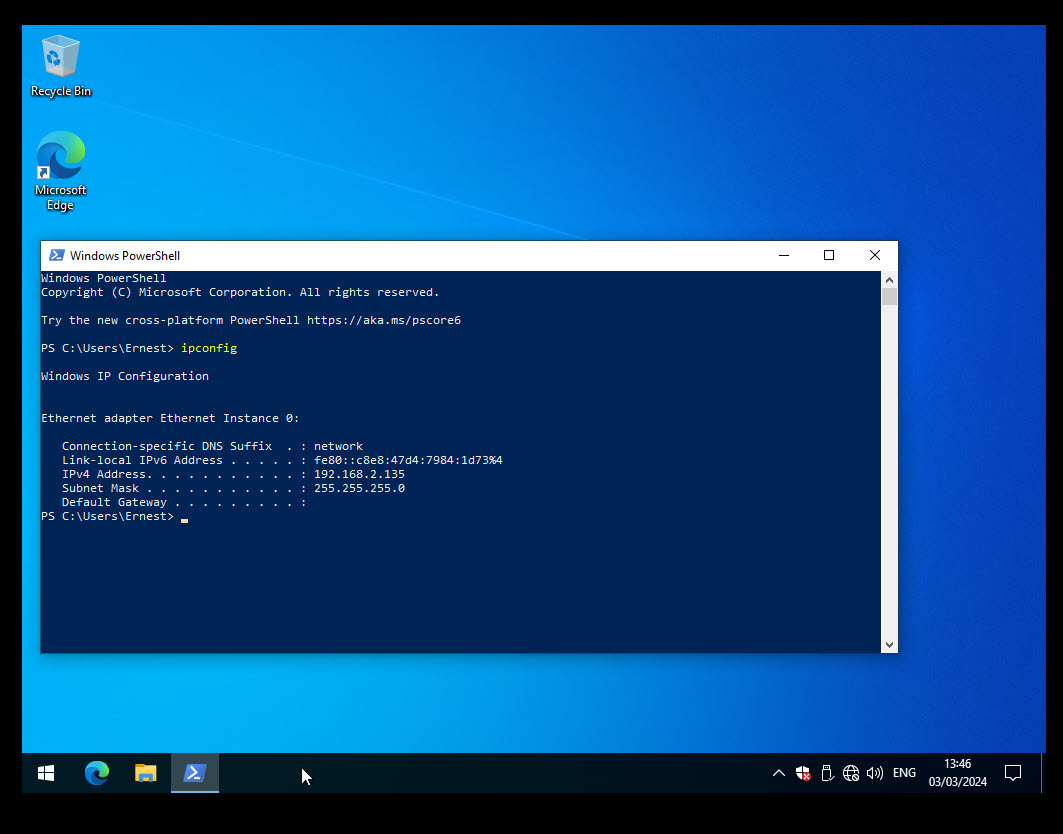
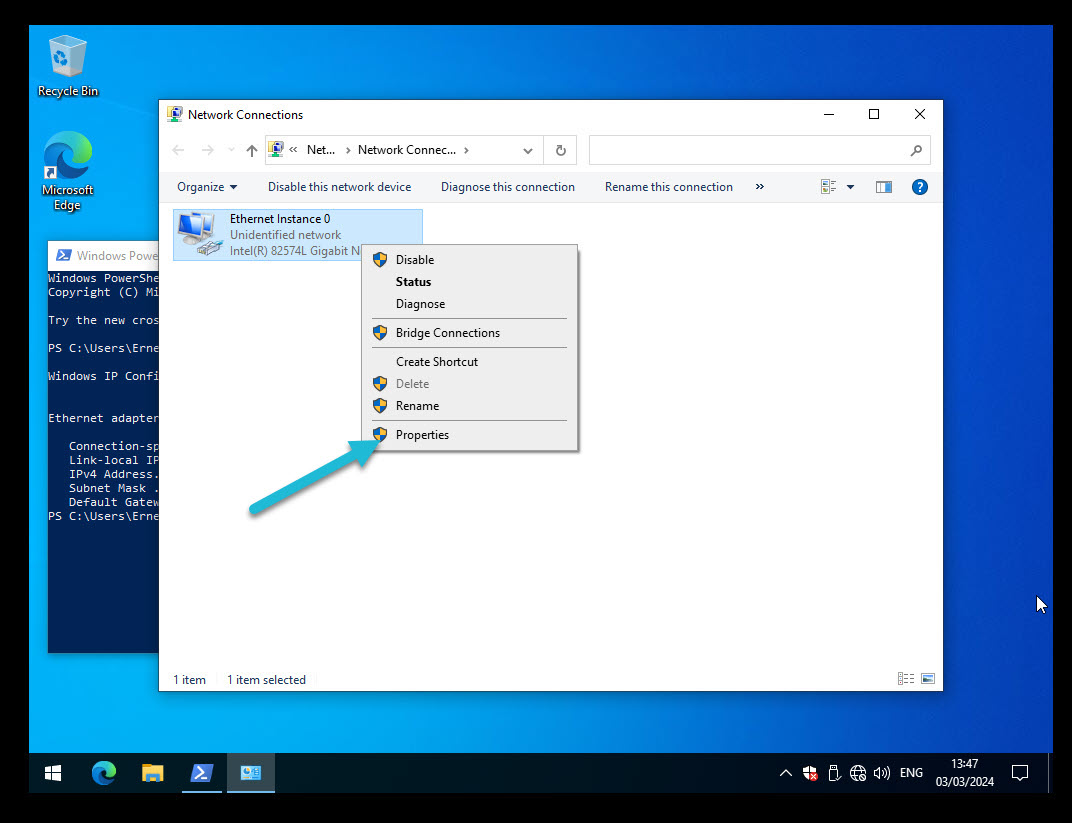
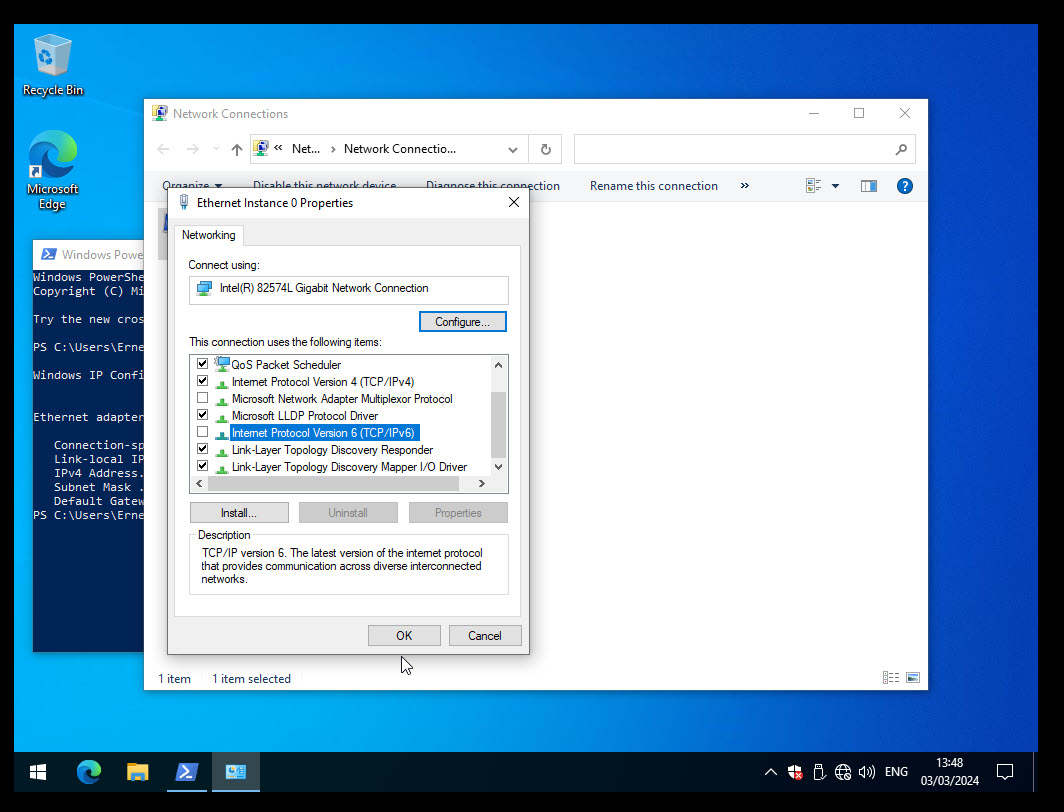
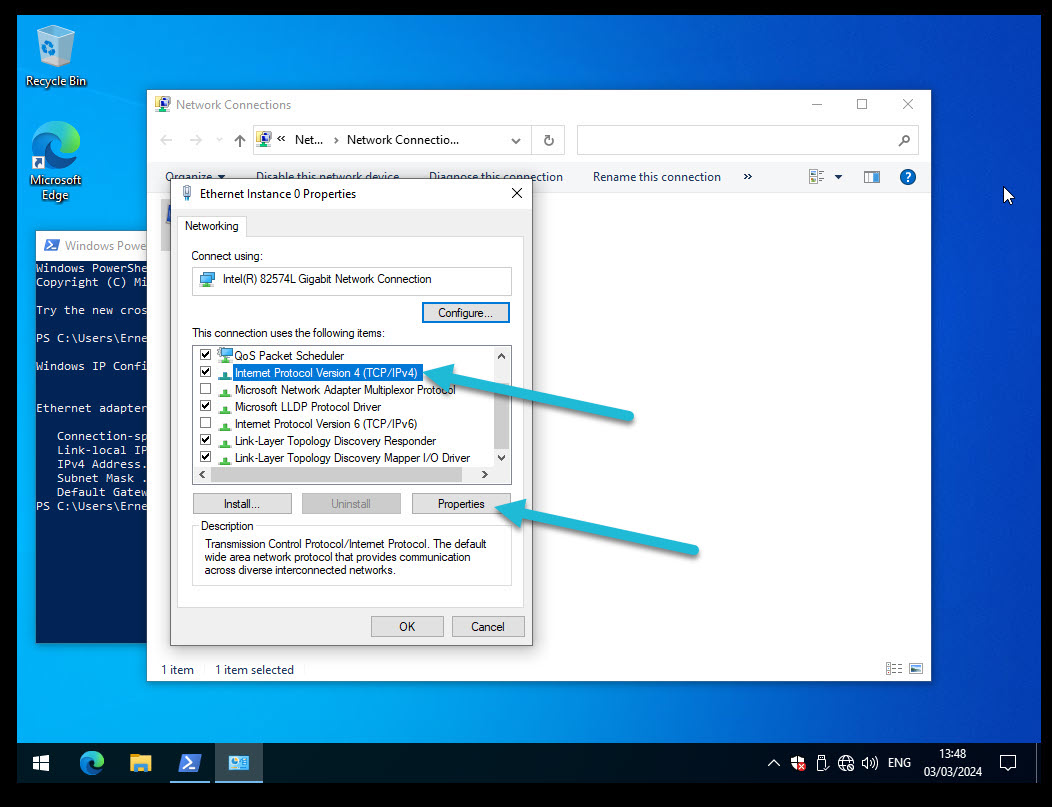
The gateway most of the time is the .1 IP of your network if you follow the above steps.


12. Installing the Agent #
At your host we need to go to the agent path
cd CAPEv2/agent/
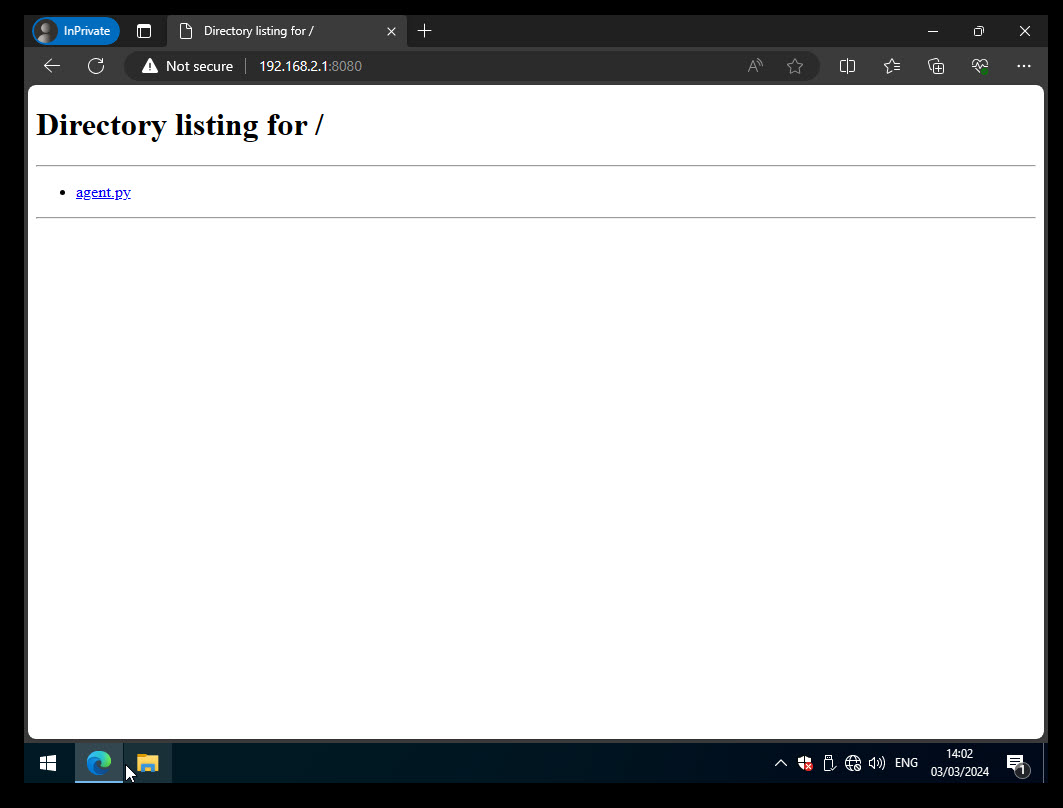
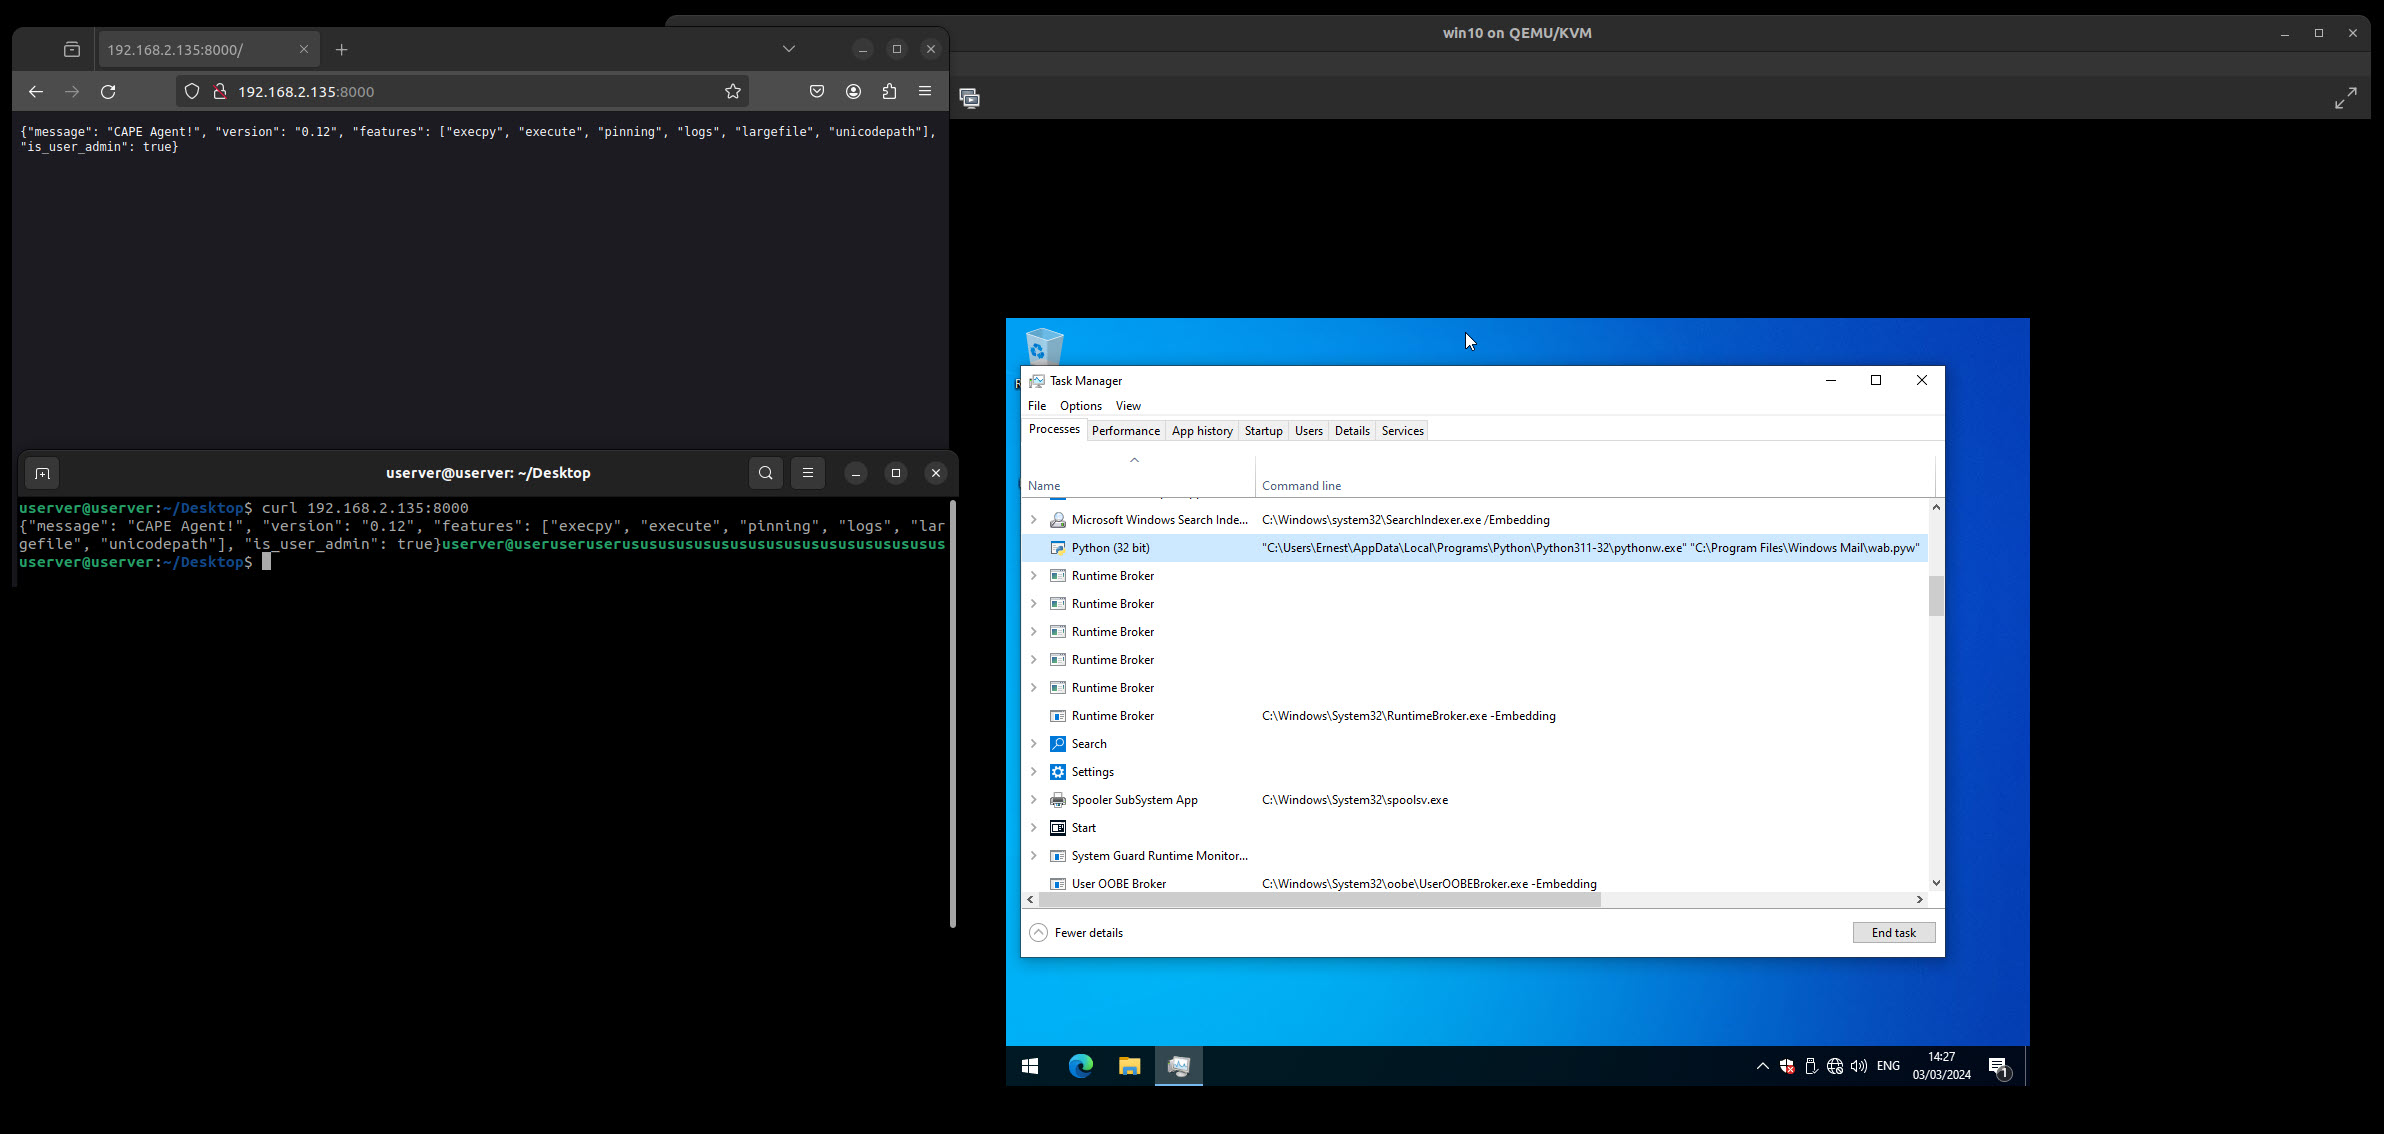
Start a python web server.
python3 -m http.server 8080

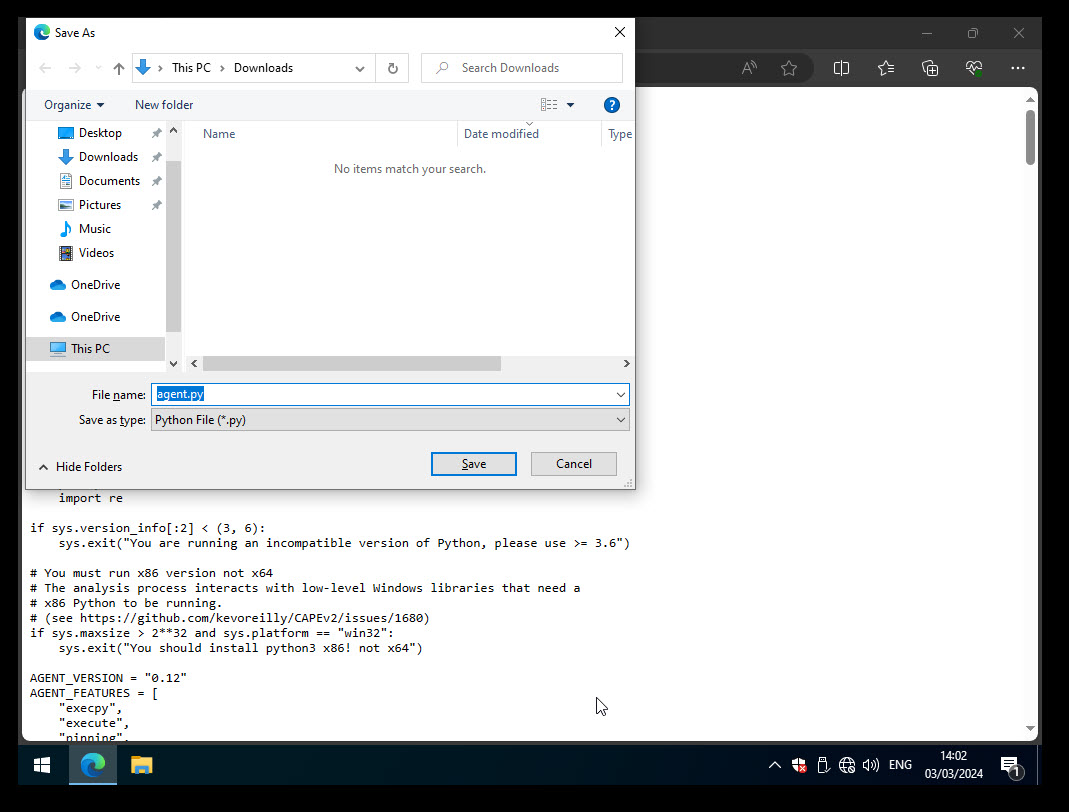
Change the extension to .pyw in order to hide the console.


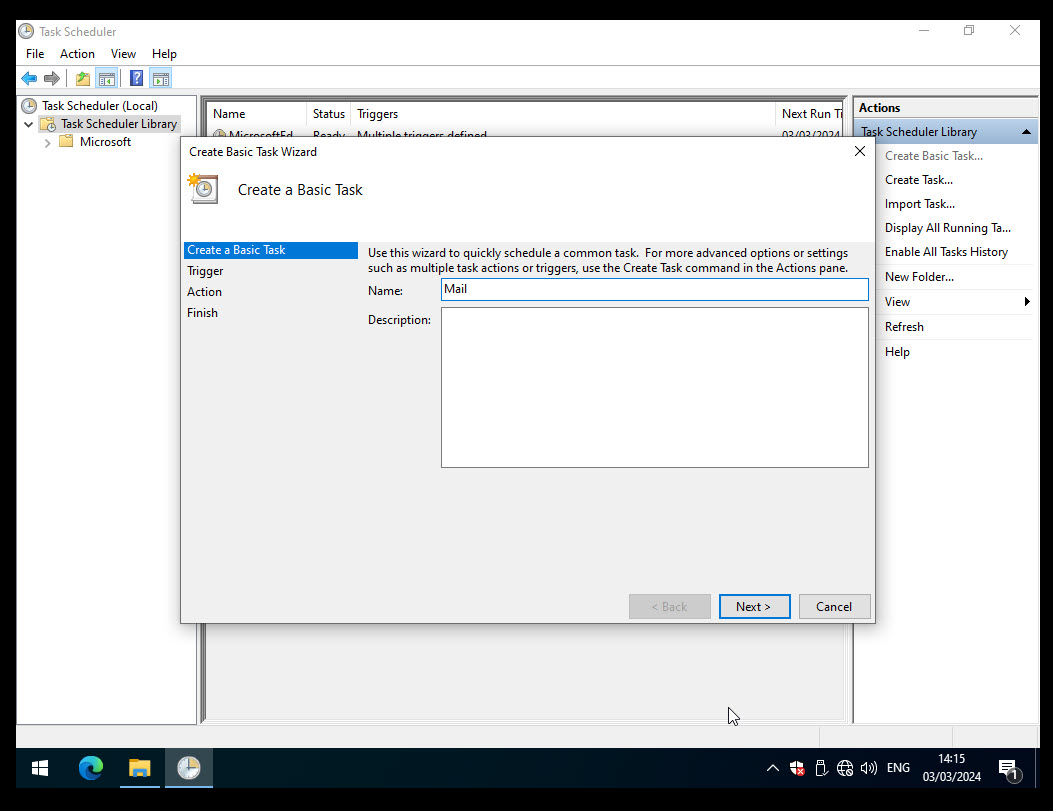
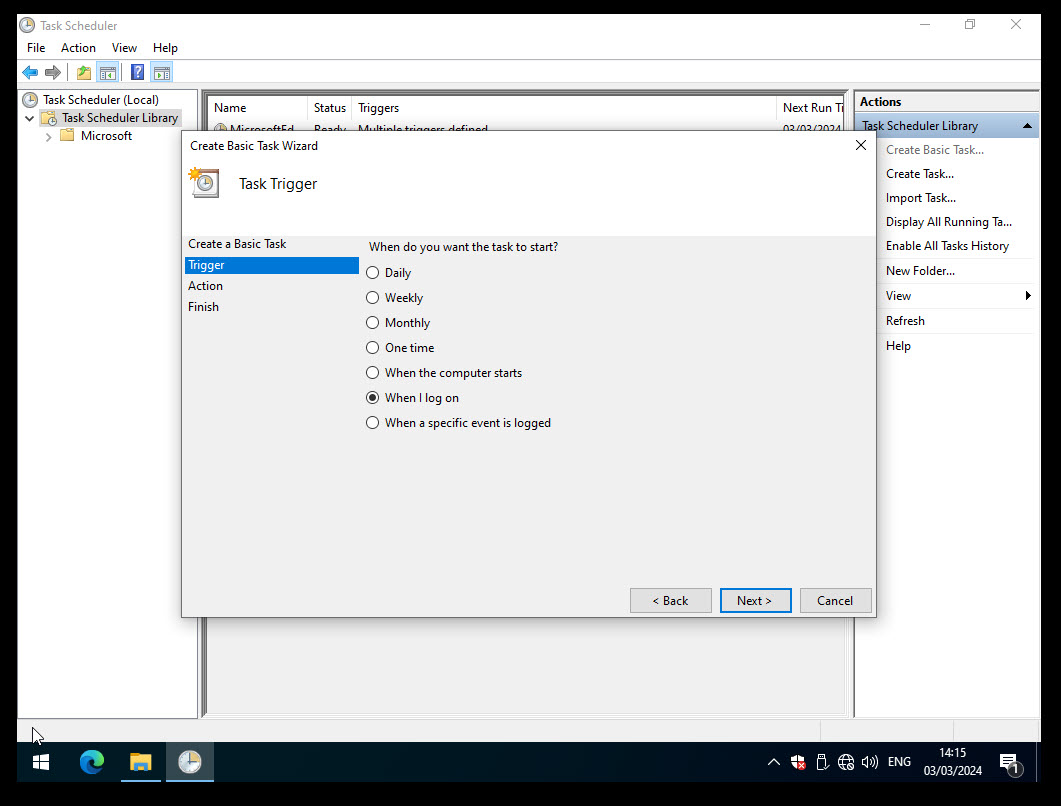
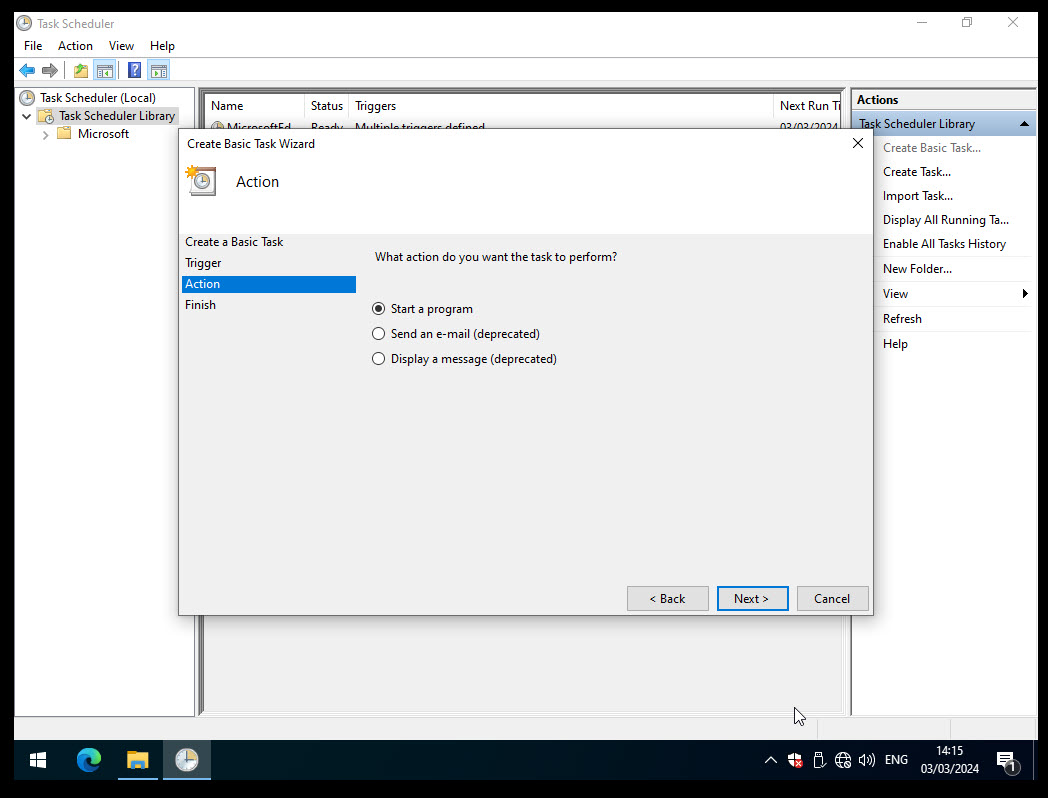
C:\Users\<user>\AppData\Local\Programs\Python\Python312-32\pythonw.exe
C:\Program Files\Windows Mail\wab.pyw
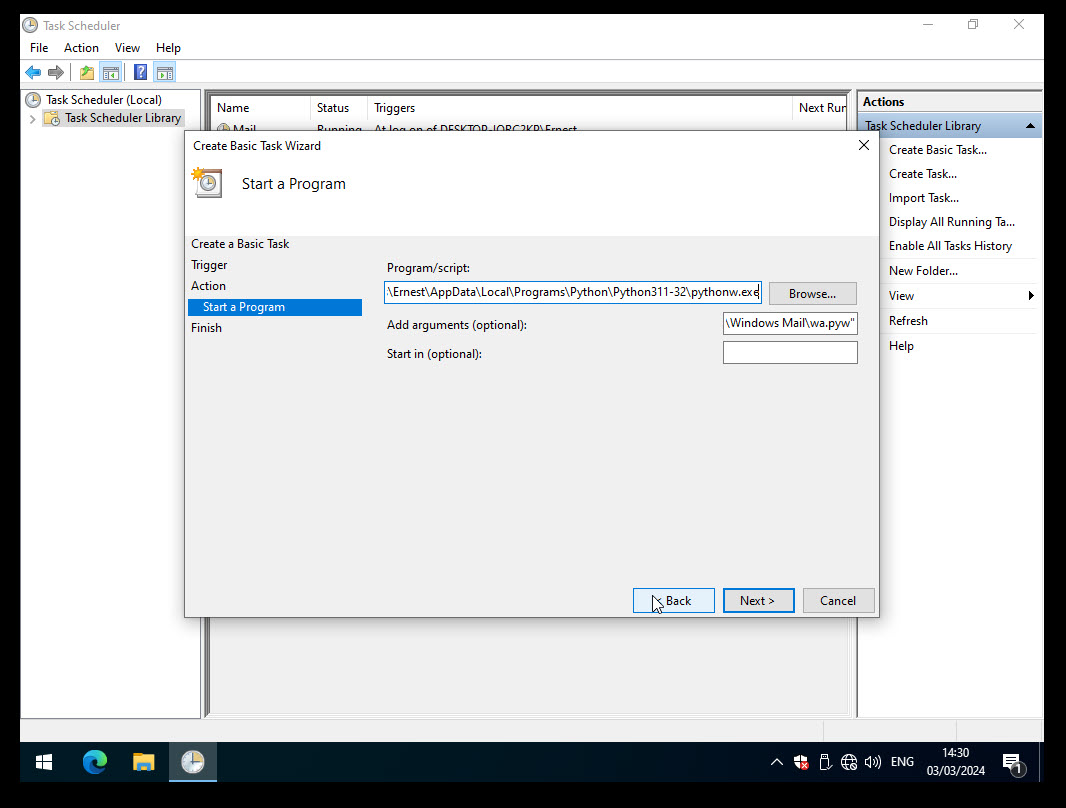
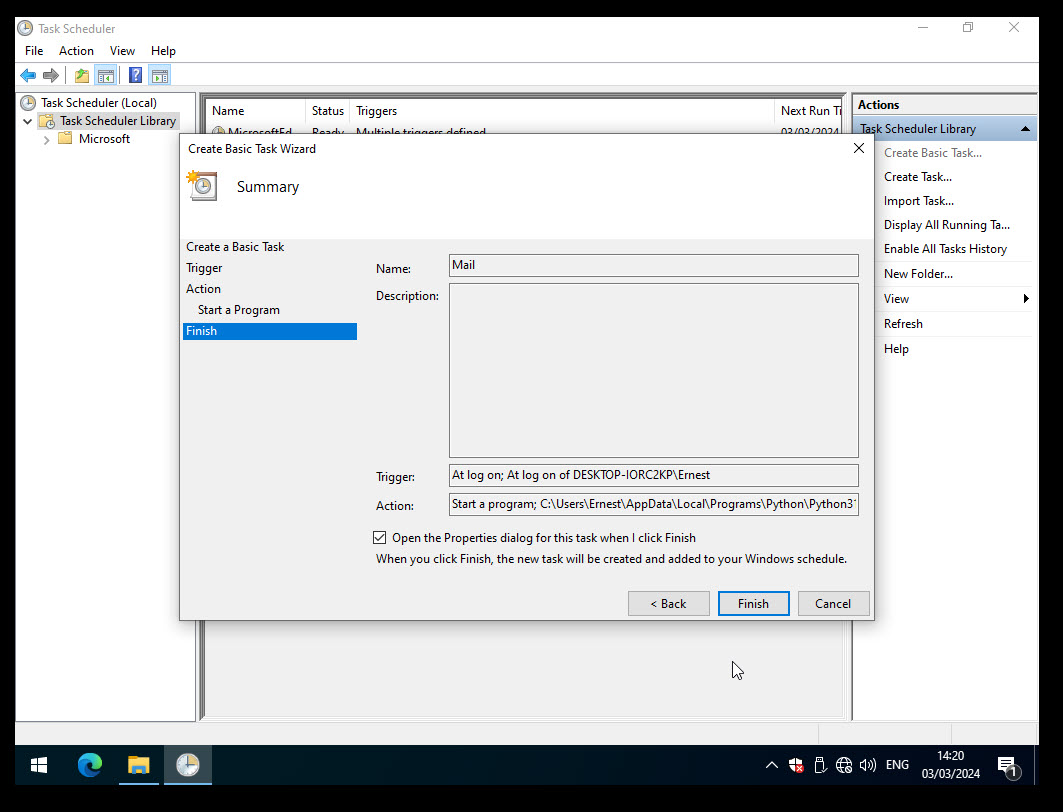
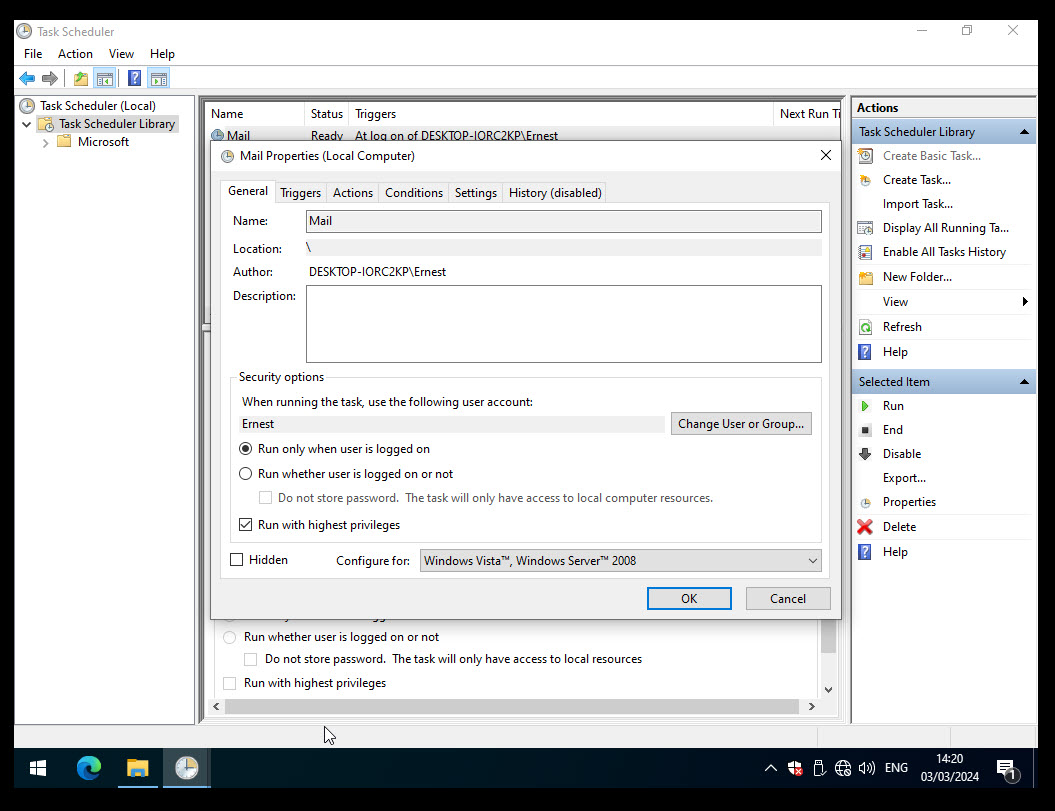
Verify that the python agent is running.
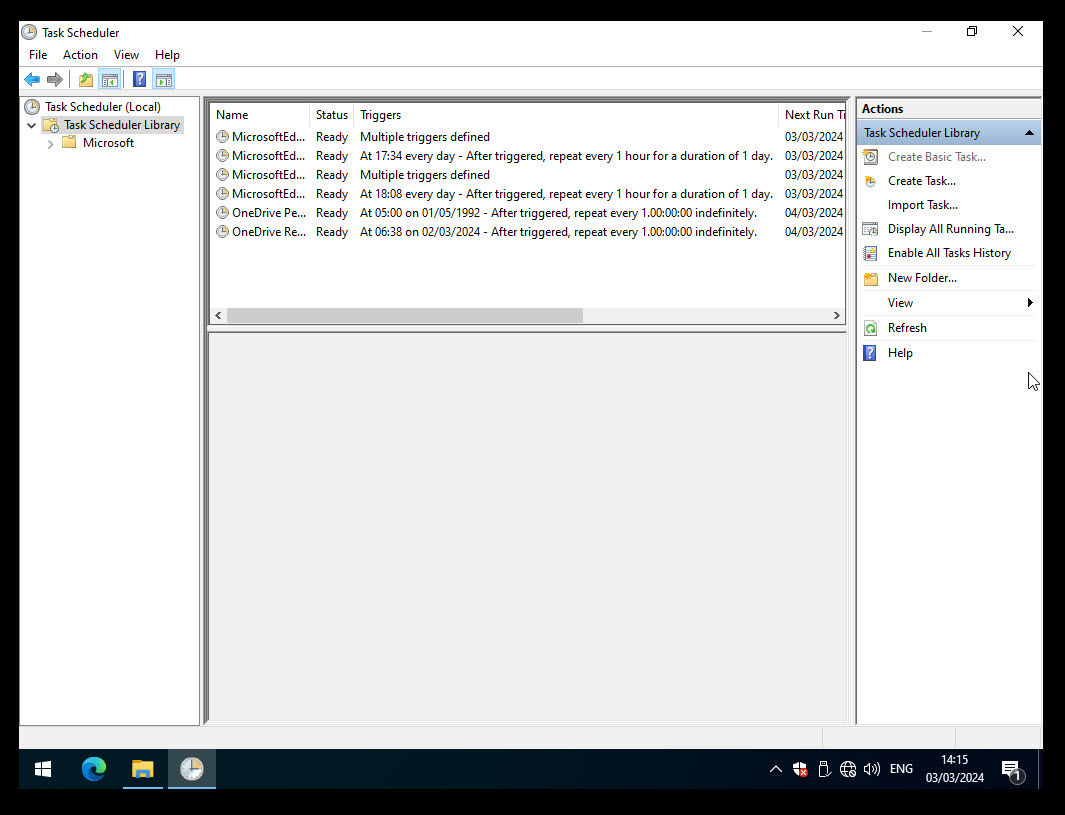
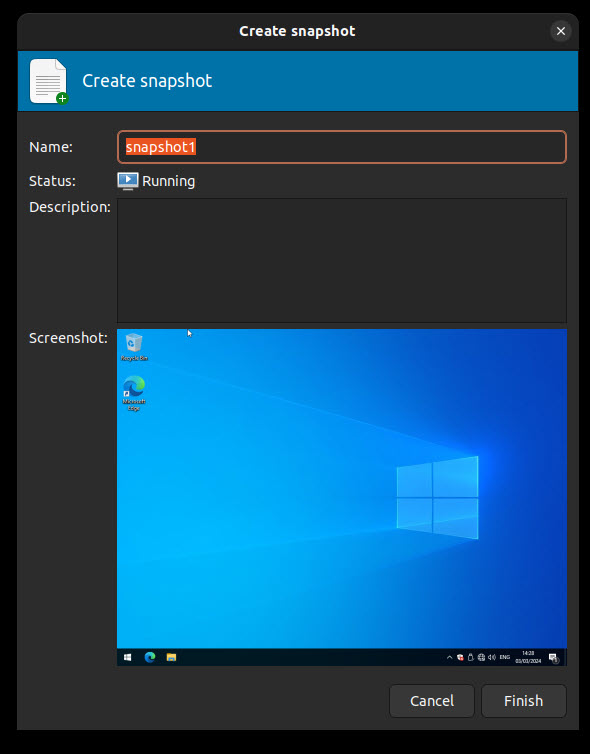
13. Saving the Virtual Machine #
Now you should be ready to save the virtual machine to a snapshot state.
14. TODO Configurations #
cuckoo.conf: for configuring general behavior and analysis options.
auxiliary.conf: for enabling and configuring auxiliary modules.
memory.conf: Volatility configuration.
processing.conf: for enabling and configuring processing modules.
reporting.conf: for enabling or disabling report formats.
routing.conf: for defining the routing of internet connection for the VMs.
15. TODO NETWORK #
Internet Routing
Full internet access as provided by the given network interface.
InetSim Routing
Routes all traffic to an InetSim instance - which provides fake services - running on the host machine.
Tor Routing
Routes all traffic through Tor.
VPN Routing
Routes all traffic through one of perhaps multiple pre-defined VPN endpoints.
16. TODO: Best practices for production #
Gunicorn + NGINX is the recommended way of serving the CAPE web UI.
17. TODO : Interactive session #
sudo ./installer/cape2.sh guacamole Enable and configure guacamole in conf/web.conf and restart cape-web.service and guacd.service:
$ systemctl restart cape-web guacd.service